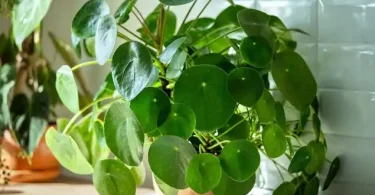
The ZZ plant, or Zamioculcas zamiifolia, is a popular houseplant known for its glossy, dark green leaves and low-maintenance care requirements. How to Prune a ZZ plant is an essential task to keep it healthy, promote new growth, and maintain its aesthetic appeal. Whether you’re removing damaged leaves or shaping the plant, this guide will walk you through the process of pruning your ZZ plant effectively.
Why Prune a ZZ Plant?
Pruning serves several purposes:
Improve Health: Removing unhealthy parts prevents potential disease spread and improves air circulation.
Remove Dead or Damaged Leaves: Yellowing or browning leaves can detract from the plant’s appearance and may indicate stress.
Encourage New Growth: Trimming old stems stimulates the plant to produce fresh shoots.
Maintain Shape and Size: Pruning helps control the plant’s size and keeps it looking tidy.
When to Prune a ZZ Plant
The best time to prune a ZZ plant is during the spring or early summer, when the plant is actively growing. However, light pruning, such as removing dead leaves, can be done year-round as needed. Avoid heavy pruning during the dormant winter months to prevent stress on the plant.

Tools You’ll Need
Before you start, gather these tools:
A clean cloth or paper towels
Clean, sharp pruning shears or scissors
Rubbing alcohol or disinfectant (to sterilize tools)
Gloves (optional, as ZZ plants contain sap that may irritate skin)
Step-by-Step Guide to Pruning a ZZ Plant
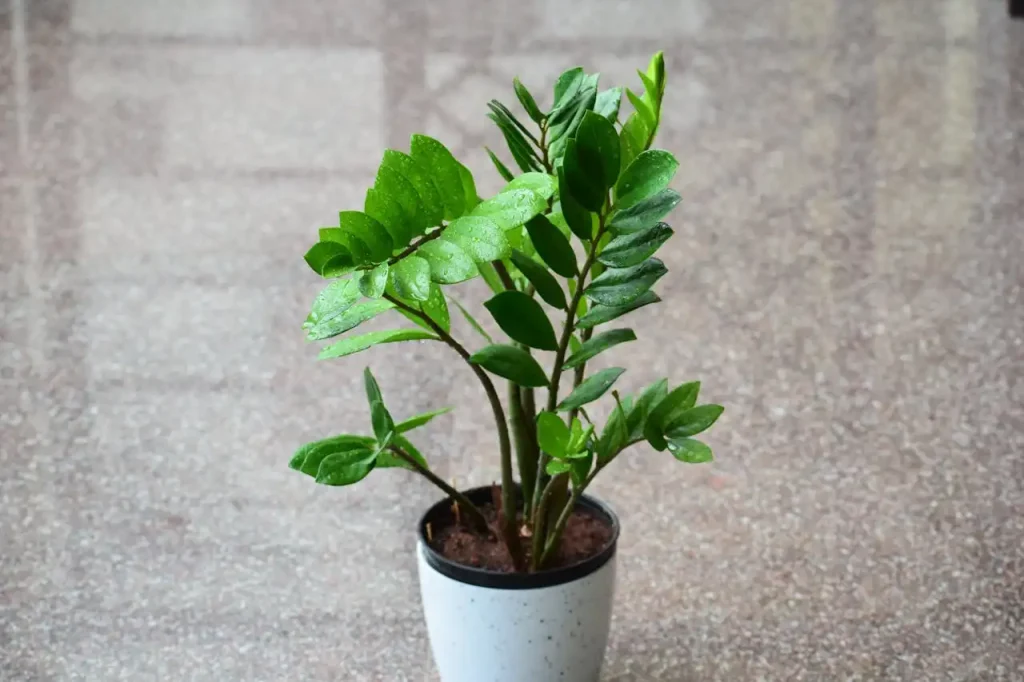
Step 1: Assess the Plant
Examine your ZZ plant to identify areas that need pruning. Look for:
- Yellowing, browning, or wilting leaves
- Damaged or broken stems
- Overcrowded areas that may restrict growth
- Any stems that are overly long or leggy
Step 2: Sterilize Your Tools
To prevent the spread of disease, sterilize your pruning shears or scissors with rubbing alcohol or a disinfectant solution. Wipe the blades clean and dry them before use.
Step 3: Remove Dead or Damaged Leaves
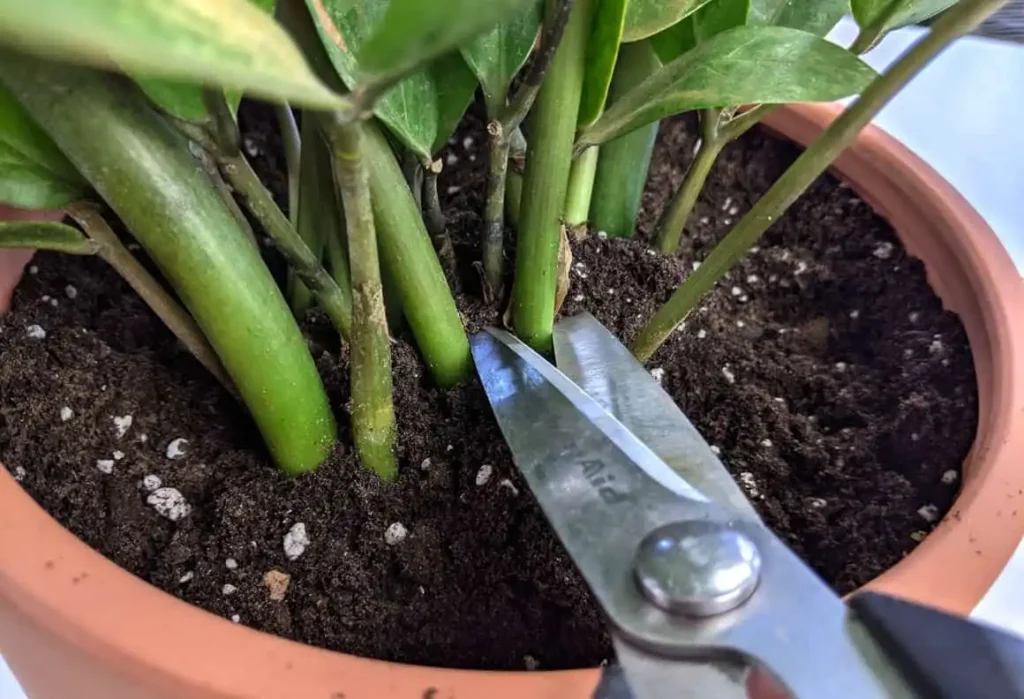
- Identify any yellow, brown, or damaged leaves.
- Trace the leaf or stem back to its base, where it emerges from the soil or connects to the main stem.
- Using sharp shears, cut the stem as close to the base as possible without damaging nearby healthy stems.
- Dispose of the removed leaves to prevent rot or pest issues.
Step 4: Trim for Shape and Size
- If your ZZ plant is becoming too tall or wide, trim back longer stems to your desired length. Cut just above a node (the point where a leaf attaches to the stem) to encourage new growth.
- For a bushier appearance, selectively prune a few stems to promote branching.
Step 5: Remove Overcrowded Stems
- If the plant looks crowded, thin out some of the older or weaker stems. Focus on stems that are crossing or rubbing against each other.
- Cut these stems at the base to improve air circulation and light exposure.
Step 6: Clean Up
Water the plant lightly if the soil feels dry, but avoid overwatering.
Wipe down your tools with alcohol again after pruning to keep them clean for future use.
If any sap gets on your skin, wash it off immediately, as it can be irritating.
Tips for Pruning Success
Propagate Cuttings: Healthy stems you remove can be propagated in water or soil to grow new ZZ plants.
Don’t Over-Prune: ZZ plants grow slowly, so avoid removing more than 20-30% of the plant at once to prevent stress.
Handle with Care: The sap of ZZ plants can be mildly toxic and irritating. Wear gloves if you have sensitive skin, and keep the plant away from pets and children.
Monitor After Pruning: Place the plant in bright, indirect light and maintain its usual care routine to support recovery.