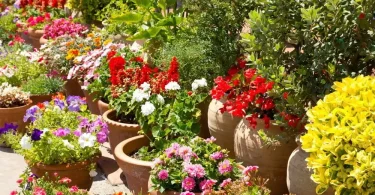
One day your garden looks great. The next day, dark spots hit the leaves. These circles spread fast in wet weather. Green leaves quickly turn brown and look burnt. Ignore the spots, and the whole plant wilts and dies. Leaf spot disease attacks many plants. This includes roses and your tomato crop. A fungus or bacteria usually causes this damage. This guide shows you how to find the spots. You will learn the steps to stop and treat the disease.

Expect stronger, healthier plants quickly. Data from the USDA lists leaf spot as a major plant issue. Gardeners often report problems during rainy seasons. Acting fast protects your harvest. It saves all your hard work. Start here with the basics. Get ready to fix this problem now.
Understanding Leaf Spot Disease
Leaf spot disease starts small but grows big trouble. It attacks leaves first, then moves on. Knowing the roots helps you fight back smart.
What Causes Leaf Spot Disease?
Fungi such as Alternaria or Cercospora start the majority of these plant problems. Sometimes bacteria also play a role in the sickness. These germs love extremely wet conditions. Tight plant spacing is bad news for air circulation. Sprinklers that soak the leaves make the conditions much worse. Spores ride the wind or drop in with the rain. Unclean garden tools spread the disease very fast. You must use clean soil right from the start.
Keep your plants strong and robust to stop widespread damage. When humidity stays above eighty percent, the risk of infection goes up sharply. Moisture gets trapped if air cannot move freely around your crops. Do not water the plants from above. Stopping the overhead spray is the simplest way to reduce the odds of a major outbreak.
Common Symptoms and Types of Leaf Spot
Watch for round spots that often have bright yellow edges. These marks slowly turn dark brown or black. Soon the leaves will drop off the plant. This loss of foliage quickly weakens the growth.
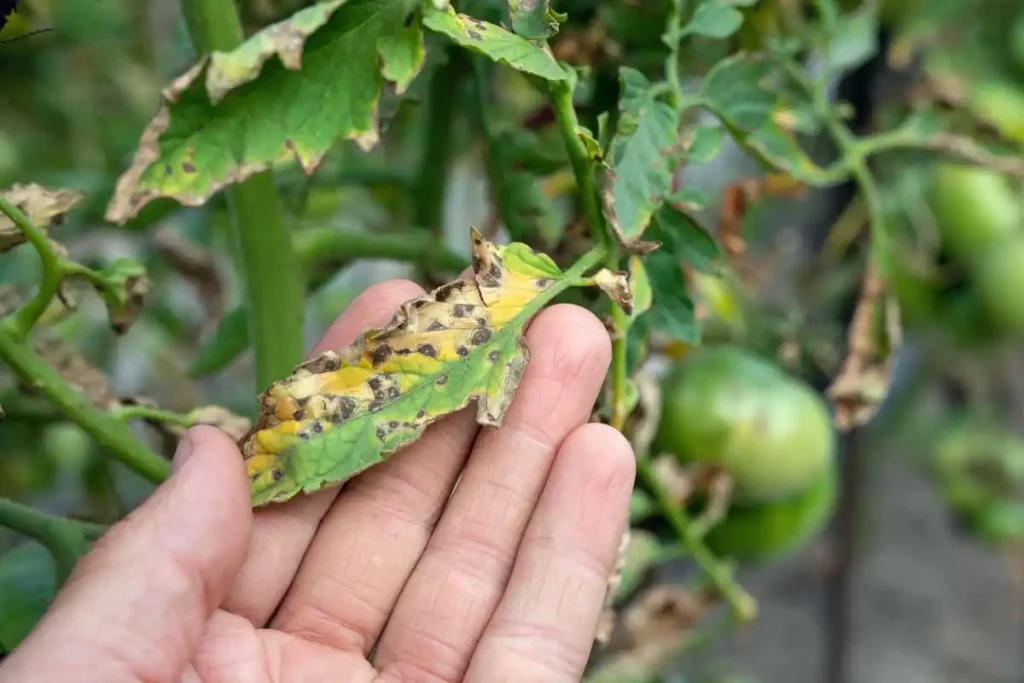
Septoria fungus severely damages many tomato plants. Look for centers on those spots that appear gray. Roses often struggle with Anthracnose instead. This disease causes sunken patches right on the leaves. Use a small magnifying glass to find the tiny spores.
These fungal spots usually appear right after a steady rain shower. Always check both the top and the bottom sides of the leaves. Catching these early signs saves your entire garden harvest.
Why Early Detection Matters
Those tiny spots soon spread across entire leaves. When this happens, your plants cannot soak up enough sunlight for energy. Bad infections wipe out whole branches or kill the entire plant. You must catch the problem early to stop it from moving around. Check your garden every week, especially when the weather is wet. Gently touch the leaves and feel for soft, mushy areas. If you ignore the spots, tomato harvests can shrink by fifty percent. Take action right now to protect your plants and improve the final yield.
Step 1: Accurate Identification and Diagnosis
Guess wrong, and you waste time. Confirm leaf spot to pick the right fix. Follow these steps for sure results.
Inspecting Your Plants Closely
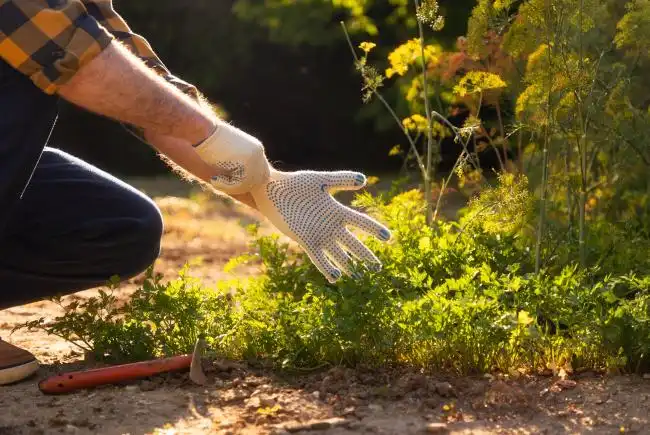
Inspect the garden weekly. Always flip the leaves completely over. Check the underside for bugs or damage. Watch new growth closely for sudden spots. Notice if the spots showed up right after a heavy rain. Wear gloves while working with sick plants. Clean your hands well to prevent spreading damage across the beds. The visible patterns tell you the true story about the issue. Begin your checks down at the plant’s base. Move slowly upward toward the tips. Use bright tape to mark any plant that looks unhealthy.
Tools and Methods for Confirmation
Take a sharp photo showing the plant problem. Always place a ruler next to the damage so they can judge the scale properly. Your local extension office offers free and reliable diagnosis for gardeners.
Need a fast answer? Check out the disease ID apps made by various universities. Search for terms like “plant disease ID” to find solid options fast. You can also use the handy identification keys found on trusted plant health websites.
When the issue is tricky, mailing samples to a lab helps a lot. Place affected leaves inside a dry paper bag before you ship them out. Experts will check them closely for truly accurate results. You should receive their clear findings within a few days time.
Differentiating Leaf Spot from Other Issues
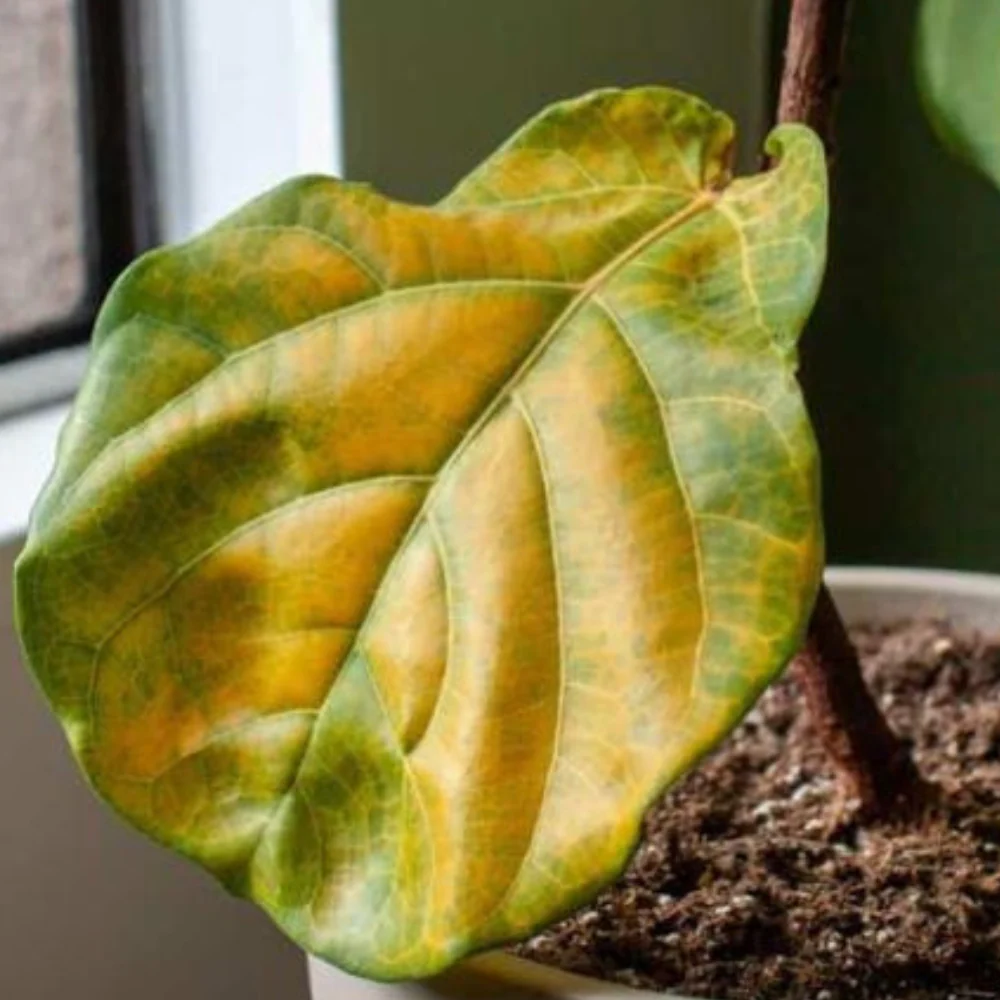
Pests chew holes straight through the leaves. Fungal spots stay solid and firm. A virus makes the entire plant turn yellow. Look for crisp edges if the leaf has burned. Fungal spots often show rings, just like a target. When nutrients are missing, the older leaves usually suffer first.
What does your plant show? Spots with faint halos mean leaf spot trouble. Notice fresh chew marks? That is surely bug damage. Is the plant yellowing evenly? Test your soil for missing nutrients right away. Always test this diagnosis on just one plant first. Compare the sick plant to healthy ones nearby.
Step 2: Immediate Removal and Sanitation
Clean up fast to halt spread. This step forms your base defense. No chemicals needed yet.
Pruning and Removing Infected Parts

Use your sharp pruning shears for this task. Snip any spotted leaves right where they meet the main stem. Always make these cuts only when the day is dry outside. Clean the cutting tools thoroughly between plants to prevent spreading sickness. Tie up the diseased clippings tightly in a bag. Toss all that plant waste far away from your garden. If the plant looks stressed, you can safely remove up to twenty percent of the leaves. Wipe down the healthy stems that remain. Keeping the plant clean protects the fresh new growth coming next. This care means your plants will bounce back much faster.
Cleaning Tools and Surrounding Areas
Always soak your pruners in a solution of one part bleach and nine parts water. Rinse them thoroughly right after dipping. Use this same careful cleaning method for your gardening gloves and bare hands.
You must rake up any fallen leaves sitting on the ground. Clear away the soil right around the base of the plants. Apply a fresh layer of mulch immediately afterward. New mulch prevents fungal spores from taking hold near the roots.
Keep this entire routine going frequently, especially when the weather stays wet. Cleaning the garden paths is also important. This simple task stops hidden diseases from spreading into healthy areas.

Best Practices for Disposal
Handle diseased plant material with caution. First, check local laws regarding debris burning. If rules allow, burn the dead material until nothing remains. Otherwise, seal the plant waste tightly in heavy bags. Put these bags out with the regular trash pickup service. Remember to never mix sick pieces into your active compost pile.
The EPA demands you keep all refuse away from nearby water sources. If burning is prohibited, you must bury the plant debris deeply. Place the burial spot far away from any current garden beds. Taking this step ensures you break the disease cycle completely.
Step 3: Cultural and Preventive Treatments
Build habits that keep leaf spot away. These natural ways work long-term. Great for home growers.
Improving Plant Environment
Give your plants 12 to 18 inches of space between them. Proper spacing allows air to move freely around the lower leaves. This prevents trapped wetness from causing rot. Water the soil directly; avoid wetting the leaves. Always schedule your watering for early in the morning.
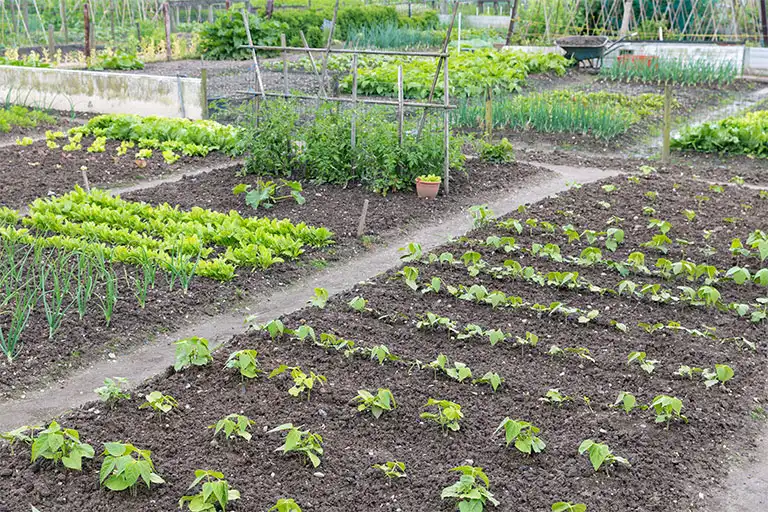
Drip hoses or soaker systems keep the foliage completely dry. Trim out any thick spots blocking sunlight from reaching the center. Fans are a big help when you grow plants inside a greenhouse. Remember: dry leaves are a simple defense against plant diseases.
Enhancing Plant Health and Resistance
Check your soil pH. Aim for a range between 6.0 and 7.0. Mix in compost for stronger roots. Stronger, healthier plants fight problems better. Use fertilizer sparingly. Excess green growth encourages fungi. Choose seeds known to resist disease. Varieties like ‘Celebrity’ tomatoes prove reliable. Mulching prevents rain splash, which keeps dirt off leaves. It also cools the ground during hot weather.
Crop Rotation and Companion Planting
Move your tomato plants to a new spot every two years. This simple action stops disease spores from building up in the dirt. Research confirms this technique lowers plant risks by seventy percent. Try planting garlic right next to your roses. Garlic is great for chasing away certain plant fungi.
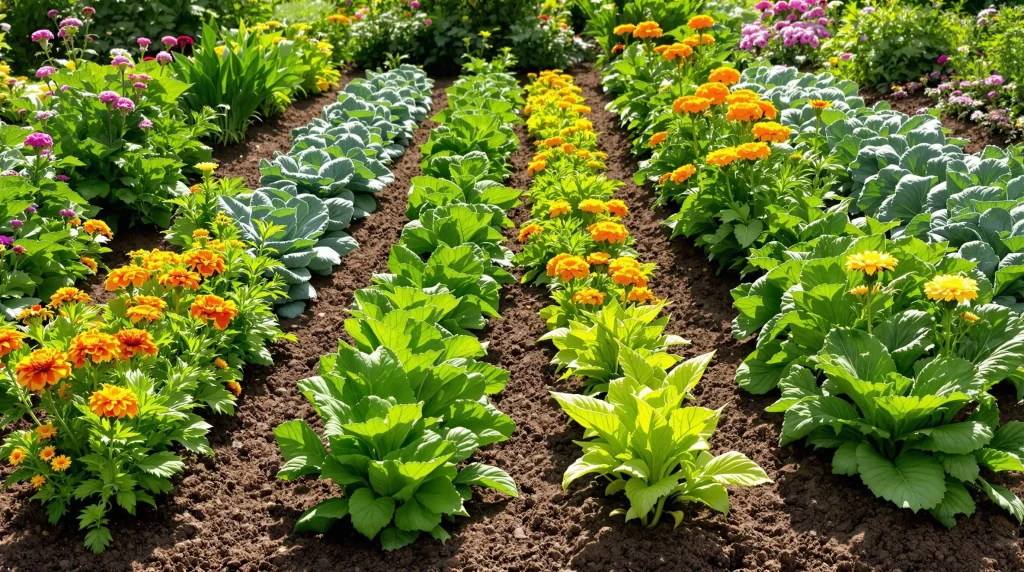
Also, set marigolds among your garden vegetables. They are excellent natural guardians. Always track where you planted each type of crop this season. Drawing a basic map makes this job easy to handle. Crop rotation is essential for keeping your garden soil healthy and fresh year after year.
Step 4: Chemical and Organic Treatment Options
Use these when basics fail. Pick safe choices. Follow rules to protect bees and you.
Selecting the Right Fungicide or Bactericide
Use copper sprays when dealing with spots caused by bacteria. Fungi problems require treating the plant with Chlorothalonil. Look closely at the product label to find the right amount for spraying. Start the treatment as soon as the first disease symptoms appear. Spray again once a week or maybe every two weeks.
Stop treating entirely once you have finished a total of three applications. Only buy these treatments from a trusted garden store location. Check carefully to ensure the product is safe for your specific plants. Always test the solution on a small leaf area before treating the whole crop.
Organic Alternatives and Home Remedies
- Add one spoonful of baking soda for every gallon of water. For the stick, add oil. Cases of spray lights.
- Leaves are coated in neem oil. prevents the landing of spores. edibles-safe.
- Dilute 1 to 9 milk sprays also work. Every week, apply. The aids of nature shine.

Application Techniques and Safety
- Evenly mist both leaf sides. On cool evenings, do it. Put on gloves and a mask.
- To save bees, stay away from blooms. The Xerces group issues a warning about that. After, rinse the equipment.
- Keep an eye on it for two weeks. If there are new spots, try again or call for assistance.
Monitoring and Long-Term Management
Keep watch after treatment. Adjust as needed. This seals your win.
Tracking Treatment Progress
- Look for new spots every week. Keep a journal to record any changes. Images document time.
- In two weeks, nothing better? Alternate approaches. Dates and weather are noted in the journal.
- Talk about your notes with your garden companions. Next season is guided by patterns.
Seasonal Prevention Strategies
- Fall: Clear away all trash. Prune bare in the winter. Spring: If wet, be prepared with sprays.
- Verify your USDA zone. Drainage is emphasized in cool areas. Humidity is monitored by hot spots.
- Annual plans are preferable to surprises. Put reminders on your calendar.
When to Seek Professional Help
- Large farms or gardens require experts. Trees are expertly fixed by arborists. Extensions are free of charge.
- Severe cases spread quickly. If half plants fall, call. They conduct thorough tests.
- Pros save more, so don’t wait.

Conclusion
You now understand the entire process of treating leaf spot disease. Early detection, prompt cleanup, garden adjustments, and wise treatment use are all important. To get the best results, combine these steps.
Key points: To identify minor problems, check frequently. Healthy plants are the most resilient. Prevention is always better than cure.
Now go to your garden. Examine the leaves today. Post your solutions in the comments section below so that we can all learn.