Drip irrigation is a revolutionary method of watering plants that delivers water directly to the roots through a system of tubes and emitters. This efficient watering technique is especially beneficial for small gardens where every drop of water is valuable and limited space requires innovative solutions.
In this guide, you’ll learn how to set up drip irrigation for small gardens to significantly boost your harvest while conserving water—up to 50% less compared to traditional sprinklers. By providing targeted water supply, this method encourages healthier root growth, minimizes plant diseases, and takes the guesswork out of watering.
We’ll cover all aspects of implementing drip irrigation in your garden, including:
- Components of the system
- Installation methods
- Choosing the right emitters
- Maintenance tasks
- Effective watering techniques
Whether you have raised beds, container gardens, or oddly shaped plots, our practical solutions will address common challenges faced by small-space gardeners.
Understanding Drip Irrigation
A drip irrigation system operates on a simple yet effective principle: delivering water directly to plant roots through a network of low-pressure tubing and specialized emitters. Water flows slowly and steadily, typically at rates of 1-4 gallons per hour per emitter, allowing soil to absorb moisture without runoff or pooling.

Advantages Over Traditional Methods
Traditional garden watering methods like sprinklers broadcast water over large areas, losing significant amounts to evaporation and wind drift. Hand watering with hoses requires constant attention and often results in uneven coverage. Sprinkler systems can waste 30-50% of water through evaporation alone, while drip systems achieve water efficiency rates of 90-95%.
Benefits for Small Gardens
Drip irrigation for small gardens excels where space constraints and irregular layouts challenge conventional methods. You can snake tubing around raised beds, between closely planted rows, or through narrow pathways that sprinklers cannot effectively reach. The flexible design accommodates L-shaped plots, terraced gardens, and container arrangements without requiring extensive modifications.
Targeted Watering
The precision of drip delivery means you water only where plants need it, eliminating waste on pathways, walls, or empty soil areas. This targeted approach proves especially valuable in urban gardens where every square foot counts and water conservation matters.
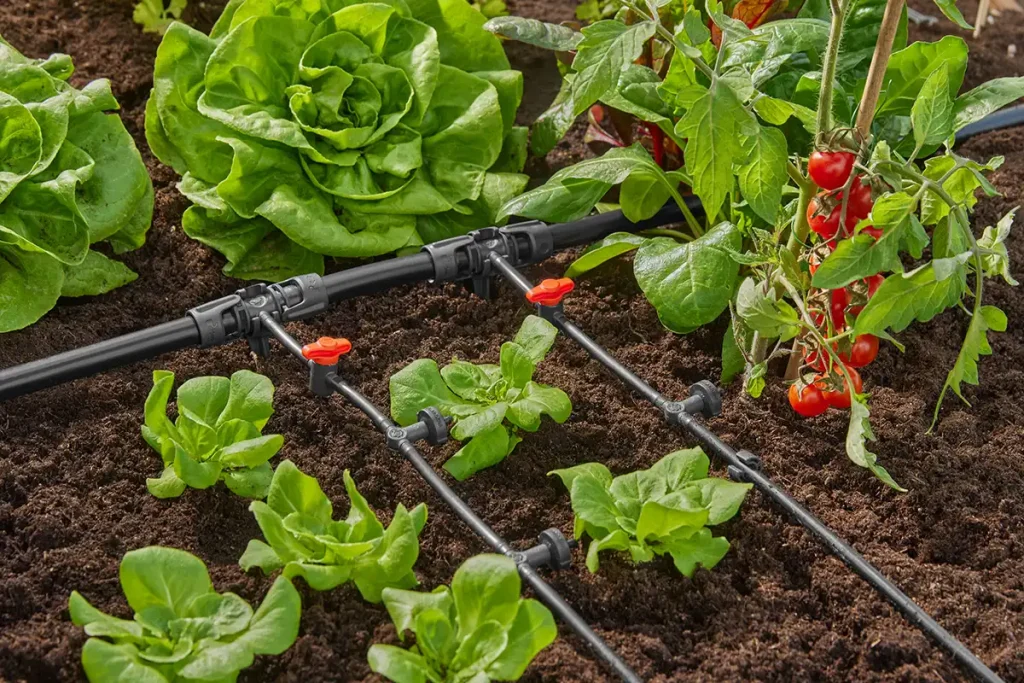
Key Components of a Drip Irrigation Setup
Building an effective drip irrigation system requires understanding seven essential drip irrigation components that work together to deliver water efficiently to your plants.
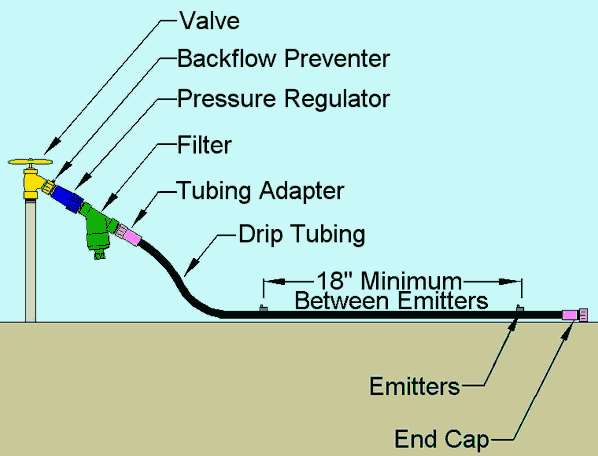
1. Backflow Prevention Device
This critical safety component prevents contaminated water from flowing back into your home’s water supply, protecting your drinking water from garden chemicals or fertilizers. For more information on backflow prevention, which is essential for maintaining a safe irrigation system, check out this guide.
2. Control Valve
Acts as the main shut-off point, allowing you to control water flow to your entire system manually or automatically when connected to a timer.
3. Filter
Removes debris and sediment from your water supply that could clog emitters and compromise system performance. Clean filters ensure consistent water delivery throughout the growing season.
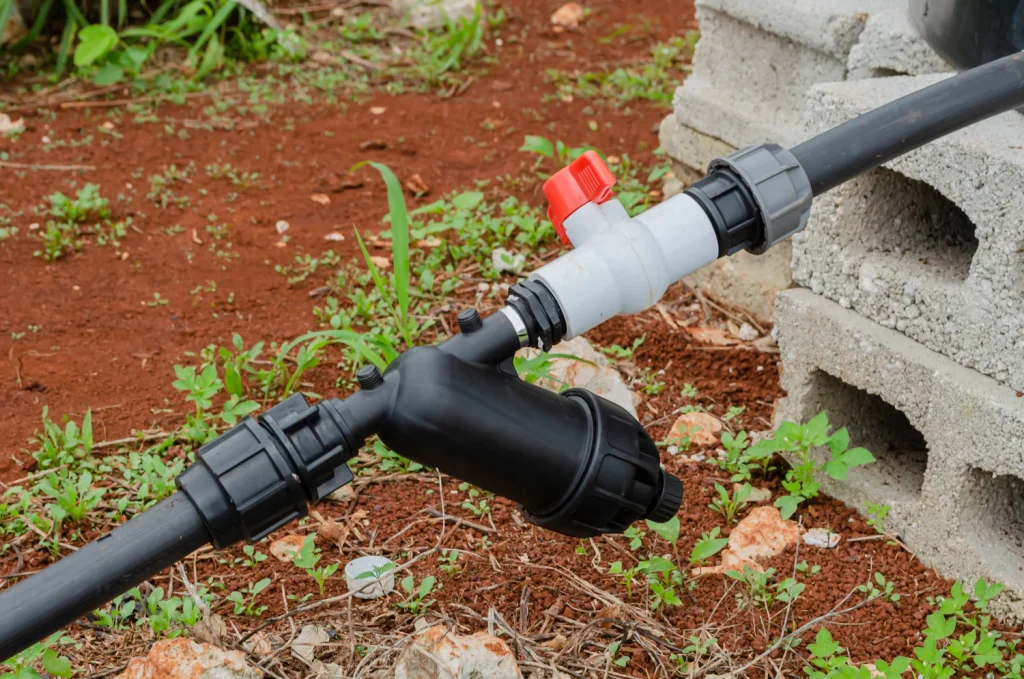
4. Pressure Regulator
Maintains optimal water pressure (typically 15-30 PSI) for drip systems, preventing damage to tubing and ensuring uniform water distribution across all emitters.
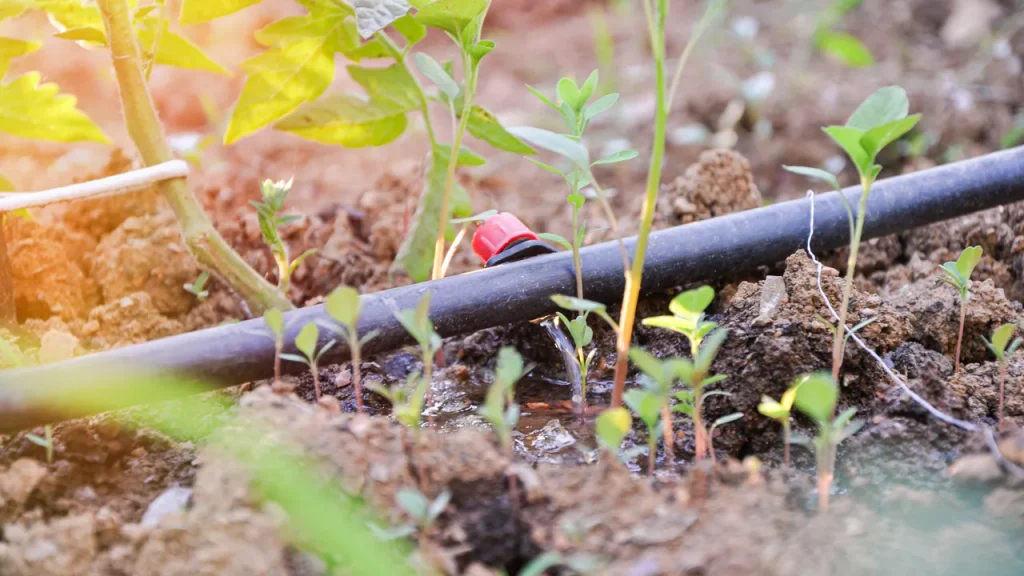
5. Mainline Tubing
The primary distribution network, usually ½-inch or ¾-inch diameter polyethylene tubing that carries water from the source to your garden areas.
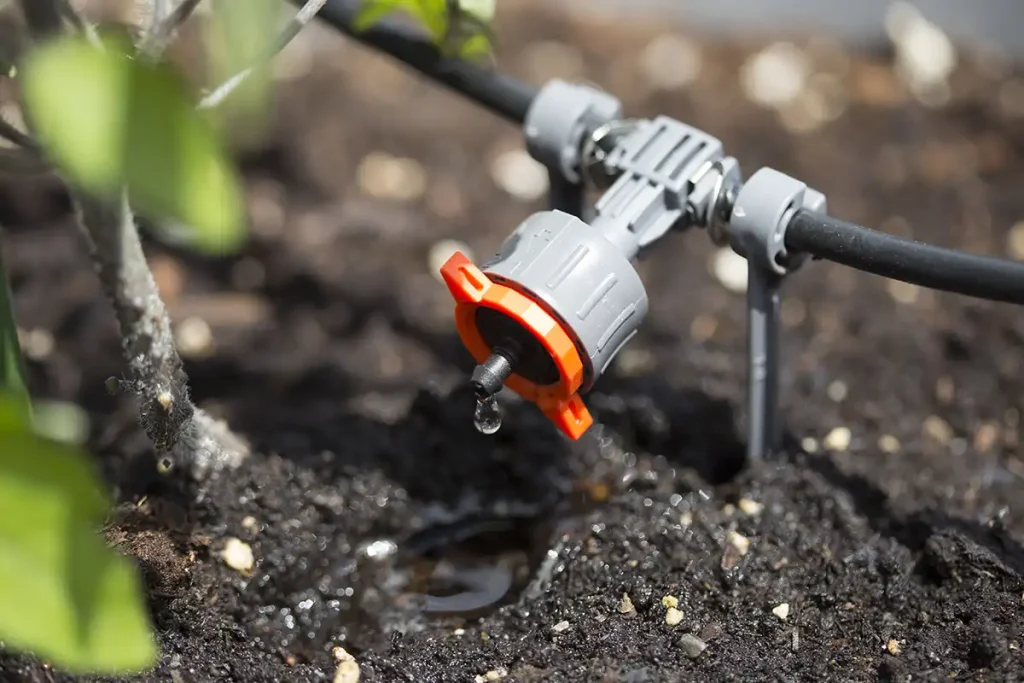
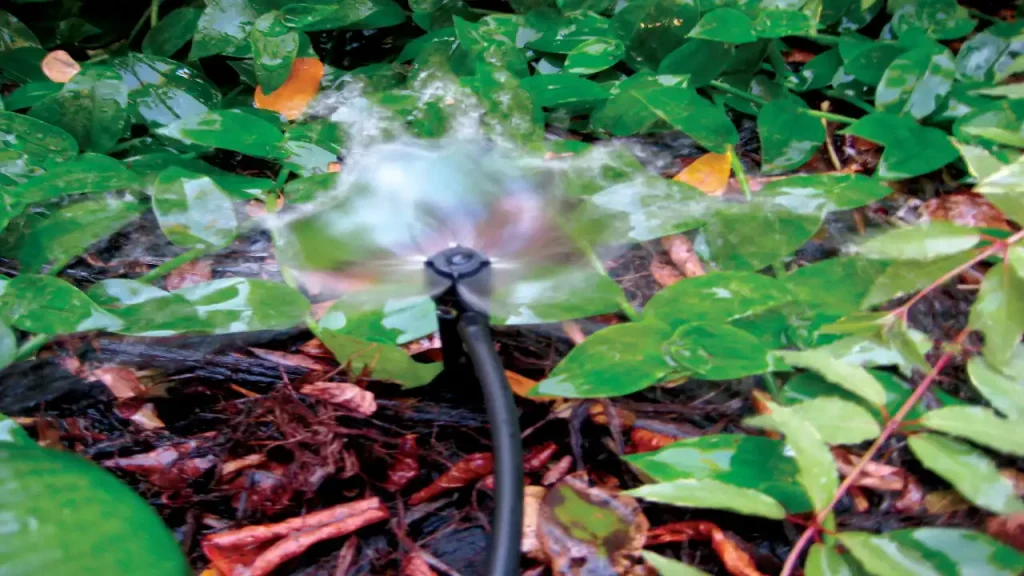
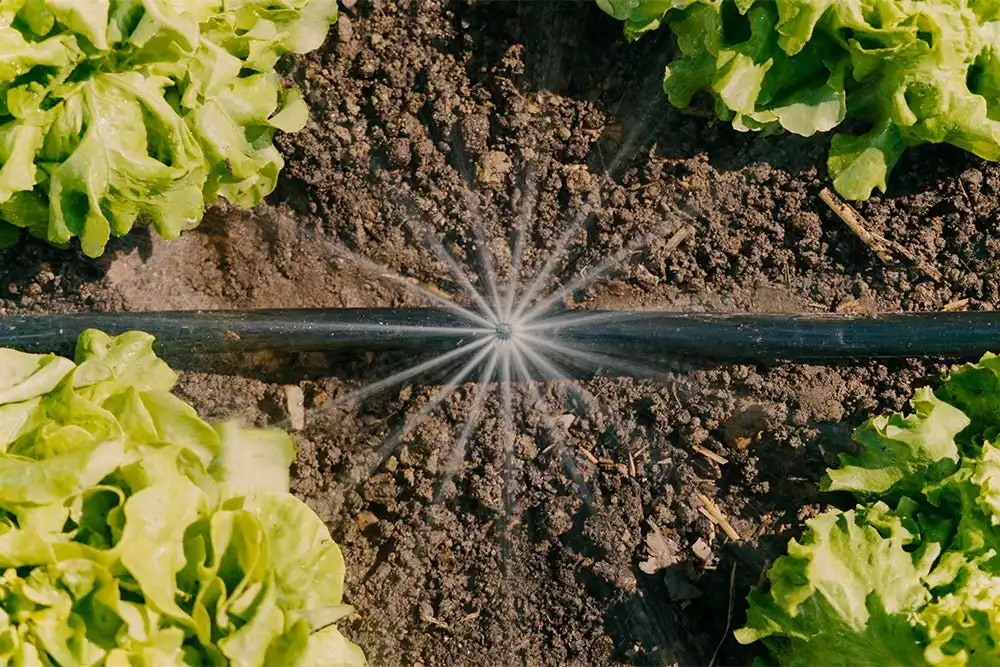
6. Emitters
The heart of your system, these devices control water release rates directly to plant root zones, available in various flow rates from 0.5 to 4 gallons per hour.
7. Connectors and Fittings
Essential joining pieces that create watertight connections between tubing sections, allowing you to customize your system layout for any garden configuration.
By understanding these key components and their functions, you can set up an efficient drip irrigation system that ensures optimal plant growth while conserving water. If you’re considering implementing such a system in your home landscape plantings, resources like this one on micro-irrigation can provide valuable insights and guidance.
Maintaining Your Drip Irrigation System for Optimal Performance
Proper drip irrigation maintenance keeps your system running efficiently throughout the growing season. You need to establish a regular maintenance routine to prevent costly repairs and ensure consistent water delivery to your plants.
Regular System Inspections
Leak inspection should happen monthly during active growing periods. Walk along your tubing lines and check for:
- Water pooling around connections
- Damaged or kinked tubing
- Loose fittings at emitter points
- Cracked or split mainline sections
For a comprehensive guide on identifying and fixing these issues, refer to this resource on leak inspection.
Seasonal Cleaning Tasks
Filter cleaning prevents clogging that reduces water flow to your plants. Remove and rinse filters every 4-6 weeks, or more frequently if you have hard water. Clean emitters by removing them from tubing and soaking in a vinegar solution to dissolve mineral deposits.
Flush your system monthly by removing end caps and running water through the lines. This clears accumulated debris and sediment that can block emitters.
Winter Protection
Winterizing protects your drip irrigation setup for small gardens from freeze damage. Drain all water from tubing, disconnect timers, and store removable components indoors. This simple step prevents expensive spring repairs and extends system lifespan significantly.
For more detailed insights into maintaining your drip irrigation system effectively, you can explore this guide.
Types of Emitters and Their Uses
Selecting the right emitters forms the foundation of any successful drip irrigation setup for small gardens. Each emitter type serves specific watering needs and plant requirements.
1. Drip Emitters
Drip emitters deliver water at slow, controlled rates ranging from 0.5 to 4 gallons per hour. These work perfectly for vegetables, herbs, and smaller perennials that need consistent moisture without overwhelming their root systems. You can install multiple drip emitters around larger plants to ensure even water distribution.
2. Bubblers
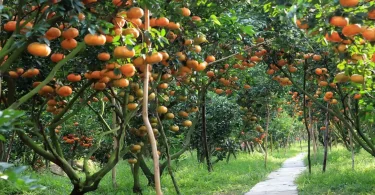
Bubblers provide higher flow rates in circular patterns, making them ideal for trees, shrubs, and plants with extensive root systems. They create a gentle flooding action that penetrates deeper into the soil, encouraging robust root development.
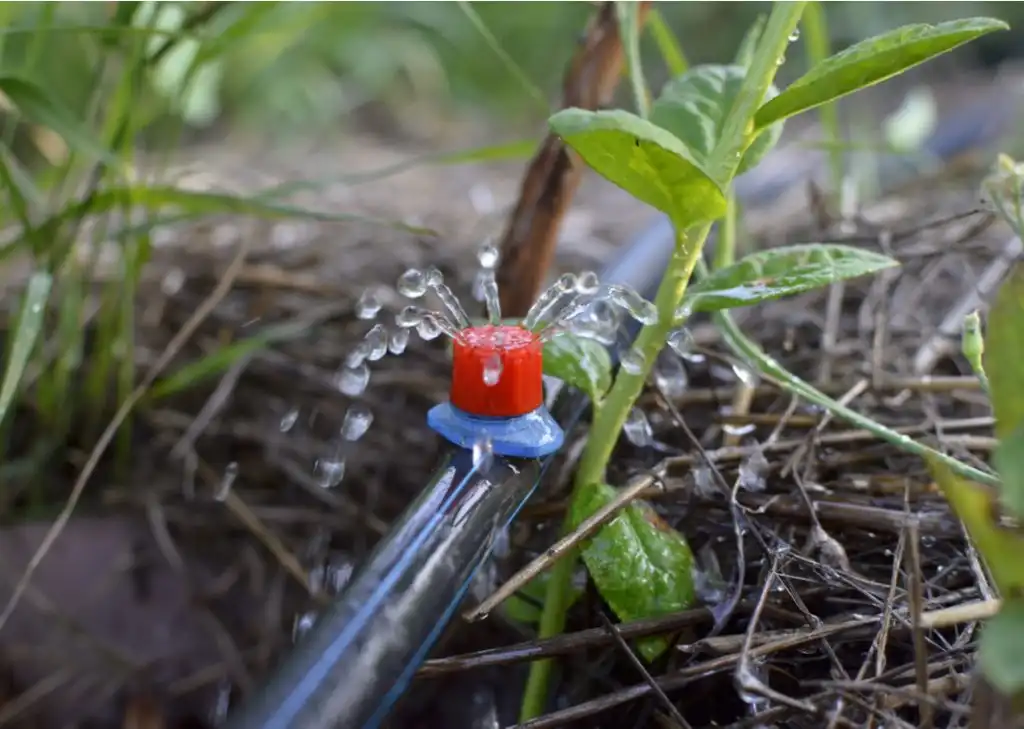
3. Microsprays
Microsprays offer above-ground watering coverage, perfect for densely planted areas or groundcover plants. They create fine mist patterns that cover broader areas while maintaining water efficiency.
4. Pressure-Compensating Emitters
Pressure-compensating emitters represent the gold standard for consistent performance. These specialized components maintain uniform flow rates regardless of pressure fluctuations throughout your system, ensuring every plant receives equal water distribution even on sloped terrain or long tubing runs.
Match your emitter selection to plant size, water requirements, and root zone characteristics. Tomatoes thrive with 2-gallon-per-hour drip emitters, while established fruit trees benefit from multiple bubblers positioned around their drip line.
Step-by-Step Guide to Setting Up a Drip Irrigation System in Small Gardens
Installing your own drip irrigation installation transforms your small garden into an efficient watering system that works around the clock. You can complete this DIY garden irrigation setup in a single weekend with basic tools and materials.
1. Connect to Your Water Source
Start by attaching a backflow prevention device to your outdoor faucet or hose bib. Install an automatic timer directly after the backflow preventer – this becomes the control center for your garden drip irrigation system. Connect your pressure regulator and filter assembly next, ensuring each connection is hand-tight to prevent leaks.
2. Layout Your Main Tubing
Run your ½-inch mainline tubing along the primary pathways of your garden. For raised beds, position the tubing along the center or edge of each bed. In traditional row gardens, lay tubing parallel to plant rows, keeping it approximately 12 inches from the plant base.
3. Secure the System
Use landscape stakes every 3-4 feet to anchor your tubing. Push stakes firmly into the soil, ensuring tubing sits flat against the ground. This prevents movement during watering cycles and protects the system from foot traffic.
4. Strategic Emitter Placement
Install emitters based on your plant’s root zone requirements. Place single emitters 6 inches from small plants like herbs and lettuce. Larger plants such as tomatoes need 2-3 emitters spaced around their root ball. For irregular garden shapes, use flexible ¼-inch distribution tubing to reach plants in corners or awkward spaces.
Watering Strategies for Maximizing Yields
Your watering schedule is crucial for a successful drip irrigation system. With automatic timers, you won’t have to guess when to water, and your plants will receive water consistently, even if you’re not around. Set your timer to water early in the morning between 4-6 AM when evaporation rates are lowest. This way, your plants can absorb moisture before the heat of the day kicks in.
Frequency and Duration Guidelines:
- Run your system 2-3 times per week for 30-45 minutes per session
- Aim to deliver approximately one inch of water weekly
- Check soil moisture 6 inches deep to verify adequate penetration
Seasonal adjustments are important to keep your system responsive to changing weather conditions. During hot summer months, increase watering duration by 25-30%. In spring and fall, reduce your watering schedule, and in freezing climates during winter, you may need to completely shut down the system. Use a rain gauge to monitor rainfall and skip watering sessions when it rains enough.
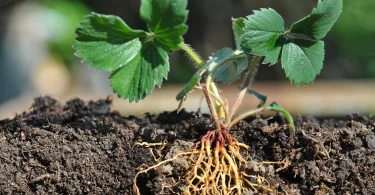
Consistent soil moisture encourages deep root growth by making roots follow water sources downward instead of spreading shallow. This strategy of efficient water use helps create drought-resistant plants with stronger root systems. It also prevents leaf diseases that thrive in wet-dry cycles by maintaining steady moisture levels, resulting in healthier and more productive plants throughout the growing season.
Advantages of Drip Irrigation Over Other Methods in Small Gardens
1. Water Conservation
Water conservation becomes effortless when you switch from traditional sprinklers or hoses to drip irrigation. While overhead sprinklers lose up to 50% of water through evaporation and wind drift, drip systems deliver water directly to root zones with minimal waste. You’ll notice significant reductions in your water bills as the precise delivery eliminates runoff that typically occurs with flood watering methods.
2. Evaporation Reduction
Evaporation reduction stands as one of drip irrigation’s most compelling benefits. Traditional watering methods spray water into the air where sun and wind quickly steal moisture before it reaches plant roots. Drip emitters place water exactly where plants need it, keeping the soil surface drier and reducing evaporation losses by up to 40%.
3. Disease Prevention
Disease prevention becomes automatic with drip irrigation’s targeted approach. Wet foliage creates ideal conditions for fungal diseases like powdery mildew, black spot, and blight. You protect your plants by keeping leaves dry while ensuring roots receive adequate moisture. This targeted watering method eliminates the splash-back effect that spreads soil-borne pathogens to plant leaves.
Your plants develop stronger, deeper root systems when receiving consistent moisture at ground level, creating more resilient gardens that withstand drought stress better than surface-watered alternatives.
Conclusion
Drip irrigation is the best technology for small-space gardeners who want to use water wisely. This system completely changes the way you can increase your garden’s harvest by delivering water exactly where it’s needed and minimizing waste.
Investing in a drip irrigation system for your small garden will bring you many benefits: healthier plants, lower water bills, and significantly less time spent on maintenance.
Your success with drip irrigation depends on three key things:
- Proper installation from the beginning
- Regular maintenance each season
- Smart placement of emitters
Start by setting up the system in one garden bed to get the hang of it before expanding to other areas. Don’t forget to check your filters every month, flush the lines every season, and adjust your watering schedule according to weather patterns.
Take action today – your plants, your water bill, and your gardening satisfaction will thank you for making this smart upgrade to efficient irrigation.