Growing your own fruit trees is one of the most rewarding experiences for any gardener. But if you want more fruit, better quality, or the ability to grow multiple varieties on a single tree, then grafting is the skill you need to master. Grafting may sound complicated, but it’s actually simple once you understand the basics. In this guide, we’ll walk through everything you need to know about how to graft fruit trees for better yield from why grafting works to the step-by-step process, best techniques, tools, and tips for long-term success.
Why Graft Fruit Trees?
1. Improved Fruit Yield
Grafted trees produce fruit faster and more abundantly. You can expect earlier harvests and higher productivity compared to seed-grown trees.
2. Disease-Resistant and Stronger Trees
Rootstocks are specially selected for their resilience. They can resist soil-borne diseases, drought, and pests better than standard trees.
3. Grow Multiple Varieties on One Tree
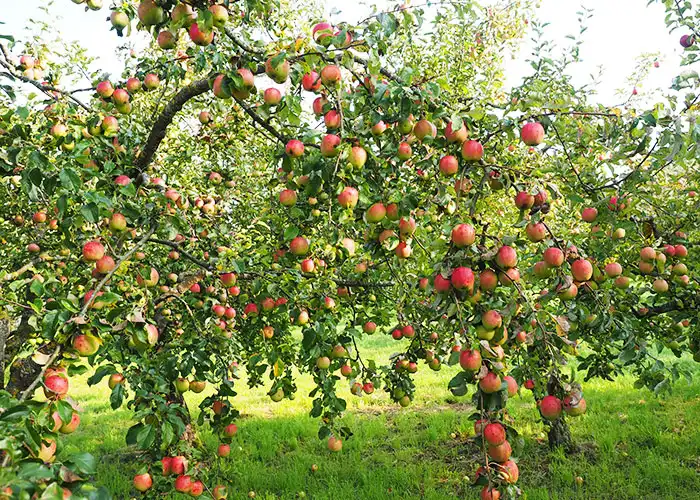
Imagine an apple tree that grows 4 different kinds of apples, all on the same trunk! Grafting makes this possible and is perfect for small spaces.
4. Control Tree Size
Some rootstocks are dwarfing or semi-dwarfing, helping you manage height, space, and ease of harvest.
5. Save Old or Damaged Trees
If an old fruit tree is dying but still produces good fruit, you can graft its scions onto new rootstocks to preserve the variety.
Best Time to Graft Fruit Trees
Timing is everything when grafting. The ideal grafting period depends on your method, but in general:
- Late winter to early spring is the best time for most grafts.
- Trees should be dormant, but the sap should soon start flowing.
- Scion wood should be collected during winter dormancy and stored in a cool place.
This ensures both parts of the graft heal quickly and successfully.
Tools You Need for Grafting
You don’t need many tools, but you do need the right ones:
- Sharp grafting knife or pruning knife
- Grafting tape or parafilm
- Pruning shears
- Labels and permanent marker
- Rubbing alcohol (to sterilize tools)
- Rootstock and scion wood
A clean, sharp blade is crucial because smooth cuts increase grafting success.
Types of Grafting Methods for Fruit Trees
Before choosing a grafting method, it’s good to understand the most common techniques. Each method has its advantage depending on the tree and situation.
1. Cleft Grafting
Best for joining a small scion to a larger rootstock or branch. Ideal for apples and pears.
2. Whip-and-Tongue Grafting
Very strong and effective method when both scion and rootstock are of similar diameter.
3. Bud Grafting (T-Budding)
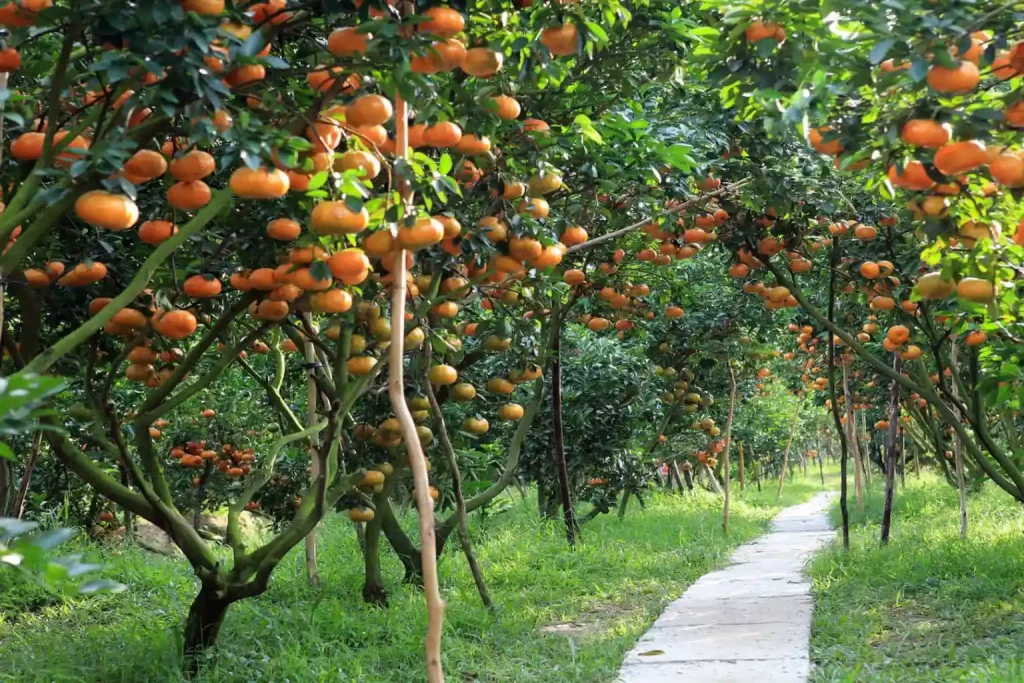
A single bud is inserted into the rootstock. Great for peaches, plums, and citrus.
4. Bark Grafting
Used for top-working older trees with thicker trunks.
5. Bridge Grafting
Used to repair bark damage or rodent injury.
How to Graft Fruit Trees for Better Yield – Step-by-Step Guide
Below is a simple, clear step-by-step method using the Whip-and-Tongue Graft, one of the most reliable methods for home gardeners.
Step 1: Choose Healthy Scion Wood
- Select a branch from last season’s growth.
- It should be about the thickness of a pencil.
- Cut 8–10-inch pieces with at least 3–4 buds.
- Store them wrapped in damp paper in a fridge until use.
Step 2: Prepare the Rootstock
Choose a rootstock of similar diameter. Make sure:
- It is healthy
- It has been watered
- Its bark is flexible and not dry
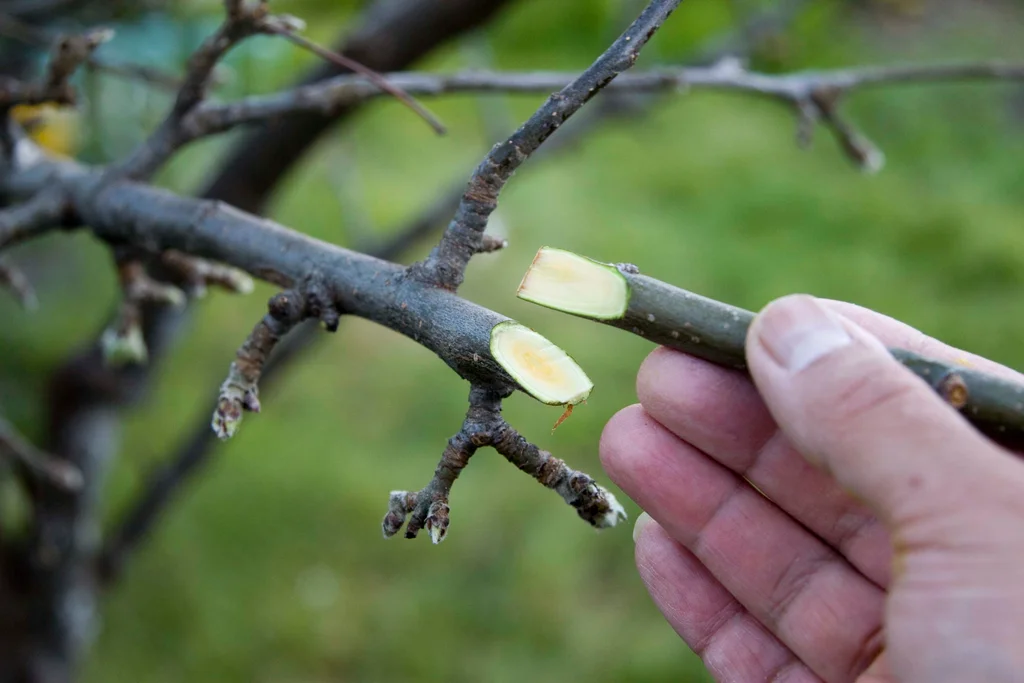
Step 3: Make Matching Cuts
Using a sharp knife:
- Cut a long diagonal slice on both rootstock and scion.
- Then make a small tongue cut on each piece so they interlock.
This increases contact surface and creates a stronger union.
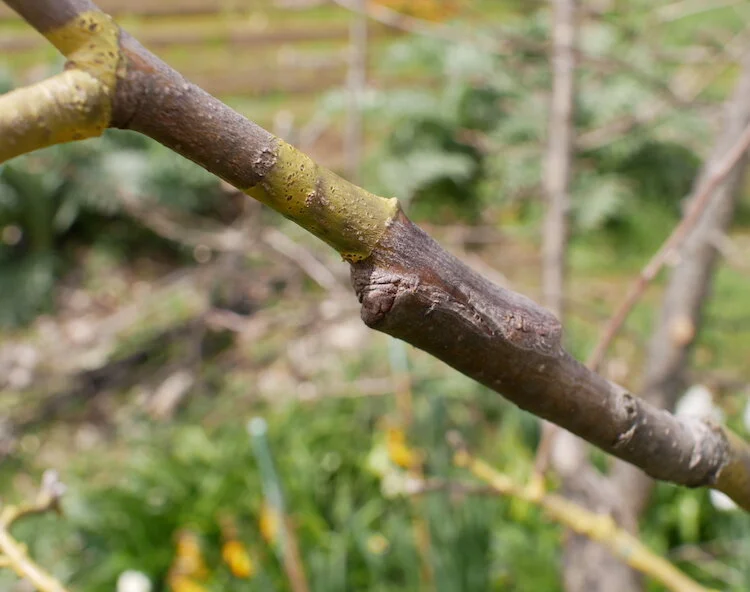
Step 4: Join the Pieces
Fit the scion and rootstock together so the cambium layers (green tissue under the bark) line up exactly. This is the most important part — without good cambium contact, the graft won’t take.
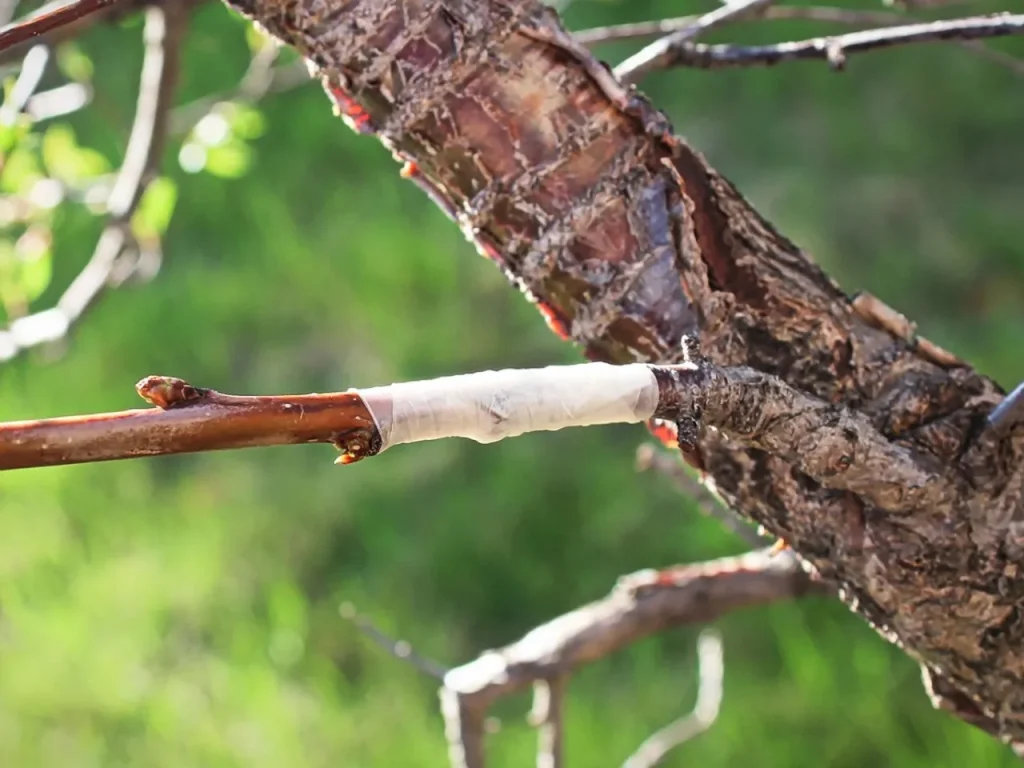
Step 5: Wrap the Graft
Use grafting tape, parafilm, or rubber bands to tightly wrap the connection. This keeps it:
- Moist
- Stable
- Protected from pests
Apply grafting wax if needed.
Step 6: Aftercare
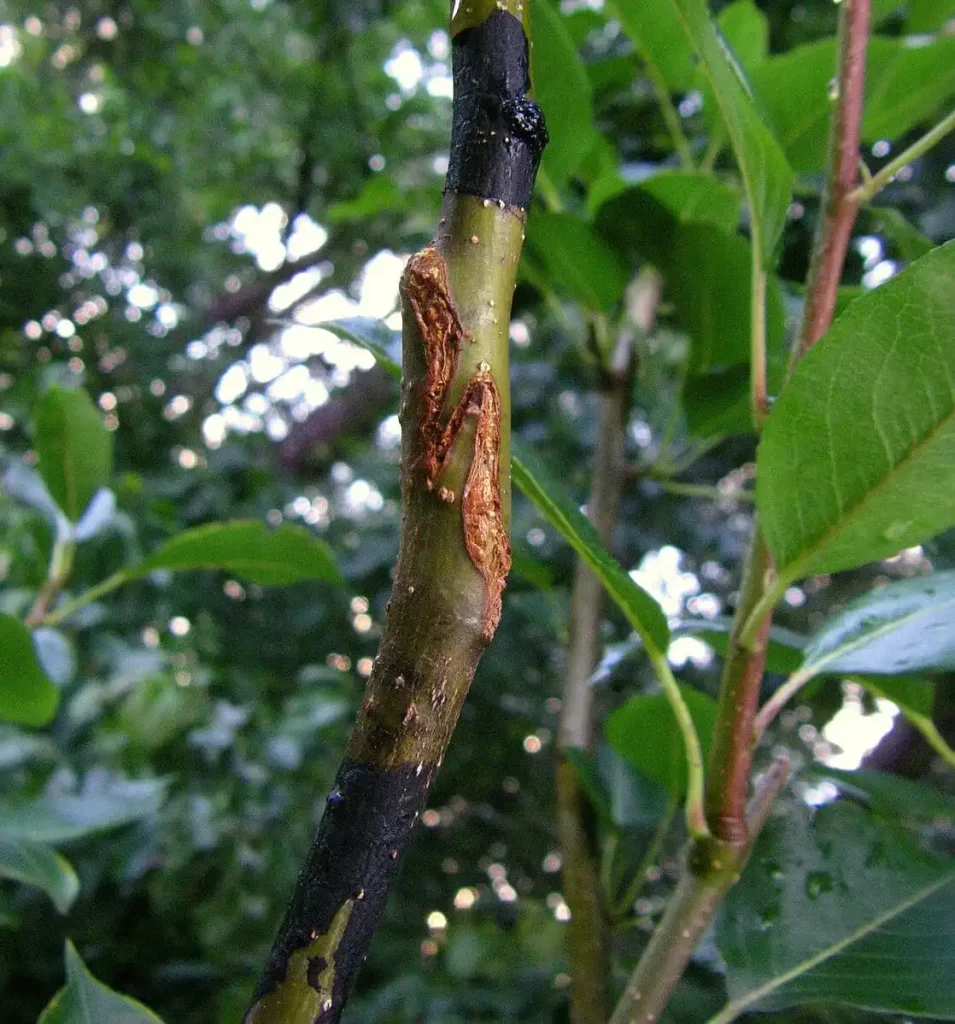
- Keep the tree well-watered.
- Protect from extreme heat or frost.
- Remove any shoots growing below the graft point.
- Loosen tape after a few months to avoid girdling.
Within 6–10 weeks, you should see buds swelling and leaves emerging, a sign your graft is successful.
Comparison Table of Grafting Methods
| Grafting Method | Best For | Difficulty Level | Success Rate | Best Season |
|---|---|---|---|---|
| Cleft Grafting | Apples, pears, large branches | Easy | High | Late winter – early spring |
| Whip-and-Tongue Grafting | Apples, pears, similar-sized stems | Moderate | Very High | Early spring |
| T-Budding | Citrus, peaches, plums | Easy | High | Late summer |
| Bark Grafting | Large, mature fruit trees | Moderate | Medium–High | Spring (when sap flows) |
| Bridge Grafting | Tree repair (rodent or sun damage) | Hard | Medium | Spring |
Conclusion
Learning how to graft fruit trees for better yield is one of the most valuable skills a gardener can acquire. Whether you want stronger trees, earlier fruiting, improved varieties, or multiple fruits on a single trunk, grafting opens the door to endless possibilities.
With the right technique, proper timing, and a little practice, anyone can master grafting. Start with simple methods like whip-and-tongue or cleft grafting, choose healthy scion wood, and follow consistent aftercare. Soon, you’ll be enjoying abundant harvests from your own custom-built fruit trees.