Picture this: It’s a crisp fall day. You step into your backyard and pick a shiny red apple straight from the branch. The crunch is perfect, the flavor sweet and fresh. No store-bought fruit can match it. Even if your yard is tiny, like a city patio or a small suburban plot, you can make this happen.

Small backyard orchards bring fresh fruit right to your door. They cut down on grocery trips and boost your green thumb. Plus, they help the planet by growing food at home. This guide shows you how to grow apple trees in small backyard orchards. We’ll cover everything from picking the best types to harvesting your own crop. It’s all set for tight spots, like under 500 square feet.
Growing apples in limited space has hurdles, such as fitting trees without crowding or dealing with shade. But the wins are huge. You get fruit for months, save money on produce, and enjoy the whole process year after year. Think of your yard turning into a mini farm that feeds your family. Ready to start? We’ll walk through each step. By the end, you’ll see your own orchard taking shape.
Choosing the Right Apple Varieties to Grow Apple Trees in Limited Space
Space matters most when you plan a small backyard orchard. Pick trees that stay compact but still give plenty of fruit. Dwarf and semi-dwarf types work best. They fit patios, fences, or narrow beds without taking over. Look for ones that resist bugs and sickness too. This keeps your work easy.

Think about your local weather. Apples need the right chill hours to bloom. Check your USDA hardiness zone, most spots from 4 to 8 suit them well. Visit a nearby nursery for picks that thrive there. They know what’s fresh and fits small setups.
Cross-pollination boosts yields. Some apples need a buddy tree to set fruit. In a tiny yard, plant two that flower at the same time. This way, bees do the work, and you get more apples from less room.
Understanding Dwarf and Semi-Dwarf Rootstocks
Rootstocks decide how big your tree grows. Dwarf ones, like M9, keep height at 8 to 10 feet. They’re great for pots or close planting. Semi-dwarf, such as M26, reach 12 to 15 feet but still save space.
These roots control size yet let the tree bear tasty fruit. No skimping on quality here. Space them 8 to 12 feet apart in rows. In a 20-by-20-foot yard, fit four trees easy.

Why choose them? They start fruiting sooner, often in two years. Full-size trees wait five or more. For small backyard orchards, this means quicker rewards.
Selecting Varieties for Your Climate and Taste Preferences
Match apples to your taste and area. Honeycrisp offers crisp sweetness, perfect for snacks. Liberty fights off scab disease, a big plus in wet climates. Both do well in zones 4 to 7.
Self-fertile kinds like Golden Delicious work alone. But for best results, mix two or three. Try Gala for early harvest and Fuji for late ones. This stretches your season.

Check your local extension office. They list top picks for your spot. Aim for disease-tough types to cut sprays. In small spaces, healthy trees mean less hassle.
Pollination Considerations in Compact Orchards
- Apples often need partners to make fruit. Plant Gala near Fuji, they bloom together and help each other. Or add a crabapple tree; it’s small and pollinates many kinds.
- In tight yards under 500 square feet, group them close. Bees zip between branches fast. This setup maxes fruit without extra land.
- What if space is super small? Use one self-fertile tree and a potted crabapple. Watch blooms match in spring. Your harvest jumps up quick.
Site Selection and Soil Preparation Essentials
- Pick the right spot first. Apples love sun and good dirt. In small backyards, measure light and check soil type. This sets up success from day one.
- Poor spots lead to weak trees or no fruit. But smart tweaks fix most issues. Test everything before planting. You’ll avoid big fixes later.
- Drainage keeps roots happy. Wet feet cause rot. Prep well, and your orchard thrives even in clay or sand.
Assessing Sunlight and Space Requirements
- Apples need 6 to 8 hours of sun each day. South-facing walls get the most light. In shady yards, use mirrors or white paint to bounce rays.
- Vertical growing saves room. Train trees as espaliers against fences. Branches fan out flat, like art on your wall. Fits in 4-foot-wide strips.
- Measure your yard. A 10-by-10-foot bed holds two dwarfs. Add paths for easy reach. Sun maps online help spot best areas.
Testing and Improving Soil Quality
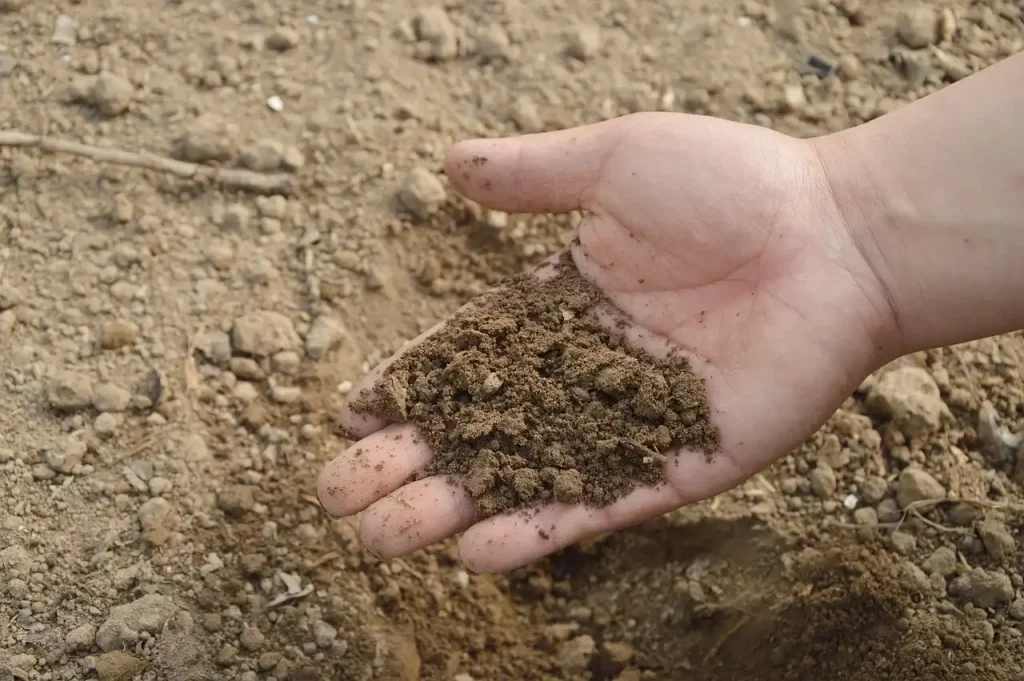
- Soil pH should hit 6.0 to 7.0 for apples. Grab a kit from a garden store, easy to use. If too acid, add lime. Too alkaline? Mix in sulfur.
- Boost with compost. It adds nutrients and holds water. Do a jar test: Shake dirt with water, let settle. See if it’s clay, sand, or loam.
- Use slow-release fertilizers for fruit trees. Apply in spring. This feeds roots without burn in small beds.
Drainage and Site Preparation Tips
- Skip low spots that puddle. Water kills roots fast. Build raised beds if needed—12 inches high works.
- Mix in perlite or sand for better flow. It lets excess water escape. Set up drip lines for steady drinks, no waste.
- In pots, use pots with holes. Fill with orchard mix. This mimics good ground in tiny yards.
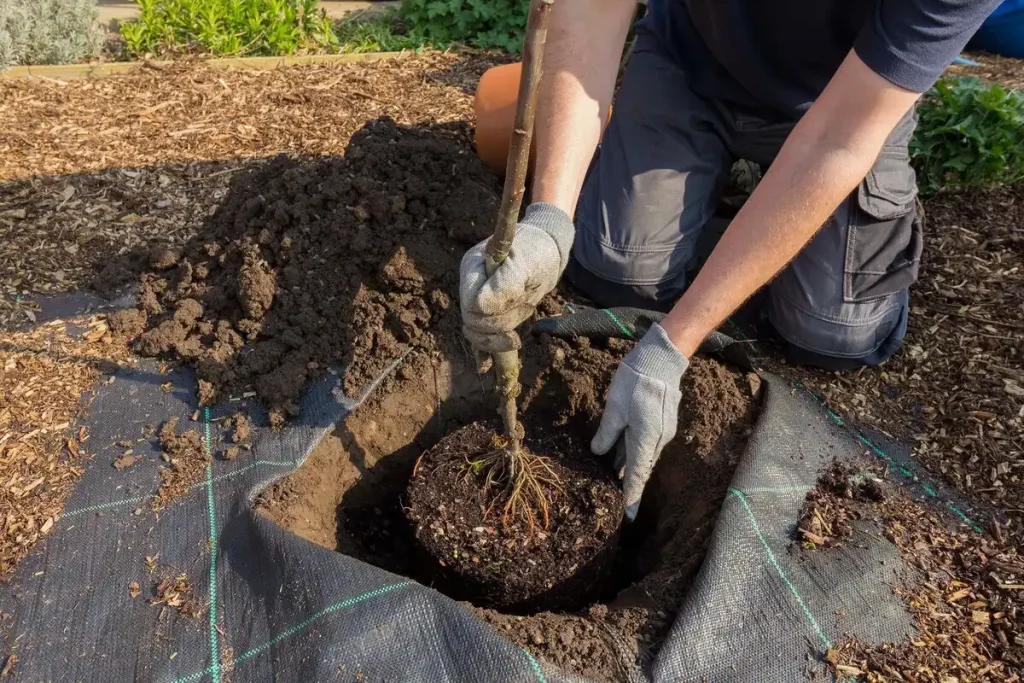
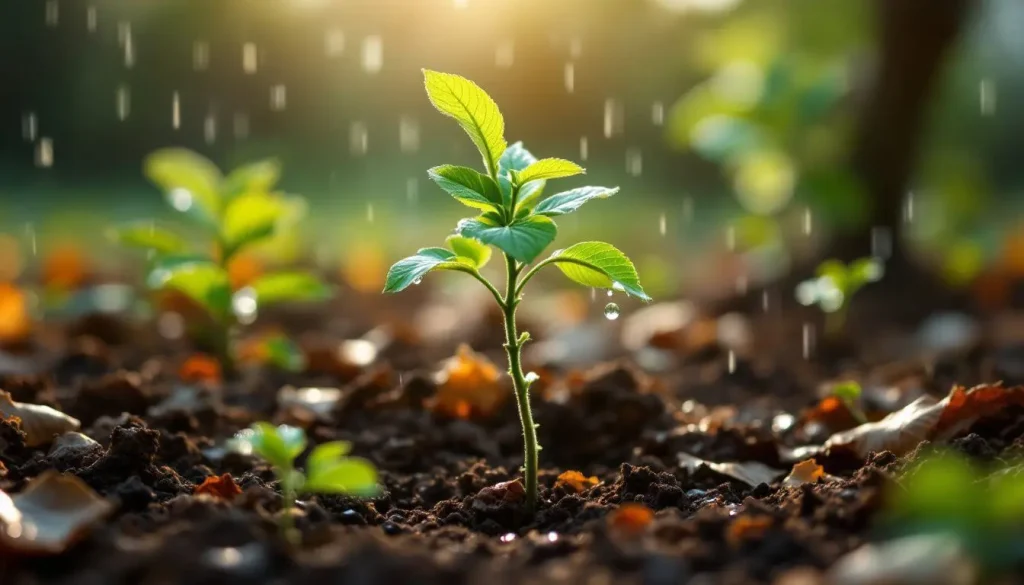
Planting and Initial Care for Young Trees
- Plant in spring or fall. Roots settle before heat or cold hits. Buy from trusted spots—healthy starts count.
- Dig right, water smart, and prune light. Young trees need this TLC. In a year, they’ll stand strong.
- Watch for wind or animals. Support helps them grow straight in small spaces.
Best Timing and Methods for Planting
- Early spring beats for bare-root trees. Soil warms, roots spread. Fall works too, if winters mild.
- Steps: Dig a hole twice root width, same depth. Set graft union above ground—it’s the bump. Backfill loose soil, tamp firm.
- Water deep right away. Add mulch later. This locks in moisture for new growth.
Watering and Mulching Basics
- New trees drink 1 to 2 inches weekly first year. Soak slow to reach deep. Taper off as roots grow.
- Mulch 2 to 3 inches thick. Wood chips or straw block weeds. Keeps soil cool in summer, warm in winter.
- Check soil moisture. Finger test: Dry an inch down? Time to water. No guesswork.
Initial Pruning and Support Structures
- Prune at plant time. Cut weak tips to shape. Aim for open center.
- Stake tall ones against wind. Tie loose, check often. In small yards, this stops leaning.
- Train low branches horizontal. Spurs form there for fruit. Start young for best form.
Ongoing Maintenance and Pest Management

- Care year-round keeps trees productive. Prune in winter, feed in spring. Watch for pests early.
- Organic ways fit home setups. No harsh chemicals needed. Your family eats safe.
- Common woes like moths or scab? Spot them quick. Fix with nature’s helpers.
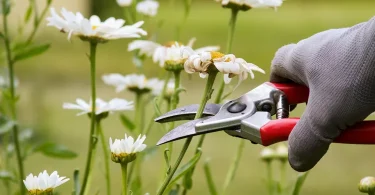
Seasonal Pruning Techniques
- Winter’s prune time. Remove dead or crossed limbs. Opens air flow, cuts disease.
- Aim for vase shape in tight spots. Three to four main arms. Follow extension guides—they show cuts.
- Use sharp shears, clean them. Do it dry days. Trees heal fast.
Fertilizing and Nutrient Management
- Soil tests guide feeds. Balanced NPK, like 10-10-10, in spring. One pound per tree.
- Compost tea monthly in growth. It adds bugs that help soil. No overload for small roots.
- Watch leaves. Yellow? More nitrogen. Pros check yearly.
Organic Pest and Disease Control
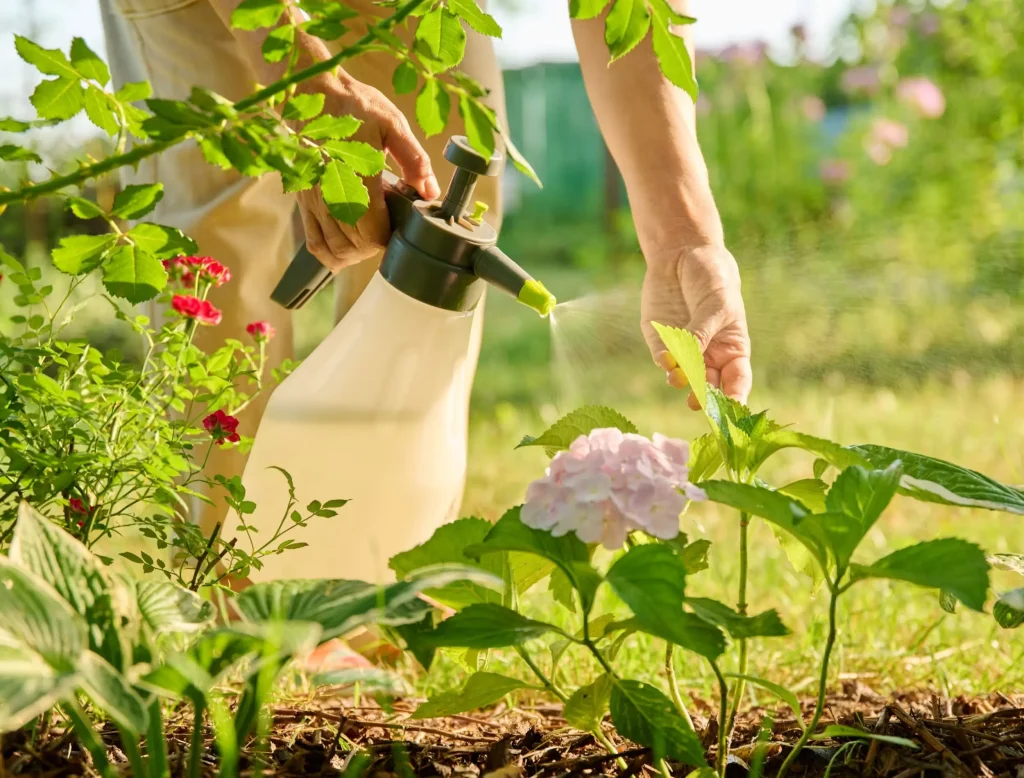
- Scout for aphids or scab weekly. Neem oil sprays deter them. Safe and simple.
- Bring in ladybugs for bugs. They eat pests natural. Order online.
- Rotate crops in beds. Breaks disease cycles. Clean up falls leaves too.
Harvesting, Storage, and Long-Term Success
- Ripeness comes when color shifts. Taste one to check. Pick often for best flavor.
- Store right to last weeks. Use your crop in pies or sauce.
- Troubleshoot as you go. Journal helps track wins and fixes.
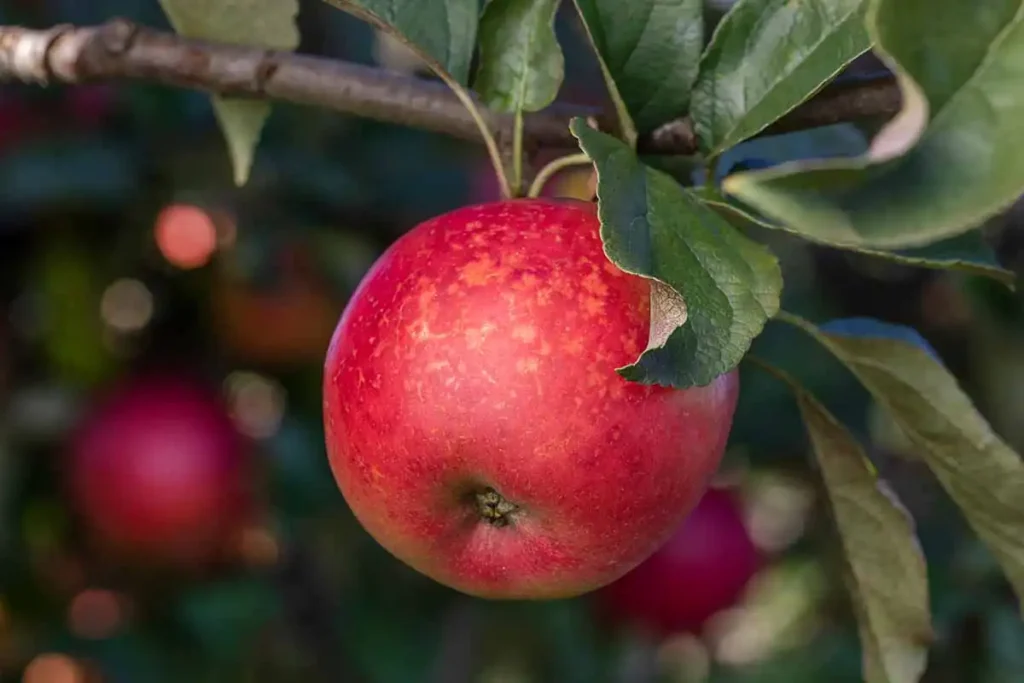
Recognizing Ripeness and Harvesting Tips
- Green turns yellow-red on many. Sweet taste seals it. Don’t wait too long—birds love ripe ones.
- Twist gentle to pick. Support branch. Harvest every week for stages.
- Ladders for high fruit. In small orchards, most stay low.
Storing and Using Your Homegrown Apples
- Cool spot at 32 to 40°F holds them two months. Crisper drawer works. Wrap in paper to slow ripening.
- Make apple butter or crisp. Freezes well too. Share with neighbors.
- Varieties differ. McIntosh store short; Granny Smith last longer.
Scaling Up and Troubleshooting Common Issues
- Add espalier for more trees. Graft branches for new types. Grows on old stock.
- Poor fruit? Check pollination or feed. Journal weather and care.
- Start with two trees. Builds skill. Expand as you learn.
Conclusion
Growing apple trees in small backyard orchards boils down to smart picks and steady care. Choose dwarf varieties that fit your space and climate. Prep soil and site for strong starts. Prune, feed, and guard against pests to keep things thriving.
You gain fresh fruit, savings, and pride. Two or three trees reward quick—fruit in years, not decades. The joy of picking your own beats any store run.
Assess your yard now. Grab a shovel or pot. Plant that first tree. Your fruitful patch awaits.