Imagine reaching for fresh, vibrant herbs right from your kitchen windowsill, no matter the season. Growing chives indoors makes this dream a simple reality. Their mild oniony flavor can make everyday dishes truly pop. Plus, they’re so easy to grow, even for new gardeners.
Bringing an indoor herb garden to life offers many benefits. You get a steady supply of fresh ingredients. You save money at the grocery store. There’s also a deep satisfaction in tending to your own food. Chives are particularly forgiving. They don’t need a lot of space or fancy gear to thrive.
This guide will show you how to grow chives indoors from start to finish. We’ll cover everything from picking the right plant to harvesting. Soon, you’ll have a continuous supply of this culinary favorite. It’ll be right in your own home.
1. Choosing Your Chive Starting Method
Starting your indoor chive patch begins with a choice. You can pick the method that best fits what you have and how much effort you want to put in. Each way has its own perks.
1.1 Starting Chives from Seed
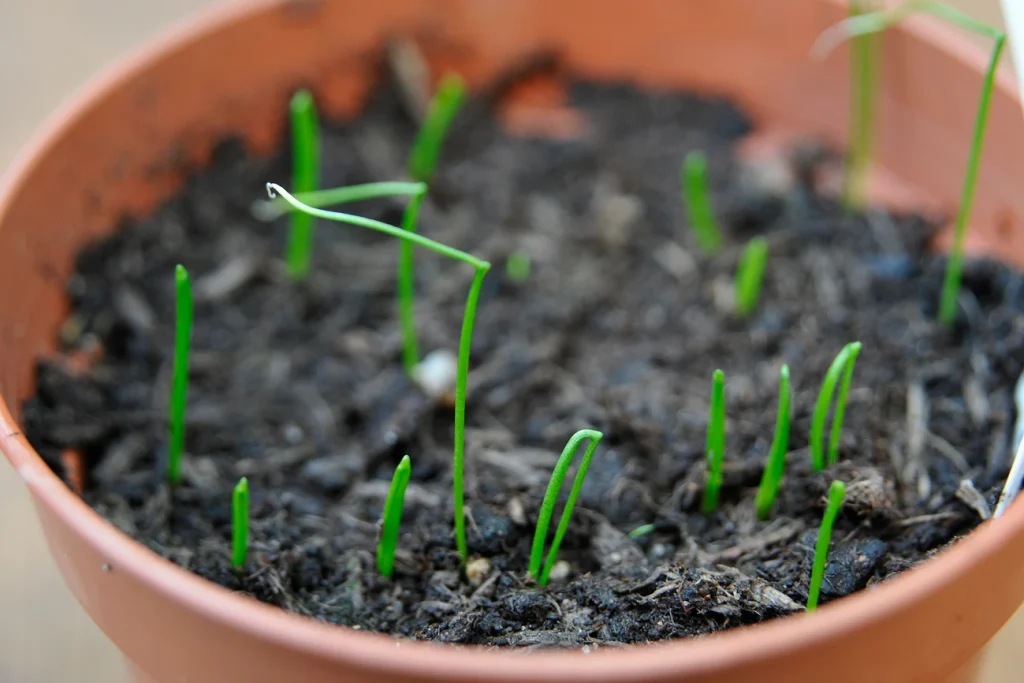
Growing chives from seed is a rewarding way to begin. It lets you watch your plants grow from the very start. Chive seeds are tiny, but they hold a lot of potential.
To get going, pick high-quality chive seeds from a trusted supplier. Good seeds mean better chances of strong, healthy plants. Starting chives from seed indoors works best in late winter or early spring. This timing gives them a head start before warmer weather hits.
1.2 Propagating from Existing Plants
Do you know someone with a big chive plant outside? Or maybe you have one yourself? You can easily make new indoor chive plants from an established one. This method is often quicker than starting from seed.
Carefully divide a mature chive plant into smaller sections. Use a sharp, clean knife to cut through the root ball. Make sure each new section has some roots and a few green shoots. Many gardeners divide chive plants every 2-3 years to keep them healthy and growing strong. This simple division is a perfect way to get new indoor plants.
1.3 Purchasing Seedlings or Small Plants
For the quickest results, buy chive seedlings or small plants. This skips the waiting game of seeds or dividing. It’s perfect if you’re eager to get fresh chives right away.
When picking chive seedlings at a garden store, look for healthy, green plants. Avoid any with yellow leaves or signs of pests. Buying from local nurseries is a smart move. It helps local businesses. Plus, these plants are often better suited for your local growing conditions, even indoors.
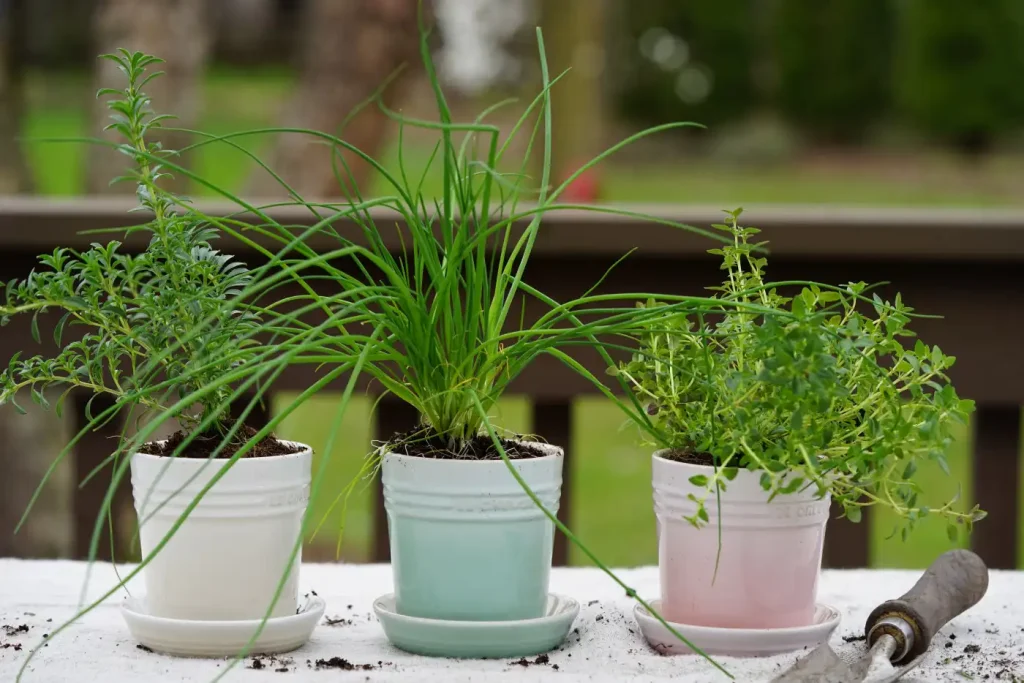
2. Setting Up the Perfect Indoor Environment
Once you have your chives, creating the right home for them is key. Good light, the right pot, and good soil will make all the difference. Think of it as building a comfy, well-lit room for your new green friends.
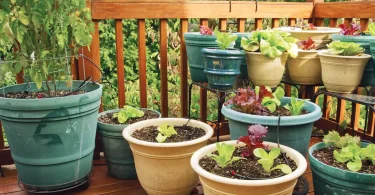
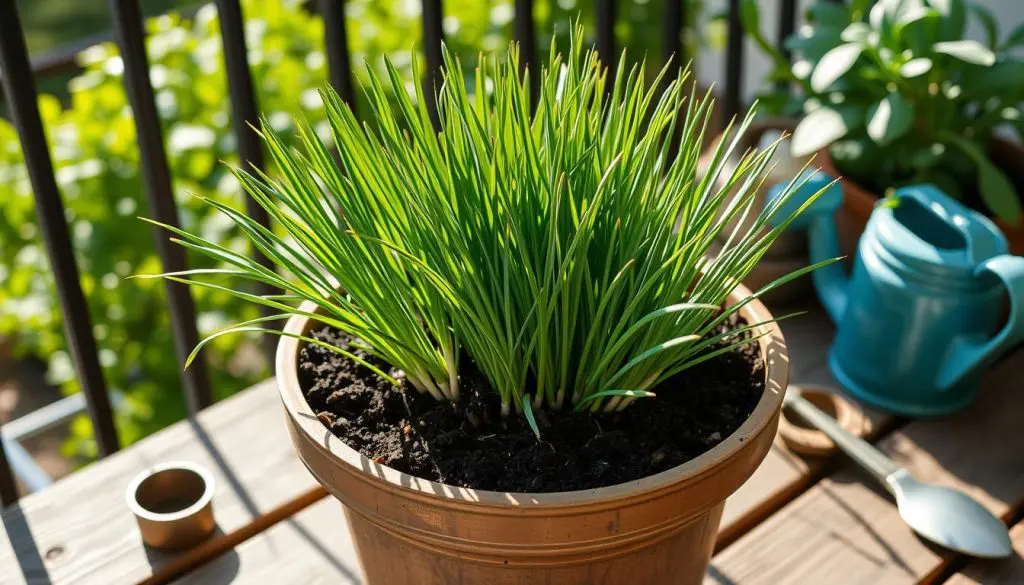
2.1 Selecting the Right Container
The pot you choose for your indoor chives matters a lot. It needs to give their roots room to grow. A pot at least 6 inches deep is a good start for healthy root growth.

The most important part? Drainage holes. These holes let extra water escape. Without them, your chives can get root rot, which is a common plant killer. Don’t skip this step!
2.2 Choosing the Ideal Potting Mix
The right soil mix keeps your chives happy and fed. They need soil that drains well but also holds onto some moisture and nutrients. This balance is important for strong growth.
Always use a high-quality, sterile potting mix made for container plants. This type of soil helps prevent diseases and pests. You might also add some perlite or vermiculite. These materials make the soil lighter and help with drainage.
2.3 Providing Adequate Light
Chives are sun lovers. They need plenty of light to grow their best indoors. Giving them enough light keeps their flavor strong and their stalks firm.
Chives need at least 6 hours of direct sunlight each day. A south-facing windowsill is usually the best spot for natural light. If natural light is lacking, use a grow light. Full-spectrum LED grow lights are great. Keep them on for 12-14 hours daily to mimic outdoor sun.
2.4 Maintaining Optimal Temperature and Humidity
Chives are pretty easygoing about temperature. They do have a sweet spot, though. Keeping the room temperature between 60-70°F (15-21°C) will give you the best results.
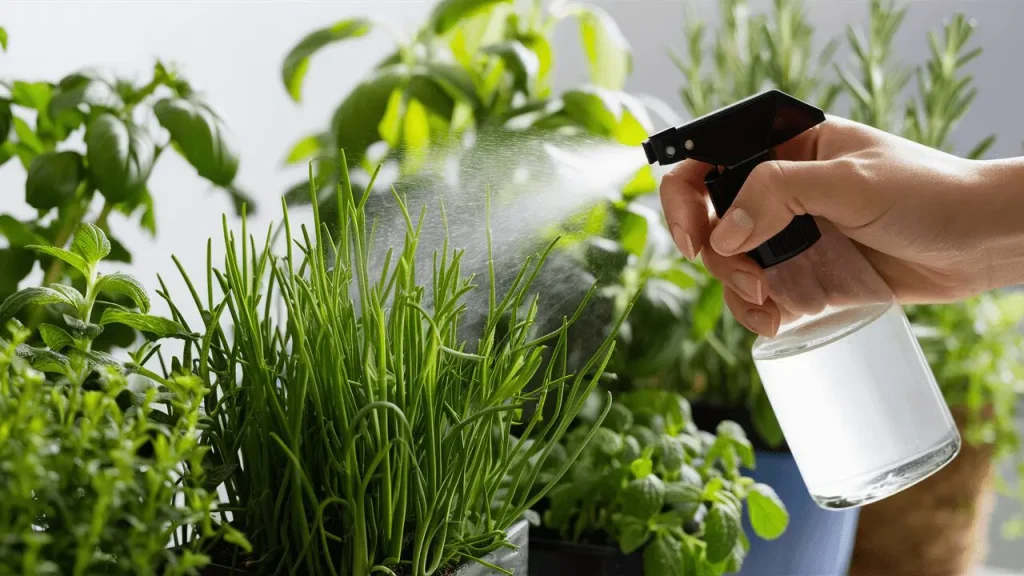
Indoor air can sometimes be dry, especially in winter. Chives appreciate a bit of humidity. You can mist their leaves with water a few times a week. Or, place their pot on a tray filled with pebbles and a little water. Just make sure the pot isn’t sitting directly in the water.
3. Watering and Feeding Your Chives
Proper watering and feeding keep your chives looking their best. It helps them stay green and flavorful. These simple tasks are vital for a healthy indoor herb garden.
3.1 Watering Wisely
Watering chives correctly means giving them enough without drowning them. Overwatering is a common mistake for many indoor plants. It can cause a lot of problems.
Check the soil moisture by poking your finger about an inch deep into the soil. If it feels dry, it’s time to water. Always water at the base of the plant. This helps prevent fungal issues on the leaves.
3.2 Fertilizing for Lush Growth
Chives grow fast, so they use up nutrients in their soil. A little extra food helps them stay strong and productive. They love a good meal now and then.
Use a balanced liquid fertilizer, like a 10-10-10 mix. Make sure to dilute it to half strength. Feed your chives every 4-6 weeks when they are actively growing. This keeps them producing those tasty green shoots.
4. Ongoing Care and Maintenance
Taking care of your chives after they’re planted is easy. Regular trimming keeps them growing. Watching for problems helps you fix them fast. It’s like giving your chives a little spa treatment.
4.1 Pruning for Continuous Harvest
Pruning your chives is just another way of harvesting them. It encourages the plant to make new, fresh growth. This means more chives for you to enjoy.
When you cut, aim for about an inch above the soil line. This leaves enough of the plant to regrow quickly. Harvesting regularly is a natural pruning method. It keeps your chive plant bushy and full.
4.2 Dealing with Pests and Diseases
Indoor plants can sometimes attract tiny bugs. But don’t worry, chives are quite resilient. A quick check now and then helps catch problems early.
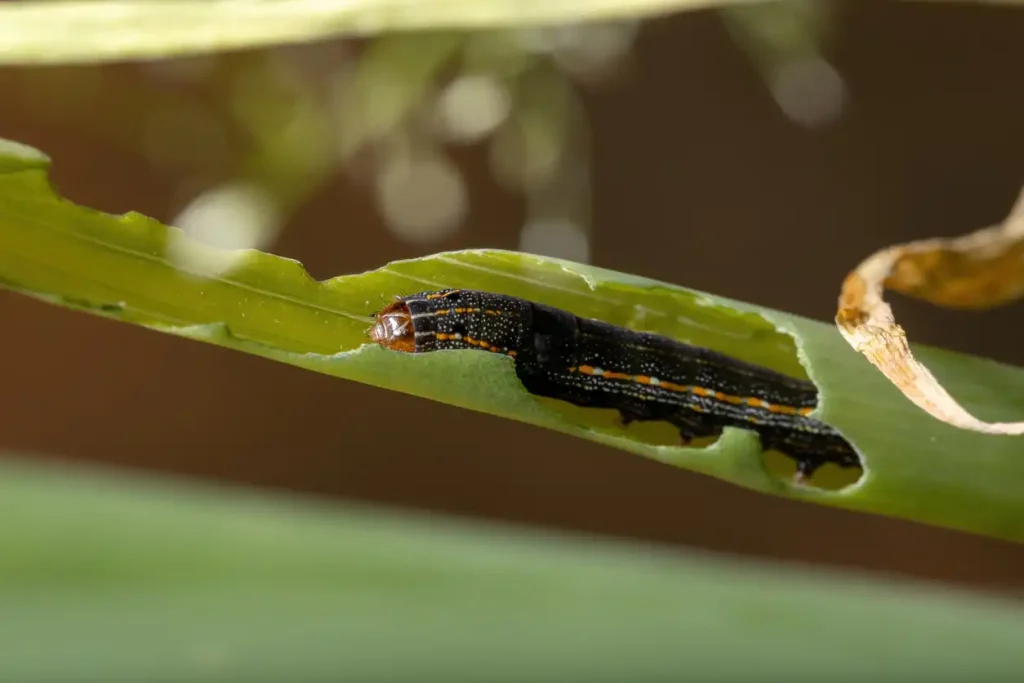
Look at your plants regularly for common pests like tiny aphids or spider mites. If you spot them, natural remedies work well. Try insecticidal soap or neem oil. Many university extension offices and horticultural societies offer great advice on safe, organic pest control for herbs.
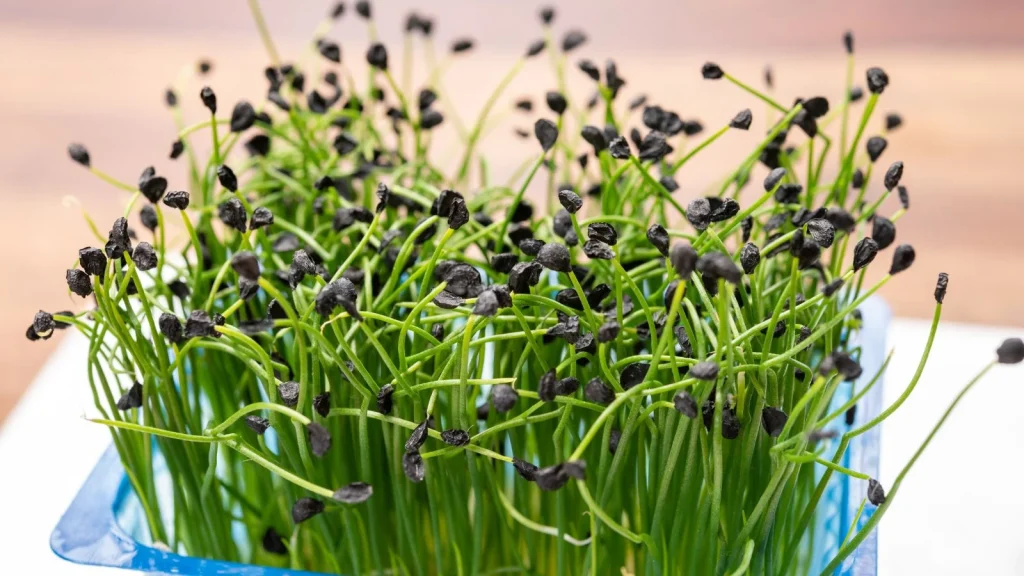
4.3 Managing Flowering
Chives will sometimes send up a flower stalk. These pretty purple blossoms look nice. But they also signal a change in the plant’s energy.
Removing flower buds before they open helps. This pushes the plant’s energy back into growing more leaves. You’ll get a bigger harvest. However, chive blossoms are edible and taste great in salads. Feel free to let a few grow for a colorful garnish!
5. Harvesting Your Indoor Chives
The best part of growing chives indoors is picking them fresh. Knowing when and how to harvest means you’ll get the best flavor and keep your plant healthy. It’s a simple process.
5.1 When to Harvest
Patience is a virtue, but not for too long! You don’t have to wait ages to enjoy your chives. They grow quite fast.
Wait until your chive plant is at least 6-8 inches tall. This lets it establish a good root system. After this, you can start snipping away.
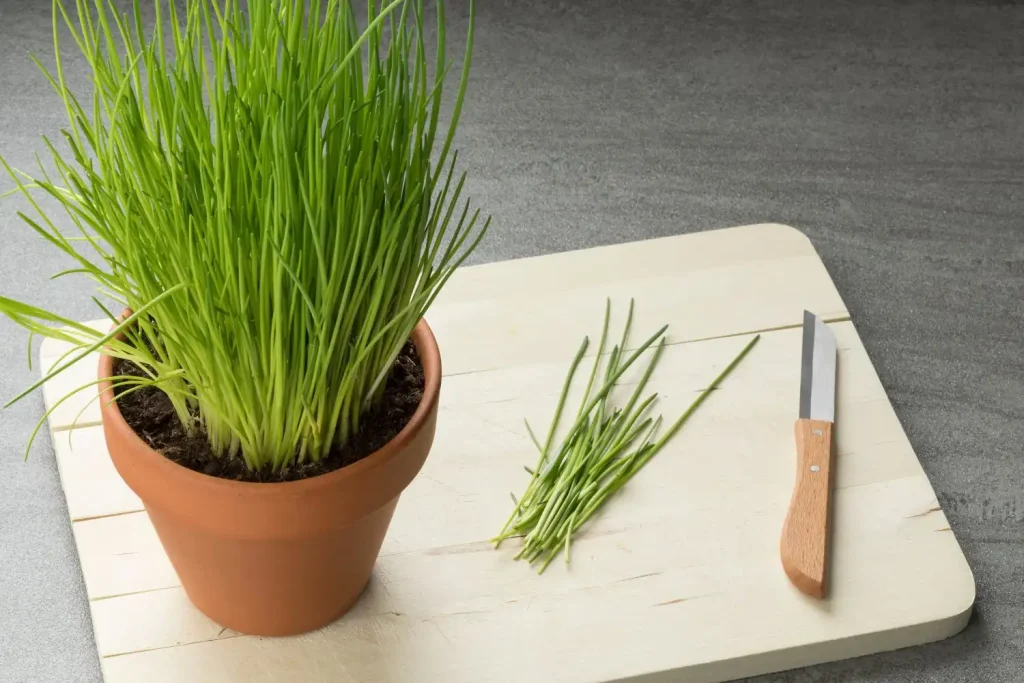
5.2 Harvesting Techniques
Harvesting chives is super simple. You just need a good pair of scissors or sharp shears. Clean tools help keep your plant healthy.
Cut the leaves about 1 inch from the soil line. Don’t cut them all the way down. This allows the plant to regrow quickly. Always snip the outer leaves first. This encourages fresh new growth from the center of the plant.
5.3 Storing Your Harvest
You’ve cut your fresh chives. Now what? Keeping them fresh after harvest is easy. This way, they last longer.
Wrap your harvested chives in a damp paper towel. Then, place them in a plastic bag in the refrigerator. They’ll stay fresh for about a week. For longer storage, chop them up and freeze them. You can use ice cube trays with water or olive oil.
6. Troubleshooting Common Indoor Chive Problems
Even the easiest plants can run into a snag or two. Knowing what to look for and how to fix it helps you keep your chives thriving. Don’t fret if something looks off.
6.1 Yellowing Leaves
Seeing yellow leaves on your chives can be worrying. It often signals an imbalance in their care. This is a common issue for many indoor plants.
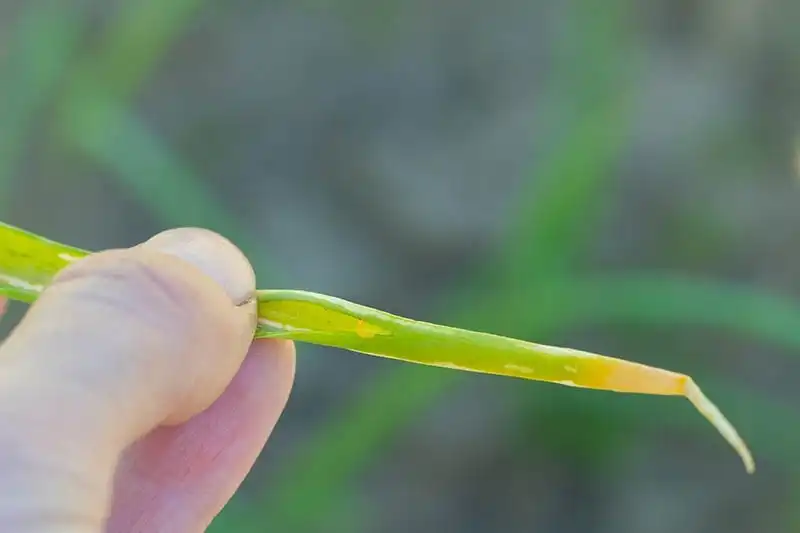
First, check your watering habits. Both too much and too little water can make leaves turn yellow. Make sure the soil drains well. Also, think about light. Are they getting enough sun? Lastly, consider their food. Maybe they need a little fertilizer boost.
6.2 Leggy Growth
“Leggy” chives look stretched out and thin. Their stems are long, and the leaves might be sparse. This often points to one main problem.
Leggy growth usually means your chives aren’t getting enough light. Try moving them to a brighter spot or adding a grow light. Regular harvesting also helps. It encourages the plant to grow bushier, not taller and weaker.
6.3 Lack of Flavor
If your chives taste bland, you might wonder what’s going on. They should have that distinct, mild oniony kick. A weak flavor suggests the plant isn’t getting all it needs.
Make sure your chives receive plenty of sunlight. Good light helps develop their strong flavor. Proper fertilization also plays a role in this. And remember, harvesting regularly from a healthy, thriving plant usually yields the best-tasting chives.
Conclusion
Growing fresh chives indoors is simpler than you might think. You can enjoy that vibrant, mild oniony flavor any day of the year. All it takes is a little light, regular watering, and occasional feeding. These small efforts bring big rewards.
Remember, consistent light, proper watering, and a bit of plant food keep your chives happy. Soon, you’ll have a lush plant ready for your next culinary adventure. So, why not start your indoor chive garden today? You’ll love having this versatile herb always at hand. Try them in omelets, sprinkle them over soup, or stir them into dips. Share your indoor herb gardening wins with friends and family!