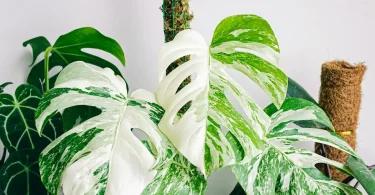
The Shingle Plant (Rhaphidophora hayi) earned its name due to its unique climbing behavior. It grows aerial roots along its stem, securing itself to vertical surfaces, and its foliage spreads flat, resembling green roof shingles. Ideal for climbing, it thrives with porous support, reaching several feet in height indoors. This slow-growing plant becomes a striking floor feature with proper care. It prefers high humidity, achieved through a pebble tray, humidifier, or grouping with other houseplants. Ensure a lush, thriving Shingle Plant by maintaining optimal conditions. However, this blog covers the propagation techniques for Rhaphidophora hayi (Shingle Plant).

Propagating Plants from seed
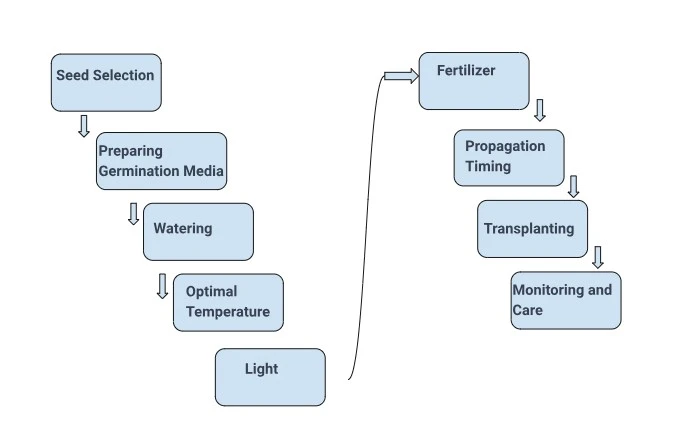
Propagation from seeds involves understanding the specific germination needs. Select appropriate seeds, sow them in a suitable germination medium, and maintain optimal conditions, including temperature, light, and watering. Successful seed propagation[1]Seed Propagation of Plant. Read yields healthy plants. Below are the steps required to propagate plants from seed:
1. Seed Selection:
Learn about specific seed germination requirements, like taking mature and healthy seeds and maintaining optimal moisture and temperature for successful propagation. However, understand seed characteristics if interested in multiplying the plant collection.
2. Germination Media:
Use commercial mixtures or create your own with soil, peat, and sand. Sterilized potting soil is suitable for many seeds.
3. Watering:
Wet the planting mix after sowing. Then, place containers in water for seepage; cover to maintain moisture. However, Monitor and adjust watering to prevent over-watering and soggy conditions.
4. Temperature:
Maintain temperatures around 75°F–80°F for most seeds. Some seeds prefer cooler temperatures (50°F–65°F).
5. Light:
Be aware of light requirements; some seeds need darkness, and others require light. Supplement natural light with fluorescent fixtures for optimal growth.
6. Fertilizer:
Apply diluted water-soluble fertilizer in an appropriate proportion for healthy plant growth. Use half-strength houseplant fertilizer if seedlings show discoloration.
7. Propagation Timing:
Start seeds indoors early based on the growing season and transplanting size. However, avoid planting too early to prevent stunted or spindly growth.
8. Transplanting:
Transplant seedlings once a new root system is established. Monitor growth and adjust transplanting timing for each plant.
9. Monitoring and Care:
Regularly check for seed germination and seedling emergence. Provide optimal growth conditions, adjust light, temperature, and moisture as needed, and adapt care accordingly.
Propagating Shingle Plants from seed
Shingle plant propagation from seeds[2]Propagating Shingle Plants. Read can be rewarding but somewhat challenging. Propagation from seeds may take time and patience, but with the proper care, you may have to cultivate Shingle Plants from the beginning of their life cycle. Follow the below set of instructions that will help you to propagate Shingle Plants from seeds:
- Collect seeds from a mature Shingle Plant.
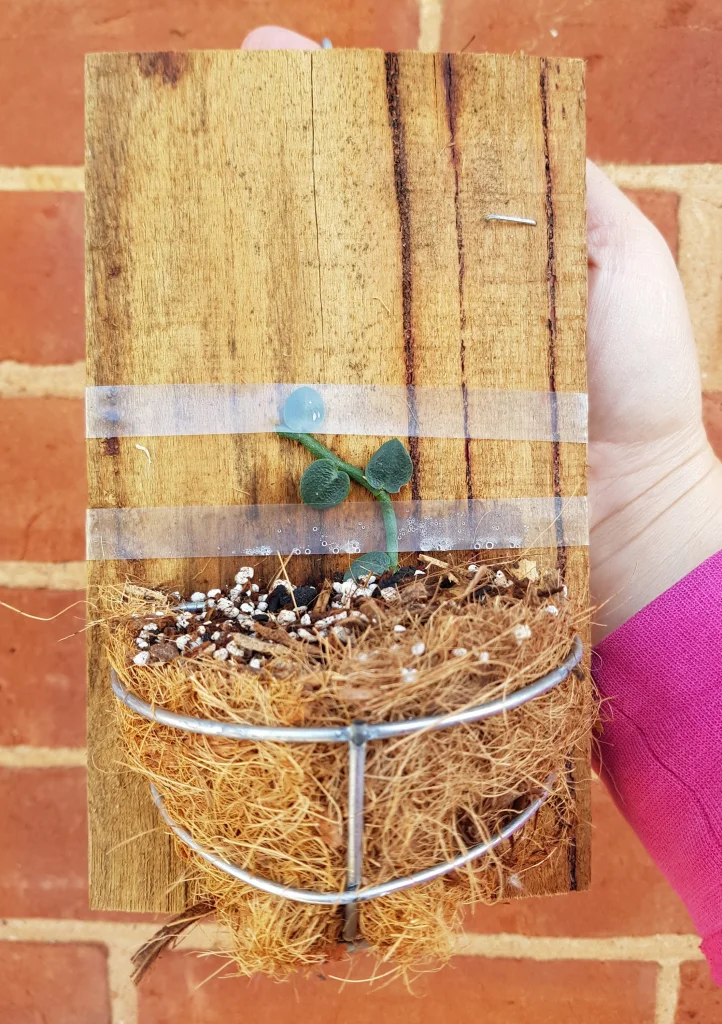
- Plant the seeds on the moist soil’s surface or sphagnum moss, pressing them lightly into the mix.
- You can create a mini greenhouse by covering the pot with clear plastic and leaving it for two weeks. The plastic bag will trap moisture and heat inside, creating a warm and humid environment to help the plants grow faster.
- Place them in a warm and bright location, but avoid direct sunlight.
- Shingle Plant seeds can take several weeks to months to germinate. Therefore, keep the soil consistently moist.
- Once seedlings have developed a few leaves and are large enough to handle, transplant them into individual pots with a suitable potting mix.
- Provide the seedlings with bright, indirect light. Maintain a humid environment to encourage optimal growth.
Techniques for Shingle Plant Germination
Shingle plant propagation can be achieved through various methods, offering flexibility for plant enthusiasts. Here’s a step-by-step guide to successful Shingle Plant propagation:
1. Stem Cuttings
Trim a healthy leaf and at least two nodes from a 4 to 6-inch stem. Then, submerge at least one node of the stem in damp soil. Maintain consistently moist soil and provide indirect light.
Read: Propagation of Rhaphidophora hayi
2. Air Layering
Cut a small hole in a stem and cover it with moist sphagnum moss. Allow moss roots to grow, wrapping them in plastic. Once roots form, cut the stem below them and plant it in a separate pot.
3. Division
Divide a mature plant into small segments, ensuring each has roots and stems. Then, divide the plant evenly, ensuring each part has sufficient roots for growth. After that, Plant the separated parts in different containers and nurture them for optimal growth.
Conclusion
Propagation yields healthy plants that involve all the steps, from selecting a particular germination technique to maintaining a proper germination medium and other required conditions to produce a healthy collection. However, the propagation versatility adopted by the Shingle Plants enables you to expand your collection quickly, whether you use seed germination, stem cuttings, air layering, or division.