Fix root-bound plants because If you’ve ever lifted a plant from its pot and seen a tight swirl of tangled roots circling around the soil, you’ve met the common issue known as root-bound or pot-bound. This happens when a plant outgrows its pot and no longer has space to expand. While it’s completely normal as plants grow, leaving them root-bound for too long can have serious consequences, slow growth, yellowing leaves, wilting, and even plant death.
Repotting a root-bound plant is essential, but the process can feel intimidating, especially if the roots are heavily compacted. The good news? Fixing root-bound plants is not only doable—it can bring your plant back to vigorous, healthy growth when done correctly.

Why Fix Root-Bound Plants Matters
If left unaddressed, root-binding causes:
- Nutrient deficiency
- Restricted oxygen flow
- Poor water absorption
- Root suffocation
- Greater risk of fungal infections
- Stunted growth or plant death
Repotting and correcting root crowding gives your plant renewed space to grow stronger roots, resulting in healthier foliage and better overall growth.
How to Fix Root-Bound Plants When Repotting (Step-by-Step)
Below is the complete method you can follow for any type of houseplant or potted outdoor plant.
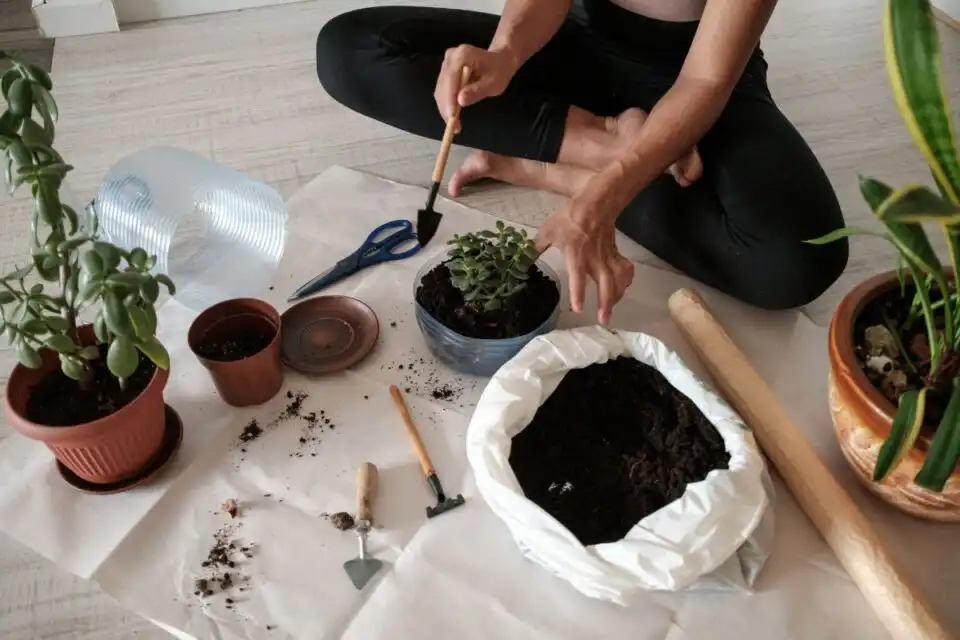
Step 1: Prepare the New Pot and Soil
Choose a pot 2–3 inches larger in diameter than the current pot. Going too big too fast may cause overwatering issues.
Use fresh, high-quality potting mix suitable for your plant type:
- Indoor plants: light, well-draining potting mix
- Succulents: cactus + perlite mix
- Outdoor plants: enriched garden soil or container mix
Moisten the soil slightly before repotting to make it easier for the roots to adapt.
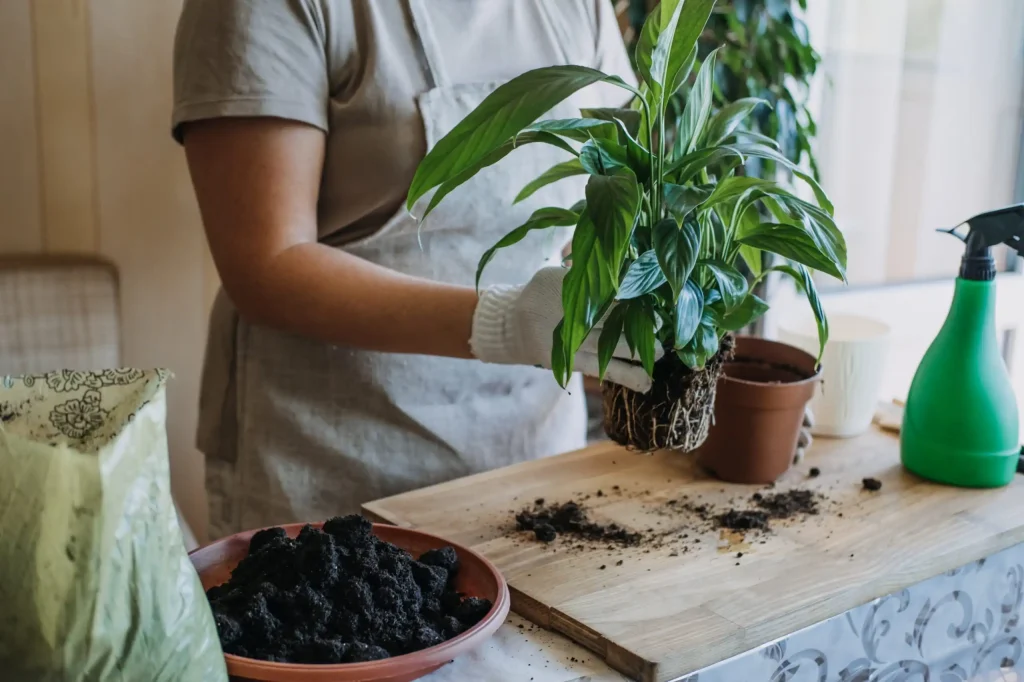
Step 2: Remove the Plant Carefully
Gently squeeze the sides of the plastic pot or tap the base of a ceramic pot. Tilt the plant slightly while supporting the root ball.
If the plant is stuck:
- Run a knife or spatula along the edge
- Water lightly to loosen soil
- Tap the pot firmly but gently
Avoid pulling the plant forcefully, as this can damage roots or stems.
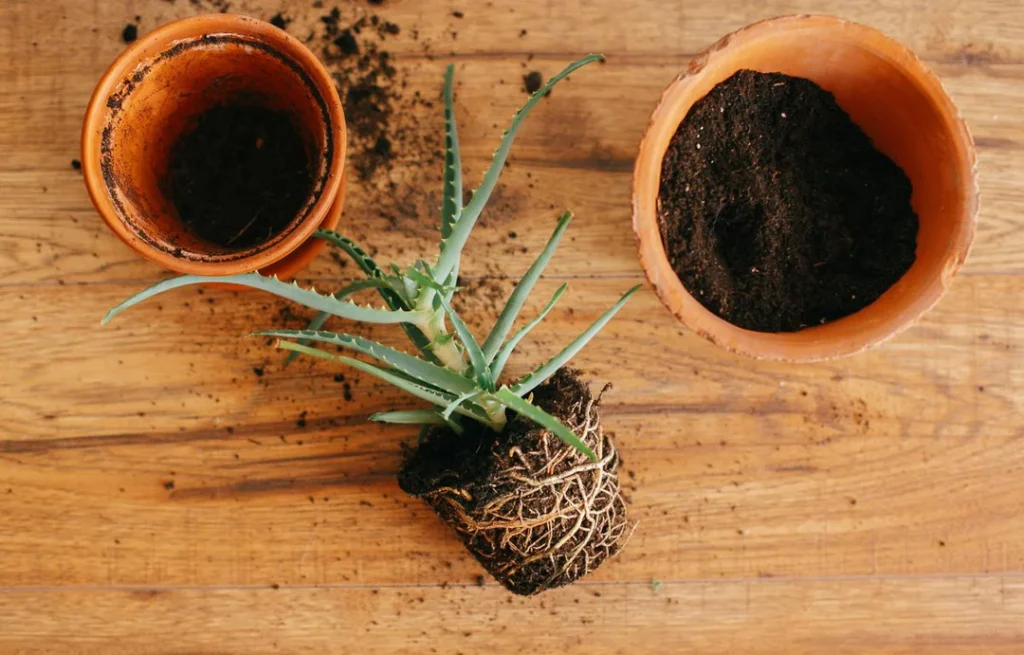
Step 3: Loosen the Root Ball
Once the plant is out, inspect the root system. If you see:
- Dense circles of roots
- Thick mats of tangled roots
- Very little soil
…your plant is definitely root-bound.
Now begin to loosen the roots.
How to loosen roots properly:
- Use your fingers to gently tease apart the outer roots.
- Untangle circling roots by pulling them outward.
- Remove 10–20% of the old soil stuck between the roots.
- If roots are extremely compacted, soak the root ball in water for 10 minutes to soften them.
This step helps roots spread in their new pot rather than continuing to grow in circles.
Step 4: Trim Excess or Damaged Roots (If Necessary)
You don’t always need to trim roots, but if they are:
- brown
- mushy
- extremely long
- circling excessively
- A light pruning will help stimulate fresh growth.
- Trim only ¼ or less of the root mass using clean, sterilized scissors.
- Do not cut thick, healthy roots unless absolutely needed.
Step 5: Place the Plant in Its New Pot
Add a layer of soil at the bottom of the new pot. Place the plant in the center at the correct height—its base should sit about an inch below the rim.
- Spread the roots outward before adding soil.
- Fill around the sides with potting mix, pressing lightly to eliminate air pockets.
- Do not compact the soil too much; roots need oxygen.

Step 6: Water Thoroughly
After repotting, water the plant until water drains from the bottom. This helps settle the soil and reduces transplant shock.
Step 7: Provide the Right Aftercare
For the first week:
- Keep the plant in bright, indirect light
- Avoid fertilizing
- Keep soil slightly moist but not soggy
- Maintain good humidity for tropical plants
Your plant may droop slightly after repotting, this is normal and should resolve within 7–10 days.
Troubleshooting Table: Common Issues After Repotting Root-Bound Plants
Here is a clear, helpful table to diagnose and fix issues:

| Problem | Symptoms | Cause | Solution |
|---|---|---|---|
| Wilting After Repotting | Leaves droop or look soft | Transplant shock | Keep in indirect light, maintain moisture, avoid fertilizer for 2 weeks |
| Yellowing Leaves | Lower leaves turn yellow | Overwatering or improper drainage | Check drainage holes, reduce watering, add perlite for better aeration |
| Plant Not Growing | No new leaves for weeks | Roots still tangled or pot too big | Gently loosen more roots; repot in a slightly smaller pot |
| Soil Staying Wet Too Long | Mushy soil, foul smell | Poor soil mix | Switch to well-draining potting mix |
| Leaves Turning Brown at Edges | Crispy leaf tips | Underwatering or low humidity | Increase humidity, water more regularly |
| Root Rot Signs | Black, mushy roots | Waterlogged soil | Remove rotted roots and repot in fresh mix immediately |
| Plant Leaning to One Side | Top-heavy | Roots not anchored well | Add more soil and stake plant until roots strengthen |
| Pests After Repotting | Gnats or mites visible | Contaminated soil | Use neem oil, sticky traps, or sterilize soil |
Final Thoughts
Fixing root-bound plants when repotting is one of the most effective ways to revive struggling plants. While the tangled roots may look intimidating, following simple steps; loosening roots, trimming if needed, and repotting correctly, can drastically improve your plant’s health.