Have you ever seen your potted plants failing to thrive? When your potted plants show signs of wilting and the soil is either soaked or dry, the problem is most likely due to compaction (an overly dense and hard soil type). Revive Compacted soil in containers, especially those used for growing houseplants or vegetables in pots is a very common issue.
This step-by-step guide will help you learn about many different methods of loosening compacted soil and improving the air exchange and drainage in your containers. These methods can be applied to indoor and outdoor containers, as well as growing herbs, tomatoes and other potted plants.
What Causes Soil Compaction in Potted Plants?
When soil particles are compressed together, less pore space is available for water and air. This is known as compaction. Typical triggers consist of:
- Watering the mixture frequently until it settles over time
- Using heavy or poor-quality potting soil without adequate aeration
- As organic matter decomposes over time, fines fill in the gaps.
- Natural settling and root systems filling the pot
- Pressing down or walking on soil in bigger containers
Symptoms include mushy roots, slow drainage, yellowing leaves, stunted growth, and fungus gnats that thrive in damp conditions. Reviving it improves nutrient uptake, keeps problems like root rot at bay, and gives roots their oxygen back.
Proven Method 1: Gentle Spike Aeration (Quick Fix Without Repotting)
Spike aeration, which involves making holes to improve water penetration and air channels, is the quickest and least disruptive method of reviving compacted soil.
How to do it:
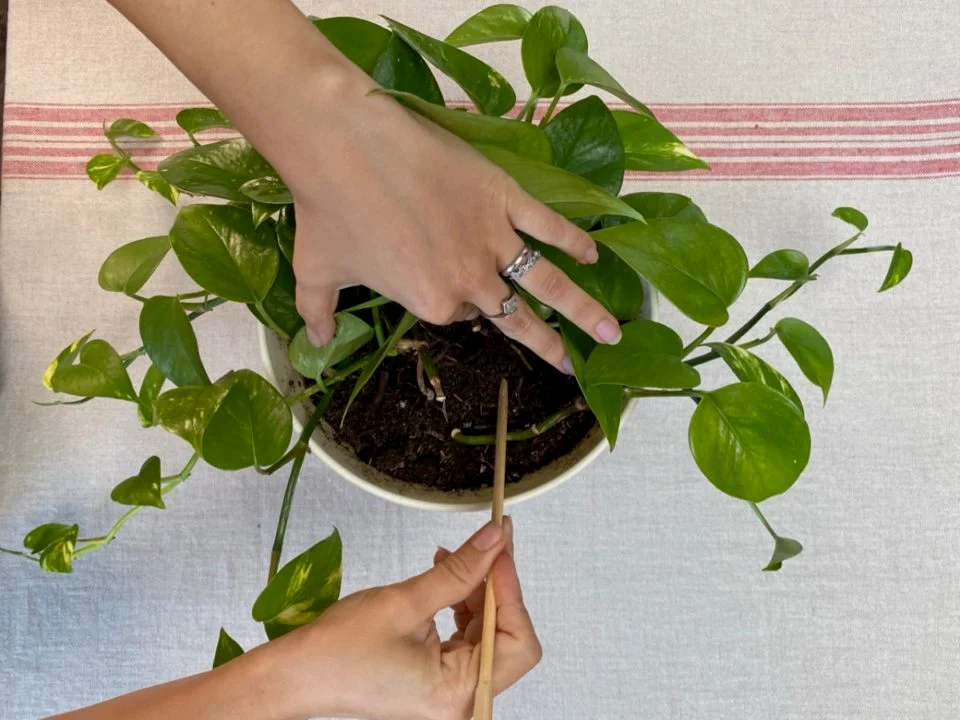
- Make use of a soil aerator tool, screwdriver, wooden skewer, or chopstick.
- Avoid large roots and carefully make 4–8 deep holes around the pot.
- To enlarge channels without ripping roots, wiggle a little.
- Throughout the growing season, do this every four to six weeks.
- To remove salts and settle any remaining air pockets, thoroughly water the area afterward.
Why it works: Dense layers are broken up, allowing water and oxygen to reach roots more deeply. For fiddle leaf figs, pothos, and peace lilies, many home plant enthusiasts vouch for this.
Pro tip: After aerating, mix with a light top-dress of worm castings or fresh potting mix.
Proven Method 2: Add Aerating Amendments Without Full Repotting
If spike aeration isn’t enough, incorporate lightweight materials to loosen soil long-term.
Best additives:
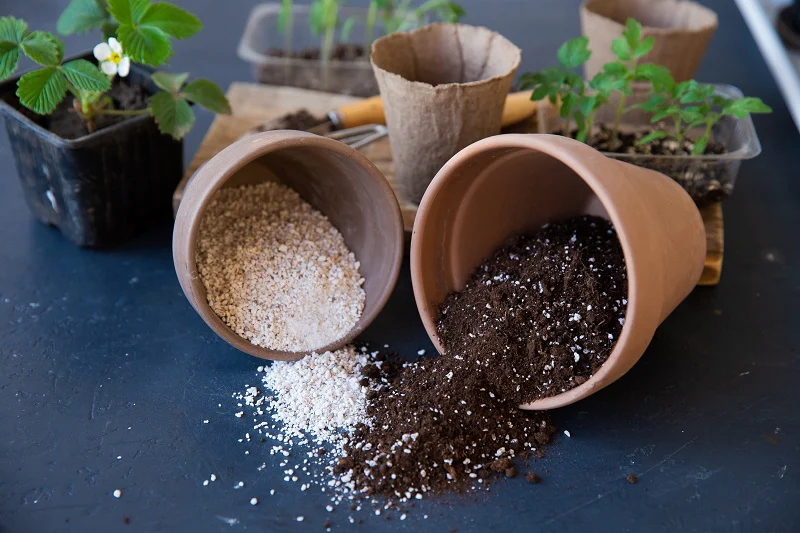
- Perlite or vermiculite (20–30% mix): Improves drainage and aeration.
- Coarse sand or horticultural grit (for succulents/cacti).
- Orchid bark or pine bark fines (great for aroids).
- Coconut coir or peat moss (holds moisture but adds fluff).
Non-disruptive way:
- Top-dress with ½–1 inch of perlite/vermiculite mix.
- Gently work it in with a fork or chopstick.
- Water well – materials settle into cracks.
For best results, repot in spring with 30–40% aeration material in fresh mix.
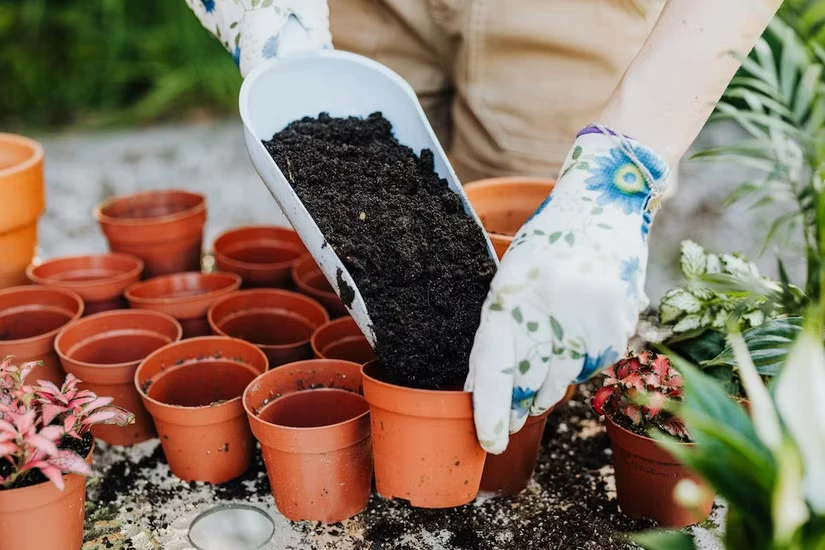
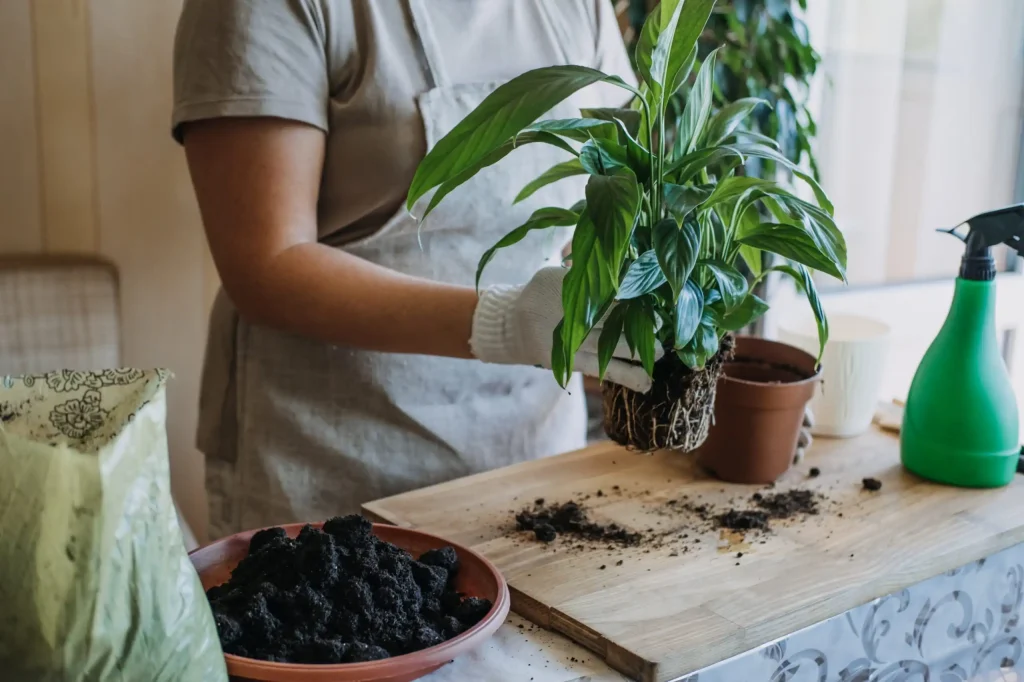
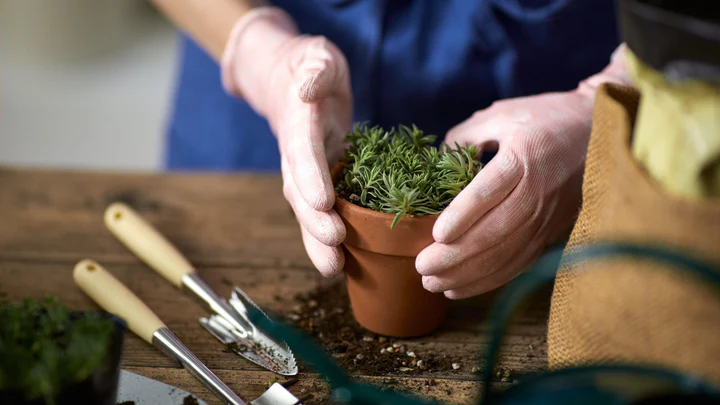
Proven Method 3: Repotting with Fresh, Aerated Soil Mix (Ultimate Revival)
When soil is severely compacted or plant shows stress, repotting is the gold standard.
Steps:

- Water plant lightly a day before.
- Gently remove from pot; tease apart compacted roots.
- Shake off old soil; trim dead/mushy roots.
- Use fresh mix: 50% potting soil + 30% perlite/vermiculite + 20% compost or worm castings.
- Plant at same depth; firm lightly (don’t pack hard!).
- Water thoroughly; let drain fully.
Why proven: Resets structure, adds microbes, removes salts/buildup. Do annually or every 1–2 years for heavy feeders.
Proven Method 4: Boost Soil Biology with Organic Matter and Microbes
Healthy soil = living soil. Microbes (bacteria, fungi, earthworms in outdoor pots) naturally aerate.
Easy ways:
- Mix in worm castings or compost (10–20%) at repotting.
- Apply aerated compost tea monthly (diluted, aerated compost in water).
- Bury small kitchen scraps (banana peels, veggie trimmings) near edges for slow decomposition.
Bonus: Encourages natural channels as roots and organisms move.
Proven Method 5: Prevention – Stop Compaction Before It Starts
The best revival is prevention!
- Use high-quality, well-aerated potting mix from the start.
- Choose porous pots (terracotta, fabric grow bags) over plastic.
- Mulch surface with bark or pebbles to reduce crusting.
- Water deeply but infrequently; let top inch dry.
- Rotate pots for even settling; avoid over-fertilizing (salts compact soil).
Quick-Reference Table: Proven Ways to Revive Compacted Soil in Potted Plants
| Method | Difficulty | Time to See Results | Best For | Key Steps / Materials | Potential Drawbacks |
|---|---|---|---|---|---|
| Spike Aeration | Easy | Immediate–1 week | Quick fix, minor compaction | Chopstick/skewer; poke 4–8 deep holes; water after | Temporary; may need repeating |
| Top-Dress Amendments | Easy | 2–4 weeks | Mild compaction, no repot | Perlite/vermiculite; work into top layer | Less effective in severe cases |
| Full Repotting | Medium | 1–4 weeks | Severe compaction/root issues | Fresh mix + 30–40% aeration; trim roots | Stressful to plant; messy |
| Add Organic Matter/Microbes | Easy–Medium | 4–8 weeks | Long-term health | Worm castings, compost tea; bury scraps | Slower results; odor possible |
| Prevention Strategies | Easy | Ongoing | All potted plants | Porous pots, good mix, proper watering | Requires habit change |
Final Thoughts: Bring Your Potted Plants Back to Life!
These tried-and-true techniques make it simple to revive compacted soil in potted plants. For immediate relief, start with mild spike aeration. Then, use aerated mixes and biological boosts to develop better habits. Stronger roots, improved growth, and fewer issues will be your plants’ rewards.
Are you prepared to save your pots? Your houseplants (and patio vegetables) will appreciate it if you grab a chopstick and some perlite today! What remedy do you usually use for compacted soil? Post advice or before-and-after photos in the comments section below.
Cheers to thriving plants and loose, vibrant soil! Happy gardening!