Are you noticing that the leaves of your potted plant are beginning to yellow, the stems have begun to wilt, and the soil has remained wet even after days of not watering? You are not alone! Waterlogged soil in a container is one of the most common issues and probably the deadliest for home gardeners and houseplant lovers. If you want to fix waterlogged soil, it’s important to act quickly to restore proper drainage and prevent root rot.

You will learn how to remediate the issue with several quick options, re-pot your plant, add soil amendments, and prevent this issue from happening again.
If you have asked yourself “Why is my plant wilting but I watered it?” or “How do I save an overwatered plant?” then continue reading to learn some very easy and effective tips that have saved hundreds and hundreds of other plants, and should help save your plant too!
Signs Your Potted Plant Has Waterlogged Soil
Don’t rely on a schedule to water. Learn to read your plant’s signals:

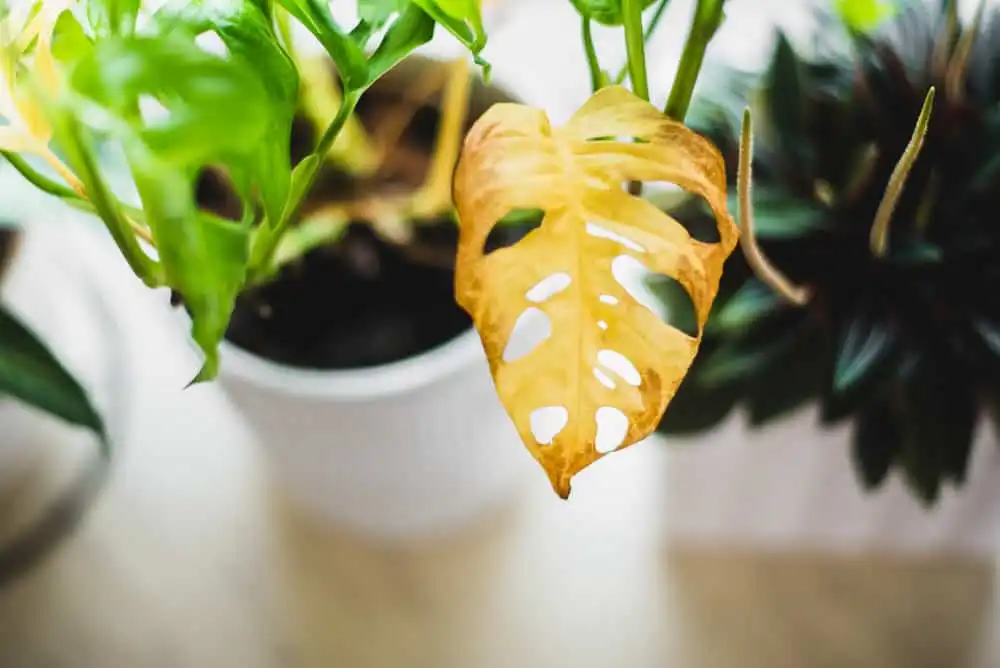
- Yellowing leaves, especially lower ones, that feel soft and limp (unlike crispy underwatered leaves)
- Wilting despite wet soil
- Leaves dropping (both old and new)
- Mushy stems or a foul, rotten smell from the soil
- Mold or fungus gnats on the surface
- Slow or stunted growth
- Brown spots or edema (water blisters) on leaves
Pro tip: Always stick your finger 1-2 inches into the soil. If it feels wet, hold off on watering. A moisture meter can be a game-changer for beginners.
Quick Fixes to Dry Out Waterlogged Soil Fast
When you first realize your plant has an issue, immediately implement steps to fix it without repotting. Here are some fast, efficient methods to save your plant without repotting:
- Eliminate Watering – As a first measure, do not water your plant until the soil is dry. You may want to move the plant to a location that gets more light (if your plant prefers bright light) to assist with evaporating water; however, avoid placing heavily stressed plants directly in the sunlight to avoid scorching.
- Improve Air Circulation – Place a small fan that is set on low speed near the plant, so it blows air over the surface of the soil gently. This assists in drying out the soil without causing additional stress to the foliage.
- Tilt and Remove Excess Water – You can tip the pot on its side for a couple of minutes and allow the excess water to drain. Or you may gently tap the sides of the pot to help create small air pockets that will allow the excess water to drain.
- Use Absorbent Materials – Place the pot onto a thick layer of newspaper, paper towels, or microfiber towels. These materials will absorb the excess water from the bottom. You will need to change these absorbent materials as they become saturated. Some people choose to place absorbent materials over the top of the soil until the excess water evaporates.
- Slightly Raise the Temperature – Increasing the temperature (without creating heat) will cause the soil to dry out faster; however, the temperature should still be within a comfortable range for the plant.
By using the above techniques, you should see improved conditions for your plant within a few hours to a few days, giving you time to provide a better solution.
Best Soil Amendments and Materials for Better Drainage
Prevention starts with the right mix. Here’s what to add for faster-draining soil in pots:
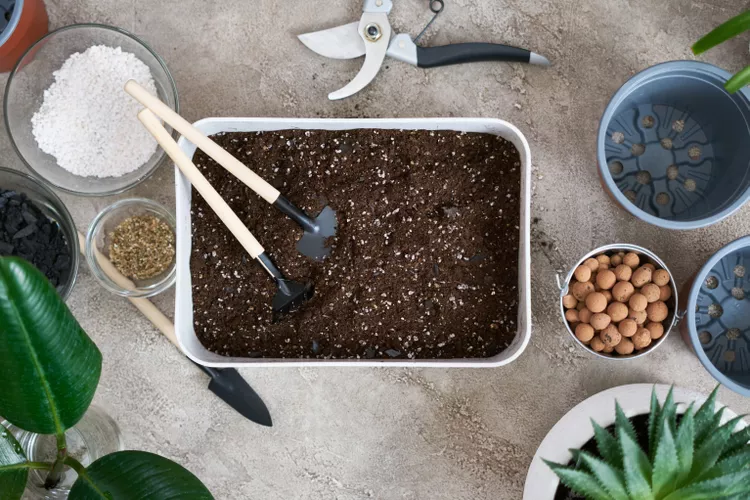
- Perlite or Pumice — Lightweight volcanic materials that create air spaces and improve aeration.
- Coarse Sand or Horticultural Grit — Helps water move through quickly (avoid fine beach sand).
- Orchid Bark or Coco Coir — Adds structure without holding excess water.
- Compost — In moderation, improves structure but don’t overdo it in pots.
A good general mix: 60-70% quality potting soil + 30-40% perlite/pumice. For succulents or cacti, go even chunkier.
Avoid common mistakes: Don’t layer rocks or gravel at the bottom – this can actually create a perched water table that makes the problem worse. A single layer of coffee filter or mesh over drainage holes is enough to stop soil from escaping.
Troubleshooting Table: Fix Waterlogged Soil Problems
Here’s a quick-reference table to diagnose and solve issues fast:
| Problem | Symptoms | Likely Causes | Proven Solutions |
|---|---|---|---|
| Yellowing Leaves | Lower leaves turn yellow and limp | Overwatering, poor drainage | Stop watering; improve airflow; check roots and repot if mushy |
| Wilting with Wet Soil | Plant droops despite moist soil | Root rot from oxygen deprivation | Trim rotten roots; repot in fresh, airy mix; use fan for drying |
| Foul Smell from Soil | Rotten odor, mold on surface | Anaerobic bacteria in soggy soil | Remove plant, wash roots, repot with amended soil; add hydrogen peroxide solution |
| Fungus Gnats | Tiny flies around soil | Constant moisture | Let soil dry between waterings; add perlite; use sticky traps |
| Edema (Blisters) | Corky bumps on leaves | Excess water uptake | Reduce watering; increase light and airflow; prune affected leaves |
| Blocked Drainage | Water pools on surface | Compacted soil or clogged holes | Clear holes; aerate soil with chopstick; repot with better mix |
| Slow Drying Soil | Stays wet for days | Heavy soil mix, low light | Add perlite/pumice; move to brighter spot; use fan or newspaper wicking |
Use this table as your go-to checklist whenever something seems off with your potted plants.
Final Thoughts: Save Your Plants and Enjoy Thriving Containers
It doesn’t have to be difficult to fix soggy soil in potted plants. In most cases, you can turn things around and enjoy happier, healthier plants by taking prompt action, such as stopping watering, increasing airflow, and repotting when necessary.
Prevention is crucial: From the beginning, pick the proper pots, soil, and watering techniques. Your succulents, tomatoes in containers, or monstera will appreciate your efforts with lively growth and fewer issues.
Have you ever worked with soggy soil? What did you find effective?
I’d love to help more gardeners succeed with their potted plants, so please share your thoughts and questions in the comments section below!
Put these suggestions into practice right now, and you’ll see your container garden grow. Enjoy your planting!