
All gardeners must master the skill of repotting plants. This is a crucial part of proper plant care. Repotting means moving your plant into a larger pot. We do this to give the roots more room or to add fresh soil. The main worry when moving plants is damaging the root system. Healthy roots are vital for plants to stay alive and grow well. Broken or stressed roots often cause plant shock. This damage can also bring disease or even lead to the death of the plant. This simple guide shows you how to repot plants without breaking the roots. We use proven garden methods. Follow these steps to keep your plants healthy and strong.
Why Repot Plants? The Benefits and Necessity
Repotting is not just a quick chore. It is key to keeping your plants healthy and growing strong. Your plants will eventually outgrow their current pots. This causes a root-bound mess. The roots circle the edges of the container. Then they cannot take up enough food. This makes the plant stop growing or look sickly. Repotting gives roots room to stretch out. You also refresh the old soil with new nutrients. This stops the dirt from getting hard. It helps keep pests away too.
Let’s discuss the science behind this task. Plant roots need oxygen to stay healthy. Oxygen runs out fast in old, packed soil. New potting mix adds air back into the dirt. This helps the roots grow big and strong. When you repot, you can check the roots closely. You might see root rot or harmful bugs. This lets you fix problems right away. If the roots circle the pot, that is called girdling. Girdled roots can choke the plant easily. This means they cannot pull up the water they need.
When to Repot: Timing and Signs to Watch For
Root health depends on good timing. Spring and early summer are the best times to repot plants. This is the active growing season. Plants can quickly fix any root damage then. Never repot during winter dormancy. Plants lack the energy needed to heal while resting.
Learn the simple warning signs. Roots poking out of drainage holes mean the pot is too tight. Watch for slow growth even with proper care. Soil drying out fast is another key clue. If the plant looks heavy or tips over easily, prepare to repot. Sometimes the whole plant lifts out easily. If the soil pulls away from the pot edges, repot now.
Different plants follow unique timelines. Annual plants often need repotting every few months. Slow-growing types, like cacti, can stay put for years. Check houseplants once a year. Gently slide the plant out of its container. Repot immediately if the roots form a tight, dense mass. Knowing these signals prevents plant stress. This ensures you repot at the best moment for plant life.
Materials Needed for Safe Repotting
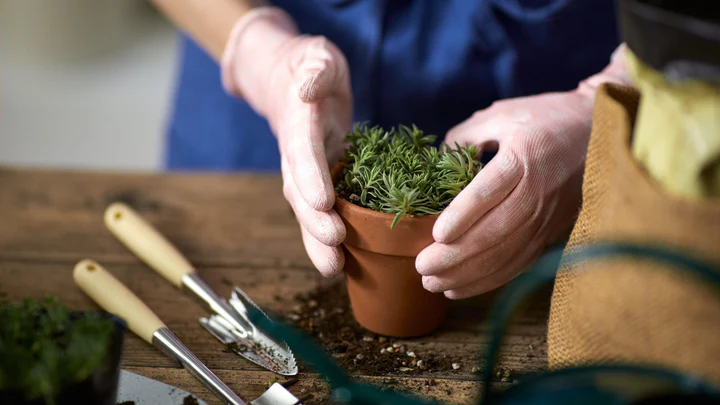
The first step to successfully repotting plants without injuring roots is to gather the proper materials. You’ll want a new pot that is approximately 1-2 inches in diameter larger than the current pot. If the pot is too large, then the soil will saturate and stay too wet and is more susceptible to rot. Select a pot with drainage holes to allow excess water to drain away from the soil.
You will want a clean pair of pruning shears to trim damaged roots, garden gloves to protect your hands, and a trowel or spoon to work with the soil. A potting mix of good quality is vital, and should be chosen depending upon the plant. Succulents would use cactus mix; all other houseplants can use a general houseplant mix. Do not use garden soil, as it.
Step-by-Step Guide to Repotting Without Damaging Roots
Now, let’s dive into the core process with a detailed, educational walkthrough. This method emphasizes gentleness to preserve root integrity.
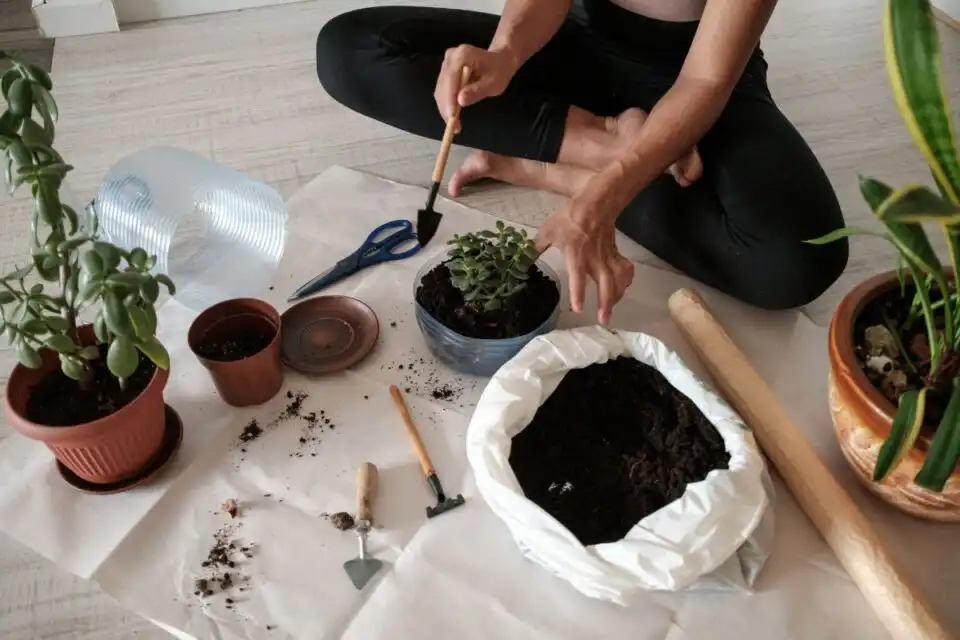
- Prepare Your Workspace: Set up a clean area with newspaper to catch soil. Water the plant lightly a day before to make soil moist but not soggy, this eases removal without pulling roots.
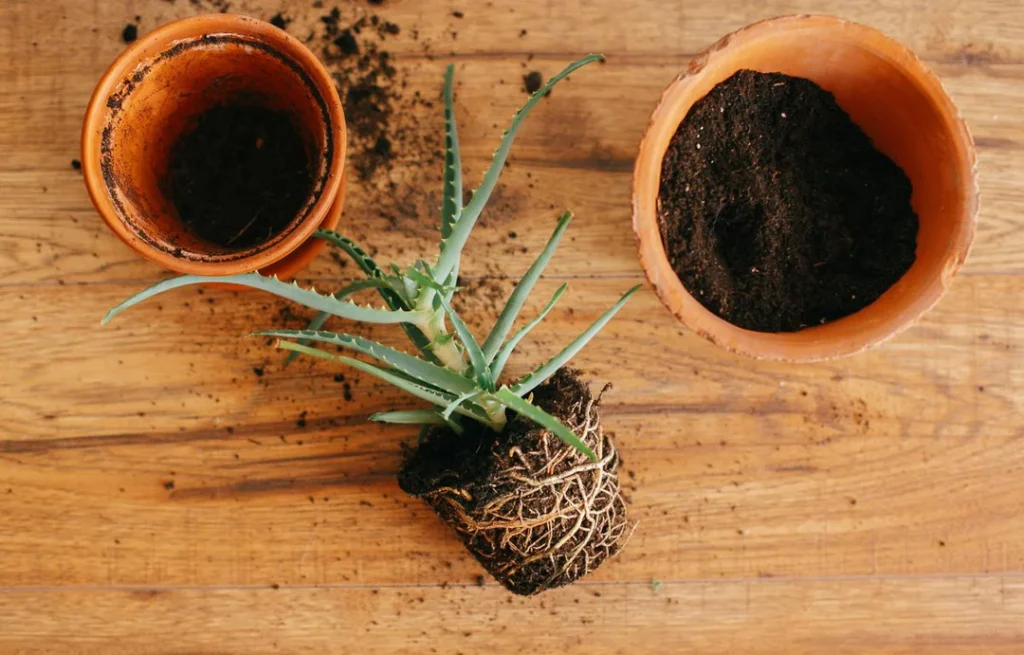
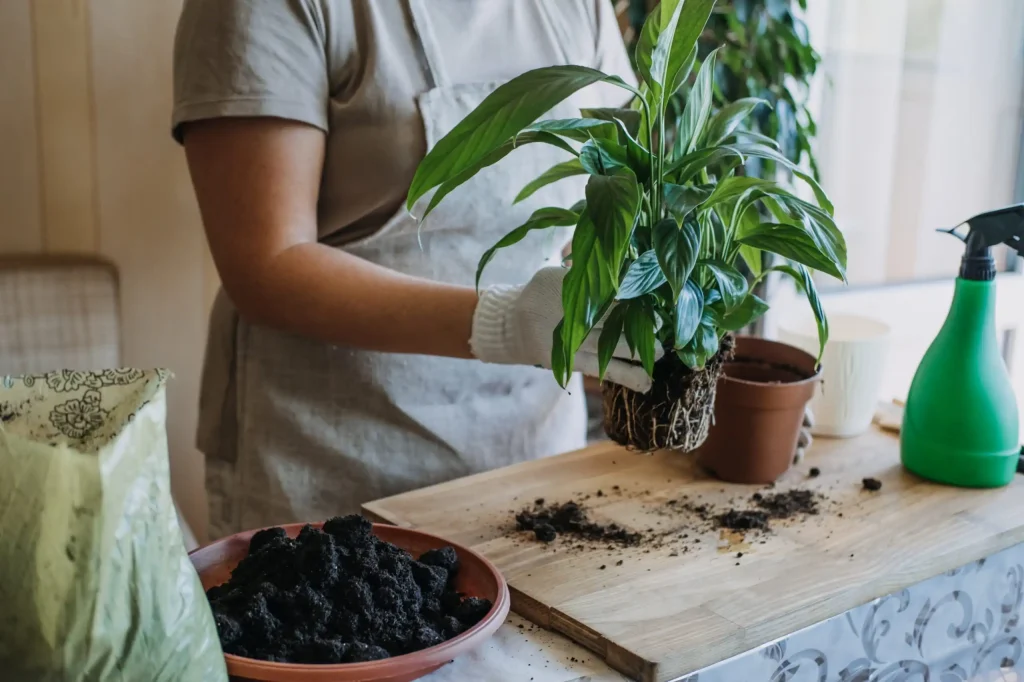
- Remove the Plant Gently: Turn the pot sideways and tap the bottom to loosen the soil. Support the plant at the base and slide it out. If stuck, run a knife around the inside edge, but avoid cutting roots.
- Inspect and Loosen Roots: Examine roots for rot (brown, mushy) or pests. Gently tease apart circling roots with your fingers or a fork. Trim only damaged parts with sterilized shears, never more than 10-20% of the root mass to avoid shock.
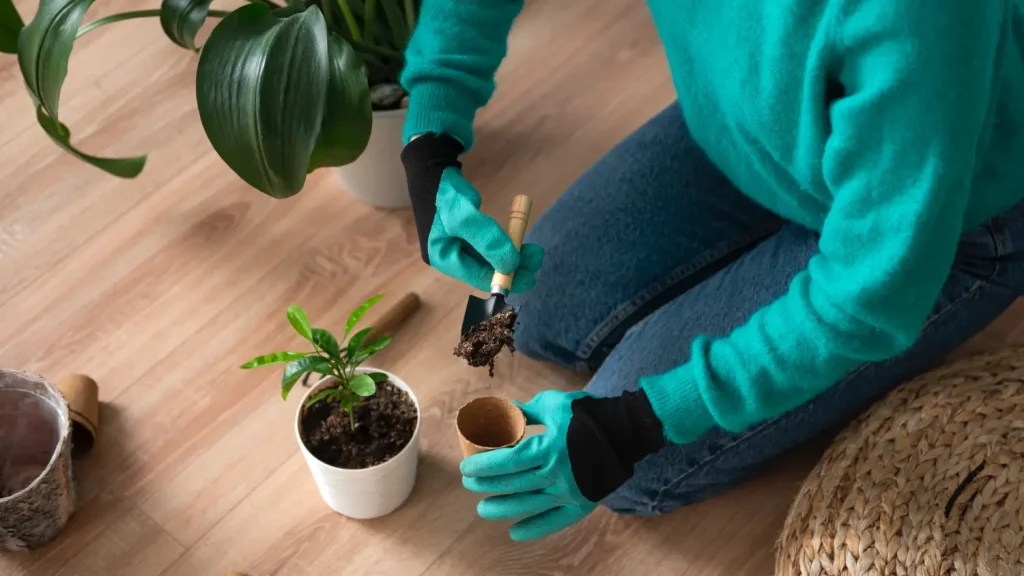
- Prepare the New Pot: Add a layer of fresh potting mix to the bottom. Position the plant so the soil line matches the old one, burying too deep can cause stem rot.
- Fill and Settle: Add soil around the roots, tapping the pot to eliminate air pockets without compacting. Water thoroughly to settle the soil, but don’t fertilize yet wait 2-4 weeks.
This informative step-by-step ensures roots remain intact, promoting quick recovery. The key is minimal handling; roots are delicate and can dry out quickly if exposed.
Common Mistakes to Avoid During Repotting
- Even experienced gardeners make errors that damage roots. Overwatering post-repot is common, leading to rot, wait until soil dries slightly.
- Using the wrong soil type compacts roots; always match to plant needs. Rough handling tears roots, be patient and gentle.
- Skipping inspection misses issues like pests. Educational insight: Compacting soil suffocates roots; use light tamping instead.
- Informatively, repotting too often stresses plants; only when necessary. Avoiding these pitfalls ensures successful, damage-free repotting.
Troubleshooting Table for Repotting Plants Without Damaging Roots
| Issue | Cause | Solution |
|---|---|---|
| Wilting after repotting | Root shock or overwatering | Reduce watering, place in indirect light, and maintain stable conditions for 1–2 weeks. |
| Yellowing leaves | Overwatering or nutrient deficiency | Allow soil to dry between waterings, ensure proper drainage, apply diluted fertilizer after 2–4 weeks. |
| Root rot | Poor drainage or soggy soil | Use well-draining soil mix, ensure pot has drainage holes, remove affected roots and repot. |
| Slow recovery or growth | Damaged roots or insufficient light | Handle roots gently during repotting, provide 4–6 hours of bright, indirect light. |
| Pests post-repotting | Contaminated soil or tools | Sterilize tools and use fresh potting mix, treat with insecticidal soap or neem oil if pests appear. |
| Plant tipping or unstable | Too large pot or compacted soil | Choose a pot 1–2 inches larger than the current one, tamp soil lightly to avoid compaction. |
| Leaf drop | Stress from rough handling or environmental change | Minimize root disturbance, maintain consistent temperature and humidity post-repotting. |
Aftercare: Helping Your Plant Thrive Post-Repotting
- Aftercare is vital for recovery without root damage effects. Place the plant in indirect light for a week to avoid sunburn on stressed foliage.
- Water sparingly at first, monitoring for wilting. Resume normal care gradually.
- Educate yourself on shock signs: drooping or yellow leaves. Provide humidity if needed, like misting.
- Informatively, fertilize lightly after recovery to boost growth. With proper aftercare, your plant will flourish, rewarding your careful efforts.
Conclusion: Mastering Repotting for Healthier Plants
Repotting plants without damaging roots is a skill that enhances your gardening prowess. By understanding the why, when, and how, you ensure vibrant, healthy plants. This educational guide has provided informative insights to empower you. Practice these steps, and watch your garden thrive!


