
Are You Tired Of Wasting Money On Fresh, Crispy Garden Grown Sprouts That Are Gone In A Few Days? Start Sprouts; Making Your Own From Home In Less Than 5 Minutes Per Day For Fresh Crunchy Vitamin-Rich Sprouts Right From Your Kitchen Counter!
There are so many benefits to growing your own sprouts at home – They are easy, inexpensive, and much better for your health than eating store bought fresh, dried or frozen. There is no need to have a garden, special equipment, or a green thumb; just pick a jar and some seeds, and you can have fresh sprouts every day in less time than it takes to make toast…
In this tutorial, you will learn how to get started growing your own daily superfood habit at home. We will discuss the many reasons home based sprout gardening is a life-changing activity, what’s the best way to find out what seeds are great for starting with, how to use the jar method from beginning to end, how to take care of them, what to do with them when you’re finished eating them, as well as how to solve common issues you may encounter. Let’s get started on making your own daily superfood.
Best Seeds for Daily Home Sprouting & Their Benefits
Start with easy, tasty varieties. Buy organic, untreated sprouting seeds (not garden seeds – they may be treated).
Top beginner picks:
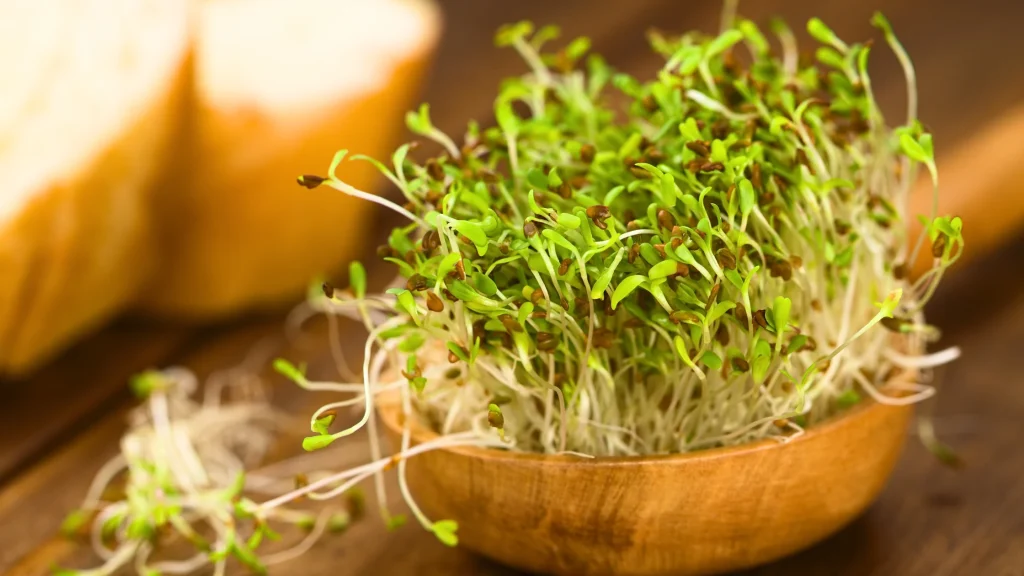
- Alfalfa: Mild, crunchy; high in vitamins C/K, antioxidants.
- Broccoli: Nutty, peppery; rich in sulforaphane for detox/cancer protection.
- Mung Bean: Sweet, juicy; high protein, easy to digest.
- Lentil: Earthy; excellent protein, iron, fiber.
- Radish: Spicy kick; vitamins C/E, quick-growing.
- Fenugreek: Slightly bitter, aromatic; aids digestion/blood sugar.
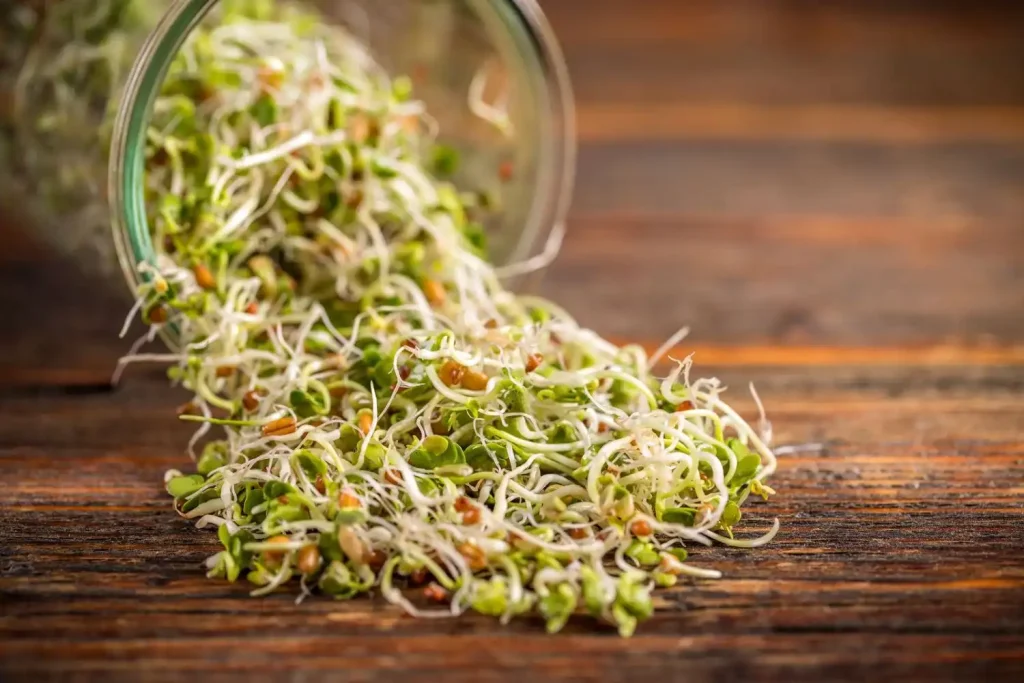
- Mixed salad sprouts: Alfalfa + radish + broccoli for variety.
Start small: 1–2 tablespoons per jar yields enough for 1–2 people daily.
Step-by-Step: How to Start Sprouts in a Jar (Jar Method)
This easy process takes anywhere from 3-7 days, depending on the type of seed.
Instructions:
1.) Measure & Rinse – Put 1-2 tablespoons of seeds into jar and rinse several times with cool water, to remove dust/debris.
2.) Soak – Fill jar with cool water about 2-3 inches above the seeds, cover with mesh or cheesecloth and secure. Soak jar of seeds in a dark area for 8-12 hours (overnight). (Note: The time will vary according to the type of seed, i.e. beans such as mung/lentil – 8 hours; alfalfa/broccoli – 6-8 hours)
3.) Drain & First Rinse – Carefully pour jar upside down into a bowl/rack until all liquid has drained. Rinse seeds with cool water (swirl), drain again, and jar will be angled at 45°, mouth down, for air circulation/drainage.
4.) Rinse Twice Daily – Continue to do this every morning/evening until the seeds are completely rinsed and drained. After the second or third day, place the jar at an angle in an area with indirect light (e.g., bright windows but not in direct sunlight).
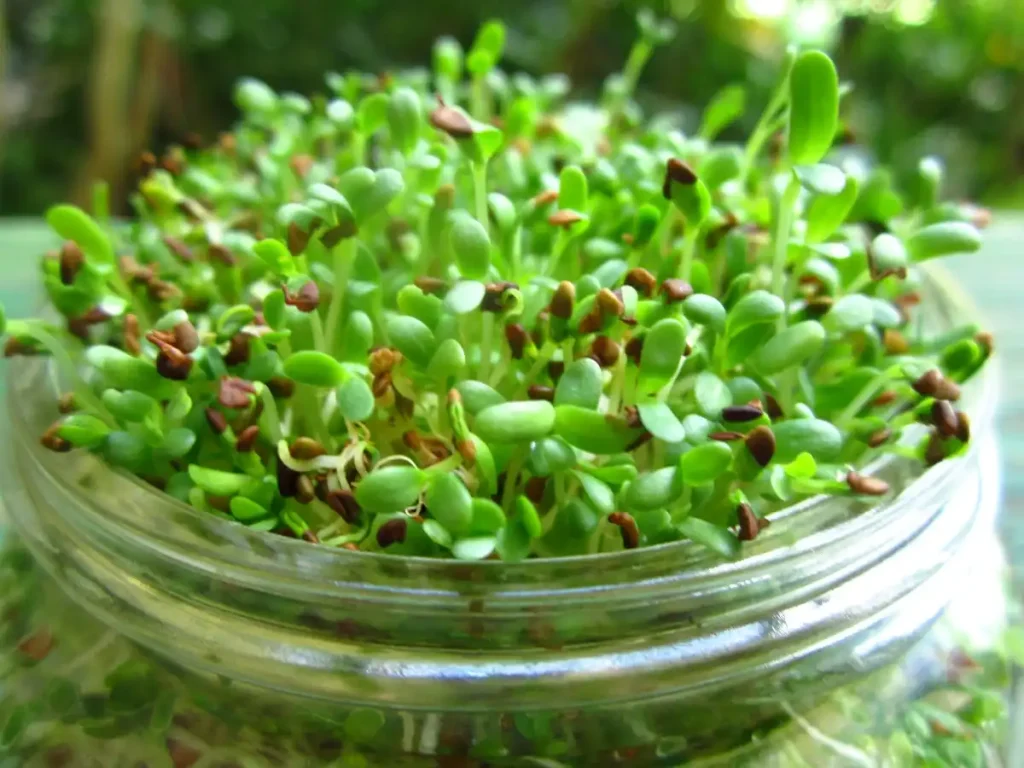
5.) Monitor Seed Development – Seeds should have a tiny root (i.e., tail) by the second or third day, and will be completely sprouted (1-2 inches long) by the fourth or seventh day. Eat one to see how long and crunchy you want them.
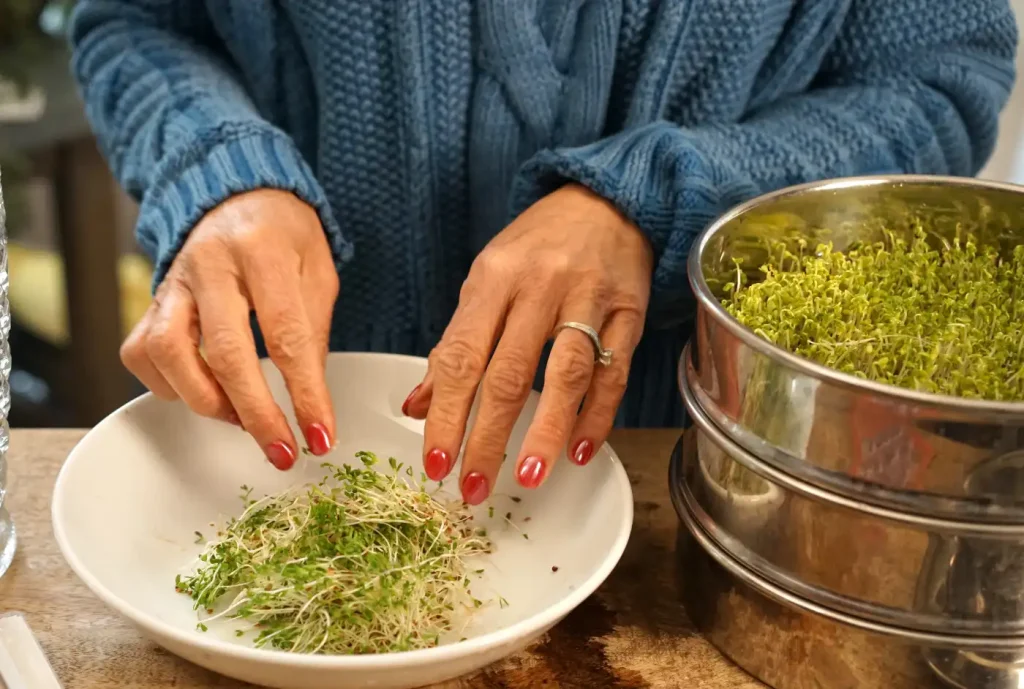
6.) Final Rinse/De-Hulling (Optional) – Do a final rinse of the seeds. To remove the hulls (e.g., alfalfa) you can fill the jar with water, shake and tip out the hulls.
7.) Harvest/Store – Rinse sprouts once again, spin them dry in a salad spinner. Use an airtight container, along with a paper towel, to store in the refrigerator, approximately 1 week.
Helpful Tips – If you want fresh sprouts on a daily basis, you can start a new jar every 2-3 days.
Daily Care & Tips for Perfect Sprouts
- Rinse frequently to avoid bacteria and mold.
- Make sure there is adequate airflow; never tightly seal a jar.
- Steer clear of direct sunlight as it can cause algae and heat.
- Between batches, sanitize the jar or lid and use clean equipment.
- Room temperature is ideal; a higher temperature promotes growth.
Smell test: Fresh sprouts have a grassy, fresh scent; rotten or sour ones should be thrown out.
Troubleshooting Common Sprouting Problems
Issues are rare with good hygiene/rinsing. Here’s a quick table:
| Problem | Symptoms | Causes | Solutions |
|---|---|---|---|
| No Sprouting/Germination | Seeds unchanged after days | Old seeds, too cold, poor soak | Use fresh sprouting seeds; warmer spot (70°F+); ensure 8–12h soak |
| Mold/Fuzz on Seeds | White fuzzy growth, sour smell | Poor drainage, insufficient rinsing, heat | Rinse more often (3x/day if hot); improve airflow; discard if bad; start over |
| Slimy Sprouts | Sticky/slippery texture, off odor | Bacterial buildup, stagnant water | Rinse thoroughly twice daily; use cooler water; clean jar better |
| Rotten/Sour Smell | Bad odor, mushy seeds | Over-soaking, poor hygiene, warm temps | Discard batch; sanitize equipment; shorten soak; cooler location |
| Yellow/Brown Sprouts | Discolored, wilted | Too much direct sun, over-mature | Indirect light only; harvest earlier; rinse well |
| Hulls Everywhere | Too many seed coats clinging | Normal for some seeds | Swirl in water to de-hull; eat as-is (edible/nutritious) |
| Slow Growth | Tiny tails after 5+ days | Low temp, low-quality seeds | Warmer spot; fresh seeds; indirect bright light after day 2 |
| Algae/Green Water | Green tint in jar | Direct sunlight | Move to darker/indirect light; change water more frequently |
Monitor daily – most problems fix with better rinsing/airflow!
Start Your Daily Sprouting Routine Today!
Sprouting at home is easy, healthful, and addictive. This week, start with one jar of alfalfa or mung beans; in a few days, you’ll have access to fresh, living food whenever you need it.
Get a jar and some sprouting seeds, then start your daily routine. Your budget and body will appreciate it! Which sprout is your favorite, and how will you use them? Post your thoughts in the comments section below.
Happy sprouting – fresh nutrition awaits!


