
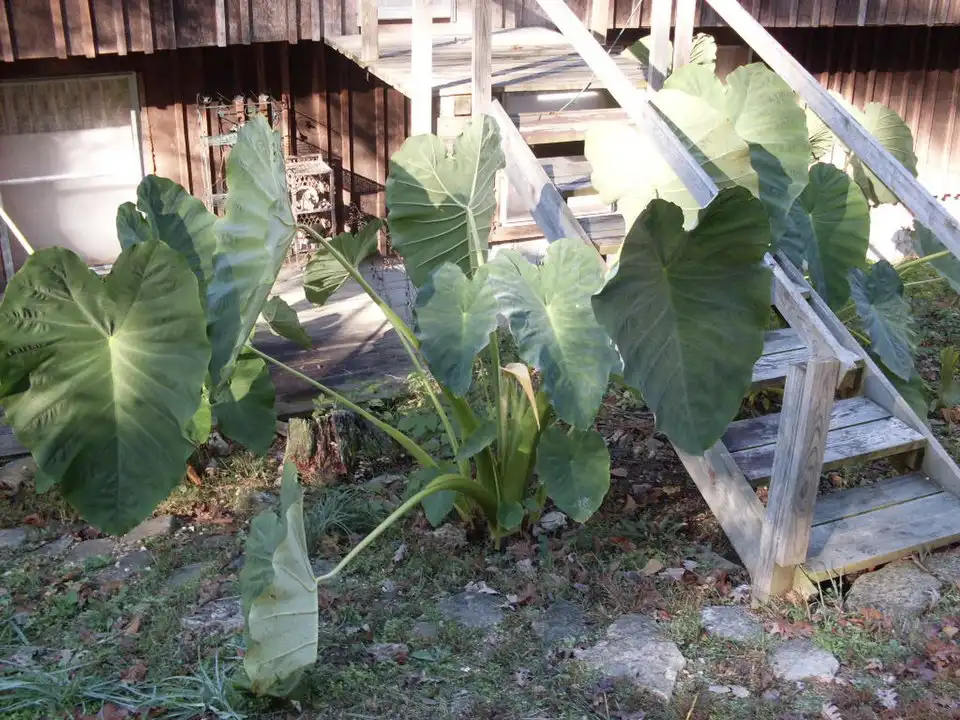
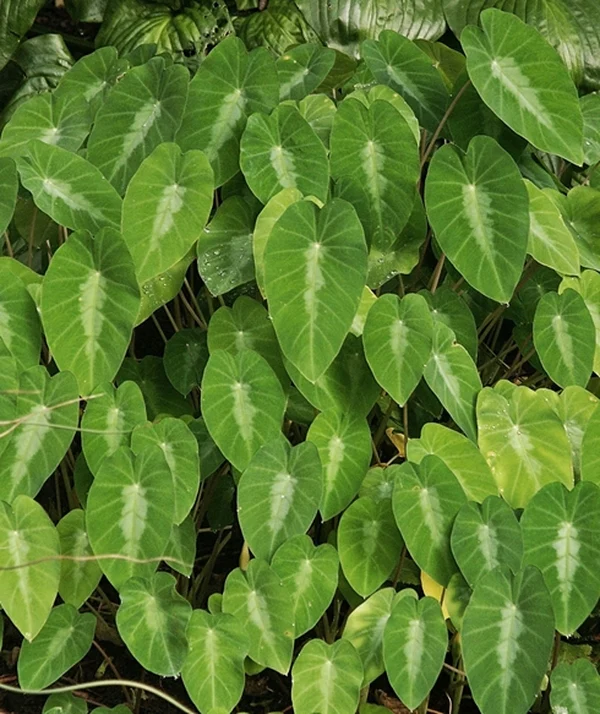
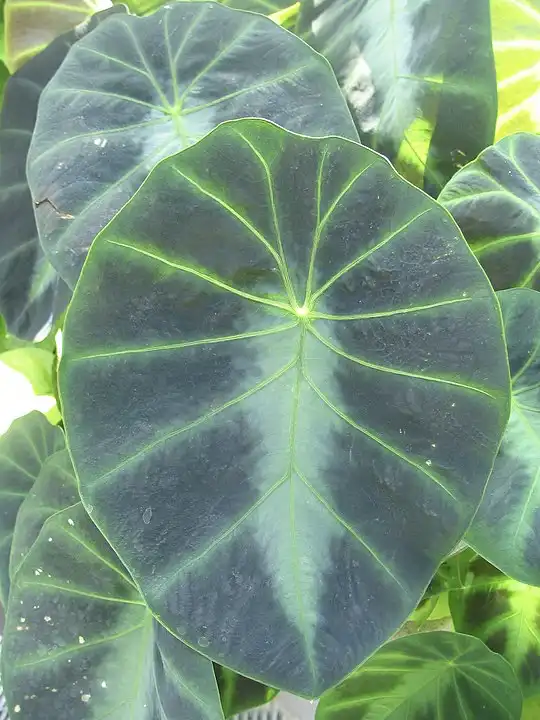
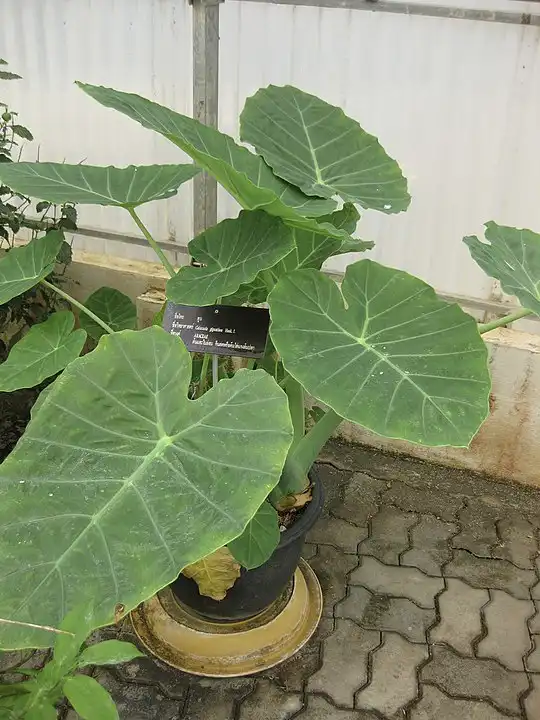
Propagate Elephant Ear Plants: The Elephant Ear Plant, also known as Colocasia or Alocasia, is a tropical plant cherished for its large, elephant ear-shaped leaves. With its origins in Asia, this plant has captivated gardeners and plant enthusiasts with its striking varieties of sizes, colors, and patterns.
If you’re keen on expanding your Elephant Ear Plant collection or sharing its beauty with others, propagation is the ideal method. Propagation involves creating new plants from an existing one, and there are multiple techniques to achieve this with Elephant Ear Plants. In this guide, we’ll walk you through step-by-step instructions, exploring different propagation methods and sharing the best practices for each.
Propagation Methods:
1. Division:
One of the most common methods for propagating elephant ear plants is through division. This process involves separating the plant into smaller sections, each with its own set of roots and foliage. To successfully propagate through division, you’ll need a sharp knife, potting mix, and containers for the new plants. Here’s a step-by-step guide:
Prepare the plant for division
Carefully remove the elephant ear plant from its pot and gently shake off any excess soil. Use a sharp knife to divide the root ball into sections, ensuring that each section has at least one leaf and a healthy root system.
Plant the new sections
Fill the containers with a suitable potting mix, then plant each section, ensuring the roots are covered with soil. Give the newly potted plants a thorough watering and place them in an area with bright, indirect light.
Care for the new plants
Keep the new plants moist but not waterlogged, and make sure they are not exposed to direct sunlight. As the new plants establish their roots, you can gradually increase their exposure to light.
2. Cuttings:
Another way to propagate elephant ear plants is through stem cuttings. This method involves cutting a portion of the stem with a leaf attached and rooting it in water or soil. Here’s how to do it:
Select a stem-cutting
Choose a healthy stem with a leaf attached and use a sharp knife to cut it at a 45-degree angle. Make sure the cutting is at least 4 inches long and has a few leaves attached.
Root the cutting
You can cut the root in water or soil. To root in water, place the cutting in a jar or vase filled with water, making sure the bottom of the stem is submerged. Change the water after a few days and wait for roots to develop. To root in the soil, dip the bottom of the stem in rooting hormone and plant it in moist potting soil. Water the cutting and cover it with a plastic bag to create a humid environment.
Care for the new plant
Once the roots have developed, transplant the new plant into a container filled with potting mix. Water the plant thoroughly and keep it in a bright, indirect light.
3. Rhizomes:
Rhizomes are the thick, underground stems that elephant ear plants use to store food and water. They are also a great way to propagate the plant.
Dig up the rhizomes
Carefully dig up the rhizomes, making sure not to damage them. You can also wait until the plant has finished flowering, as this is when the rhizomes are most active.
Cut the rhizomes
Use a sharp knife to cut the rhizomes into sections, making sure each section has at least one growing point and a few roots.
Plant the new section
When planting the new rhizome sections, make sure to bury them deep enough so that the growing point is just above the surface of the soil. Water the soil thoroughly to ensure that it is evenly moist.
Care for the new plants
Keep the new plants in a bright, humid location but out of direct sunlight. Water the soil routine-wise to keep it moist but not waterlogged. As the new plants establish their roots and grow, you can gradually increase their exposure to light.
Best Practices for Propagation
Regardless of the propagation method you choose, there are a few best practices to keep in mind:
1. Use clean tools:
Before propagating your elephant ear plants, make sure your tools are clean and sterile. This helps prevent the increase of disease and pests.
2. Choose healthy plants:
Only propagate healthy plants that are free from pests and diseases. This ensures that the new plants will also be healthy and strong.
3. Provide proper care:
Once you’ve propagated your new elephant ear plants, make sure to provide them with proper care. This includes providing them with the proper amount of water, light, and nutrients.
Read: Banana water and peels for plants growth
4. Be patient:
Propagation can take time, so be patient and don’t give up on your new plants. It may take several weeks or even months for new plants to fully establish themselves.
Conclusion
Elephant ear plants are beautiful and popular tropical plants that can be easily propagated through division, cuttings, and rhizomes. Whether you’re looking to expand your plant collection or share this plant with others, propagation is a great way to do it. By following these step-by-step instructions and best practices, you can successfully propagate your elephant ear plants and enjoy their dramatic foliage for years to come. Read more..


