
Winter planting is often misunderstood. Many gardeners assume growth stops entirely once temperatures drop, but in reality, winter can be an excellent time to establish strong, resilient plants. With the right techniques, plants develop deep roots, conserve energy, and prepare for vigorous growth in spring. Understanding the correct winter planting steps for healthy establishment ensures your garden survives cold conditions and thrives when warmer weather returns.
This guide covers everything from planning and soil preparation to planting, protection, and troubleshooting common winter problems.
Understanding Winter Planting
Winter planting refers to planting trees, shrubs, perennials, bulbs, and some vegetables during late fall or winter when plants are dormant. While top growth slows, root systems can still develop in cool soil. This makes winter an ideal season for establishing long-term plants.
Key benefits of winter planting include:
- Reduced transplant shock
- Less pest and disease pressure
- Lower watering requirements
- Stronger root systems by spring
However, success depends entirely on following the correct steps.
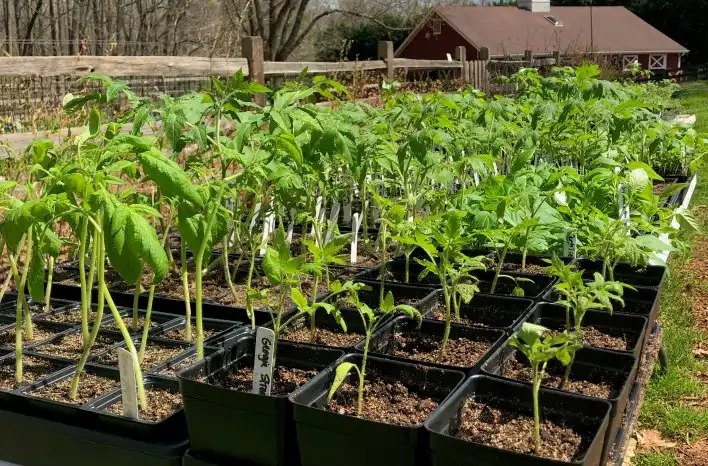
Step 1: Choose the Right Plants for Winter
Not all plants are suitable for winter planting. Selecting cold-tolerant varieties is the foundation of healthy establishment.

Best plants for winter planting:
- Deciduous trees and shrubs
- Hardy perennials
- Spring-flowering bulbs (tulips, daffodils)
- Cool-season vegetables (spinach, garlic, onions)
- Native plants adapted to your climate
Avoid planting tender tropical plants or frost-sensitive species during winter.
Tip: Always check your local hardiness zone before planting.
Step 2: Plan Planting Timing Carefully
Timing plays a crucial role in winter planting success. Plant too early, and new growth may be damaged by frost. Plant too late, and frozen soil may prevent root establishment.
Ideal planting window:
- Late fall to early winter
- When soil is workable but temperatures are cool
- After plants enter dormancy
Avoid planting during heavy frost, snow, or waterlogged conditions.
Step 3: Prepare the Soil Properly

Healthy soil is essential for winter planting steps for healthy establishment. Cold soil slows nutrient availability, so preparation must be thorough.
Soil preparation steps:
- Remove weeds and debris
- Loosen soil to improve drainage
- Add organic matter such as compost or aged manure
- Check soil pH and adjust if needed
- Avoid excessive fertilization in winter
Good drainage is especially important, as waterlogged soil can cause root rot during cold months.
Step 4: Dig the Correct Planting Hole
Improper planting depth is a common winter mistake. Holes should support root growth without trapping water.
Best practices:
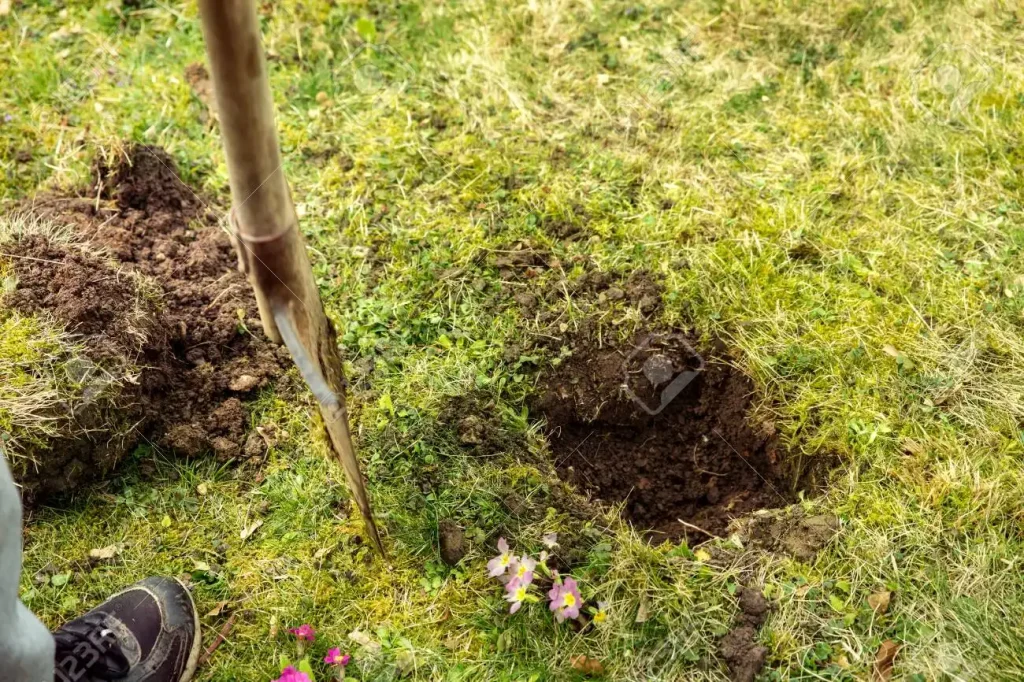
- Dig holes twice as wide as the root ball
- Keep depth equal to the root ball height
- Avoid planting too deep
- Gently loosen roots before planting
Proper spacing ensures good air circulation and reduces disease risk.
Step 5: Plant with Care
Once soil and holes are ready, planting should be done carefully to protect dormant roots.
How to plant correctly:
- Place plant at the same depth as its container
- Backfill with native soil mixed with compost
- Gently firm soil to remove air pockets
- Avoid compacting soil too tightly
Do not apply high-nitrogen fertilizers at this stage, as they can stimulate unwanted growth.
Step 6: Water Wisely During Winter
Watering is one of the most overlooked winter planting steps for healthy establishment. Even dormant plants need moisture to survive.
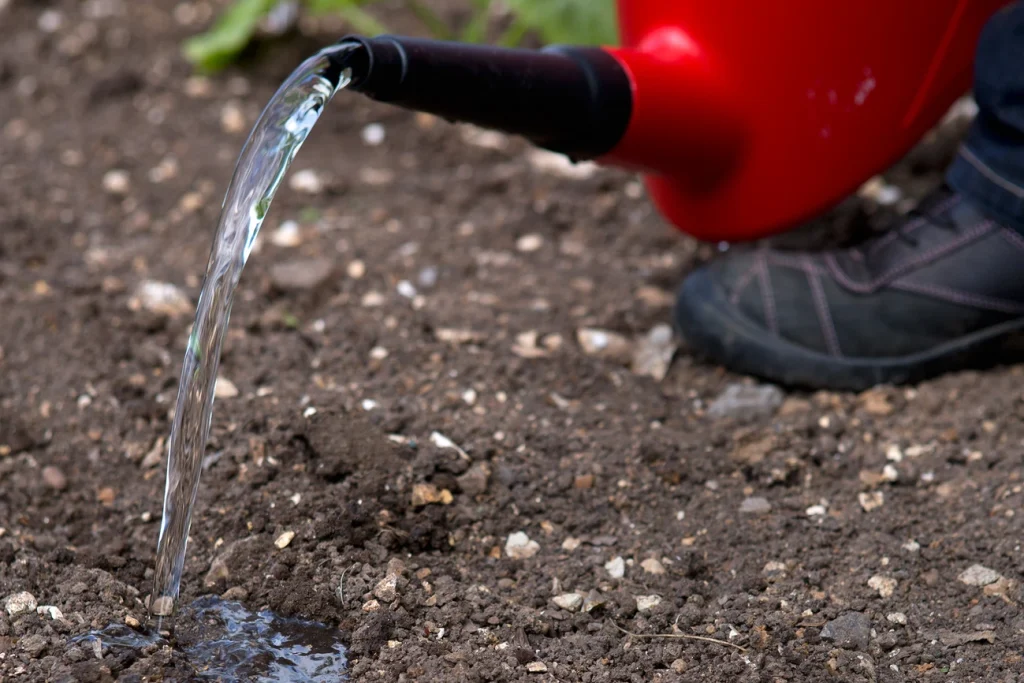
Winter watering tips:
- Water deeply after planting
- Reduce frequency but do not stop completely
- Water during warmer daytime hours
- Avoid watering frozen soil
Dry winter winds can dehydrate plants, making proper hydration essential.
Step 7: Mulch for Insulation and Moisture
Mulching is critical for winter survival. It helps regulate soil temperature and prevents moisture loss.
Mulching guidelines:
- Apply 2–4 inches of organic mulch
- Keep mulch away from plant stems
- Use straw, bark chips, leaves, or compost
- Reapply mulch if it breaks down
Mulch also prevents soil heaving caused by freeze-thaw cycles.

Step 8: Protect Plants from Frost and Wind
Cold temperatures, frost, and winter winds can damage young plants.
Protection methods:
- Use frost cloths or garden fabric
- Install windbreaks
- Cover plants during extreme cold
- Use cloches for vegetables
Remove covers during warmer days to prevent overheating.
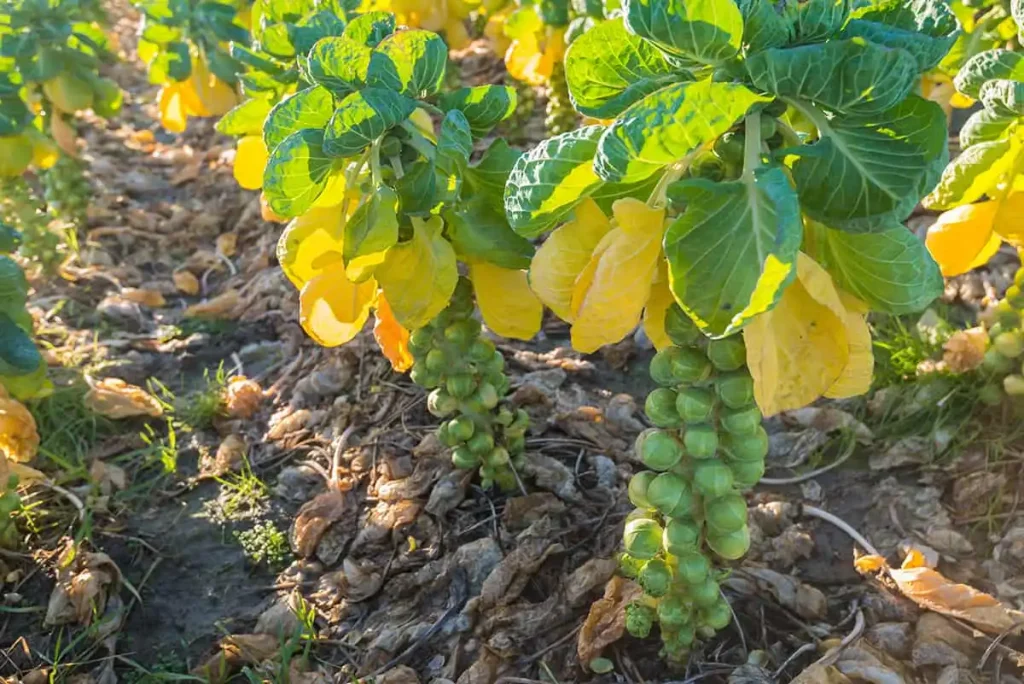
Step 9: Monitor for Pests and Diseases
While pest activity is reduced in winter, some issues can still arise.
Watch out for:
- Root rot due to excess moisture
- Fungal diseases in poorly drained soil
- Rodents feeding on roots or bark
Early detection prevents long-term damage.

Step 10: Prepare for Spring Growth
Winter planting is an investment in spring success. As temperatures rise, plants will already have established root systems.
Spring transition tips:
- Gradually remove winter protection
- Resume regular watering
- Apply balanced fertilizer in early spring
- Prune damaged or dead growth
Plants established in winter often outperform those planted in spring.
Troubleshooting Table: Winter Planting Problems and Solutions
| Problem | Possible Cause | Solution |
|---|---|---|
| Plants wilting in winter | Dry soil or wind desiccation | Water during warm days and add mulch |
| Root rot | Poor drainage or overwatering | Improve soil drainage and reduce watering |
| Frost damage | Inadequate protection | Use frost cloths or covers |
| Soil heaving | Freeze-thaw cycles | Apply thick mulch layer |
| Slow spring growth | Weak root development | Ensure proper winter watering and soil prep |
| Yellowing leaves | Nutrient imbalance | Apply balanced fertilizer in spring |
| Animal damage | Rodents or pests | Use barriers or repellents |
Final Thoughts
Winter planting, when done correctly, offers remarkable benefits for gardeners at every level. By choosing the right plants, preparing soil properly, watering wisely, and protecting plants from harsh conditions, you can ensure healthy establishment even during the coldest months.
Following these winter planting steps allows your garden to rest, strengthen, and prepare, so when spring arrives, your plants are already ahead.


