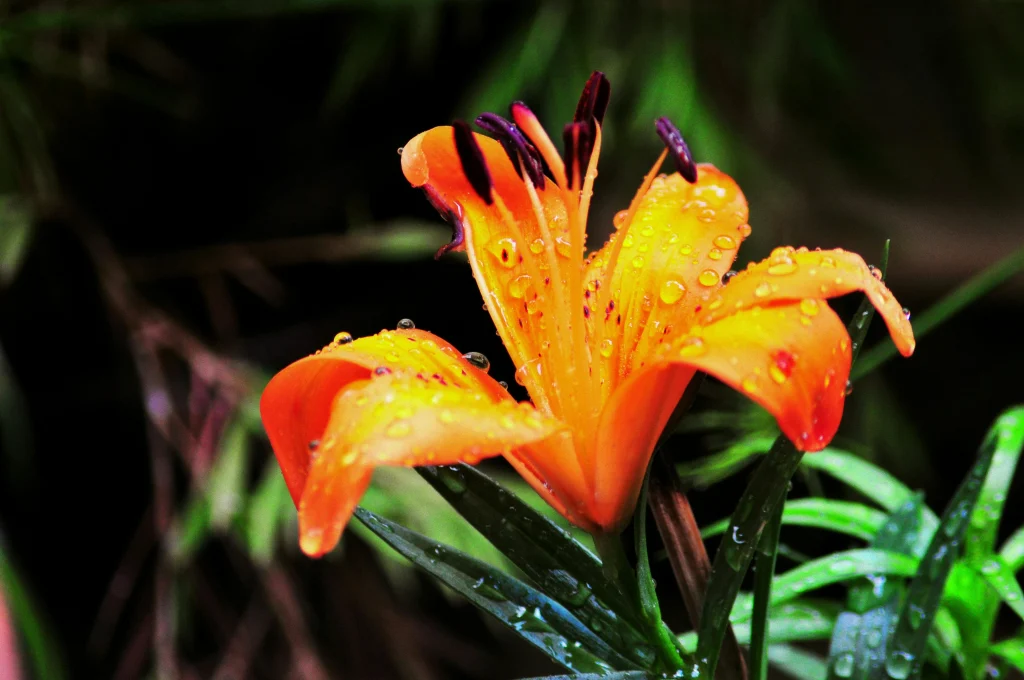
Yellow rainlilies (Zephyranthes citrina), also known as yellow fairy lilies or citron zephyr lilies, are charming bulbous perennials native to South America. These delightful plants are prized for their vibrant yellow, trumpet-shaped flowers that bloom after summer rains, adding a burst of sunshine to gardens, borders, or containers. Repotting yellow rainlily seedlings is a crucial step to ensure they develop into strong, healthy plants capable of producing stunning blooms. In this blog, we’ll explore how to repot yellow rainlily seedlings, including timing, techniques, and care tips to promote vigorous growth.
Why Repot Yellow Rainlily Seedlings?
Repotting yellow rainlily seedlings offers several benefits:
- Promotes Growth: Provides space for roots to expand, supporting stronger plants.
- Prevents Overcrowding: Ensures seedlings have access to nutrients and water.
- Encourages Blooming: Healthy root systems lead to more vibrant flowers.
- Versatility: Allows you to move seedlings to pots, garden beds, or decorative containers.
Whether you’ve grown your rainlilies from seeds or purchased young plants, repotting is essential for their long-term success. Let’s dive into how to do it effectively.
When to Repot Yellow Rainlily Seedlings
The best time to repot yellow rainlily seedlings is:
- Spring or Early Summer: Repot when seedlings have 2–4 true leaves and are strong enough to handle transplanting, typically 2–3 months after germination. This aligns with their active growth period.
- Post-Germination: If grown from seeds, seedlings are usually ready to repot 8–12 weeks after sowing, depending on growth conditions.
- Mild Climates (USDA Zones 7–10): Repot in fall for outdoor planting if winters are mild, allowing bulbs to establish before blooming the following summer.
Avoid repotting during dormancy (late fall to winter) or during peak blooming to minimize stress on the plants.
Choosing the Right Conditions
Yellow rainlilies thrive in:
- Light: Full sun to partial shade. Aim for 6–8 hours of sunlight daily for optimal growth and blooming.
- Soil: Well-draining, loamy soil with a pH of 6.0–7.0. A mix of potting soil, sand, and compost (2:1:1 ratio) works well.
- Container: For potted seedlings, choose pots with drainage holes, 6–8 inches deep, to accommodate developing bulbs.
Steps for Repotting Yellow Rainlily Seedlings
- Prepare the New Pot or Garden Bed:
- Pots: Select a pot slightly larger than the seedling’s root system (e.g., 4–6 inches wide for single seedlings). Fill with a well-draining mix of potting soil, sand, and compost.
- Garden Beds: Loosen soil to a depth of 8–10 inches and mix in compost to improve fertility and drainage.
- Water Seedlings:
Lightly water the seedlings a few hours before repotting to reduce transplant shock and make removal easier. - Gently Remove Seedlings:
Carefully lift seedlings from their current tray or pot using a small trowel or spoon. Hold the base of the plant to avoid damaging delicate roots or leaves. Shake off excess soil gently to expose the root system. - Inspect Roots:
Check for healthy, white roots. Trim any damaged or overly long roots with sterilized scissors to encourage new growth. - Plant Seedlings:
- Pots: Make a small hole in the soil mix, place the seedling’s roots in, and cover so the bulb base is 1–2 inches below the surface. Space multiple seedlings 3–4 inches apart in larger pots.
- Garden Beds: Plant seedlings 2–3 inches deep and 4–6 inches apart to allow room for bulb growth. Firm soil gently around roots.
- Water Thoroughly:
Water lightly after planting to settle the soil. Avoid overwatering, as rainlilies are susceptible to bulb rot in soggy conditions. - Position:
Place pots in a bright location with indirect light for the first week to ease transplant shock, then move to full sun. For garden beds, ensure a sunny or partially shaded spot.
Tips for Success
- Spacing: Proper spacing prevents competition and supports healthy bulb development.
- Drainage: Use pots with drainage holes and well-draining soil to prevent waterlogging.
- Acclimation: Gradually introduce potted seedlings to full sun over 5–7 days to avoid leaf burn.
Caring for Repotted Yellow Rainlily Seedlings
Proper care after repotting ensures your seedlings establish well and grow into blooming plants.
Watering
- Initial Care: Keep soil lightly moist but not soggy for the first 2–3 weeks after repotting. Water when the top inch of soil feels dry.
- Established Plants: Water weekly during the growing season (spring–summer), providing 1 inch of water. Reduce watering in fall and winter when plants may enter dormancy.
- Avoid Overwatering: Ensure good drainage to prevent bulb rot, a common issue with rainlilies.
Fertilizing
- Apply a balanced, water-soluble fertilizer (e.g., 10-10-10 N-P-K) every 4–6 weeks during the growing season to support growth.
- Avoid fertilizing during dormancy (fall–winter) to prevent stressing the plant.
Light and Temperature
- Provide 6–8 hours of sunlight daily. In hotter climates, partial shade during the afternoon prevents scorching.
- Maintain temperatures between 60–75°F. Protect from frost in colder climates (below Zone 7) by bringing pots indoors or mulching garden beds heavily.
Maintenance
- Weeding: Remove weeds around seedlings to reduce competition for nutrients.
- Mulching: Apply a 1–2 inch layer of organic mulch (e.g., bark or straw) to retain moisture and regulate soil temperature.
- Pest Control: Watch for pests like aphids or spider mites. Treat with neem oil or insecticidal soap if needed.
Propagation and Future Growth
Yellow rainlily seedlings are typically grown from seeds, but mature plants can be propagated by bulb division to create more plants.
Propagation by Bulb Division
Once seedlings mature (after 1–2 years), they produce offset bulbs that can be divided:
- Timing: Divide bulbs in late summer or fall after foliage dies back, during dormancy.
- Dig Up Bulbs: Carefully lift the bulb clump with a garden fork, shaking off soil.
- Separate Offsets: Gently break off small bulbs from the parent, ensuring each has a basal plate.
- Replant: Plant offsets 2–3 inches deep, 4–6 inches apart in well-draining soil. Water lightly.
- Care: Offsets may bloom in 1–2 years, faster than seed-grown plants.
Tips for Propagation
- Bulb Health: Discard any soft or damaged bulbs to prevent disease spread.
- Storage: If not replanting immediately, store bulbs in a cool, dry place in a breathable bag.
Common Challenges and Solutions
- Bulb Rot: Caused by overwatering or poor drainage. Use well-draining soil and water sparingly.
- Poor Blooming: Often due to insufficient light or immature bulbs. Ensure full sun and give seedlings time to mature (1–2 years).
- Yellowing Leaves: May indicate overwatering or nutrient deficiency. Adjust watering and apply a balanced fertilizer.
- Pests: Aphids or slugs may target seedlings. Use organic pest controls and remove debris to deter slugs.
Companion Planting Ideas
Yellow rainlilies pair beautifully with other plants for vibrant displays:
- Paperwhite Narcissus: Their white blooms complement yellow rainlilies in mixed beds.
- Sedum: Low-growing succulents add texture around rainlily clumps.
- Daylilies: Provide a succession of blooms alongside rainlilies.
- Ornamental Grasses: Create a soft backdrop for rainlily’s bright flowers.
Why Repotting Yellow Rainlily Seedlings is Worth It
Repotting yellow rainlily seedlings is a simple yet essential step to ensure healthy growth and vibrant blooms. These resilient plants reward gardeners with cheerful, rain-triggered flowers that brighten any space. Whether you’re growing them in pots for a patio display or in garden beds for a summer show, proper repotting sets the stage for long-term success.
Start repotting your yellow rainlily seedlings today and enjoy their sunny blooms! For more bulb gardening tips or ideas for creating colorful displays, explore our other gardening guides. Happy gardening!